
Beautiful Plants For Your Interior
Beautiful Plants For Your Interior
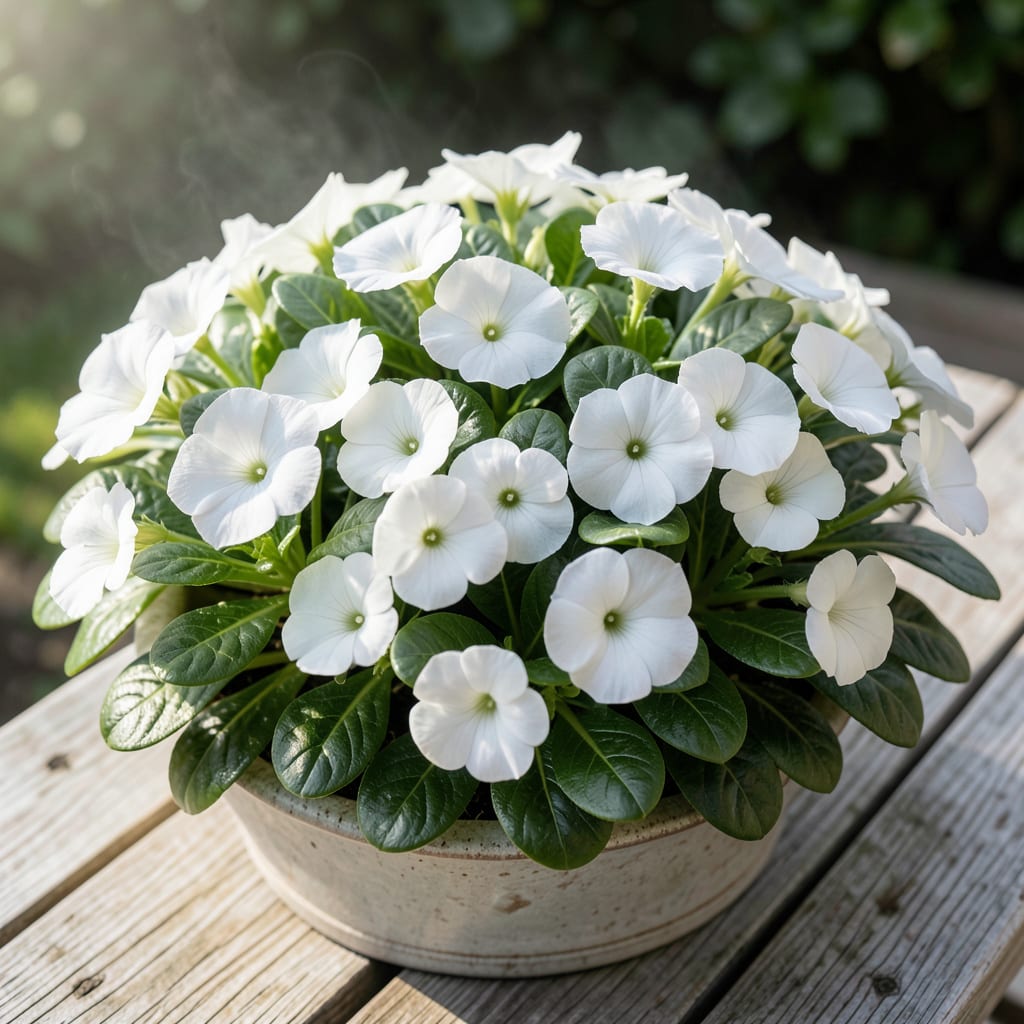
I discovered Titan Pure White vinca during my search for a ground cover that could handle drought, poor soil, and my occasional neglect. This plant delivered beyond expectations.
It spreads quickly, choking out weeds while providing year-round interest with glossy leaves and pristine white flowers. Perfect for slopes, borders, or any spot where you want low-maintenance beauty.
📚 In This Guide
This method ensures a lush, resilient ground cover that thrives with minimal effort.
Choose a location with partial to full sun—this variety tolerates shade but blooms most abundantly with at least 4-6 hours of direct sunlight. I always test the soil first; vinca prefers well-draining conditions with a pH between 6.0 and 7.5. Avoid low spots where water pools, as soggy roots will rot the plants overnight.
Clear the area of weeds and debris, then loosen the soil to a depth of 8-10 inches using a garden fork. Incorporate 2-3 inches of compost to improve fertility and drainage. This creates a welcoming environment for the shallow root system to establish quickly.
Dig holes slightly wider than the root ball of each plant, spacing them 12-18 inches apart. This spacing allows the plants to fill in within one growing season while preventing overcrowding. I’ve found that closer spacing (around 12 inches) creates a denser mat faster, which is ideal for weed suppression.
Remove the plants from their containers and gently tease the roots apart if they’re tightly bound. Place each start in its hole so the top of the root ball sits ½ inch above the soil line—this prevents settling, which can bury the crown and lead to stem rot. Backfill with soil and press lightly to eliminate air pockets.
Water thoroughly after planting, ensuring the soil is evenly moist but not waterlogged. Vinca is drought-tolerant once established, but consistent moisture is critical during the first 2-3 weeks while roots take hold. I check the soil daily by sticking my finger 1 inch deep—if it feels dry, it’s time to water again.
Apply a 2-inch layer of organic mulch, such as shredded bark or pine straw, around the plants to retain moisture and suppress weeds. Keep the mulch 1-2 inches away from the stems to prevent rot. This step also helps regulate soil temperature, which vinca appreciates in extreme heat or cold snaps.
Once established, vinca requires minimal care. Water deeply during extended dry spells, but avoid frequent shallow watering, which encourages weak root growth. Fertilize lightly in early spring with a balanced, slow-release product—this variety doesn’t demand heavy feeding, and over-fertilizing can lead to excessive foliage at the expense of flowers.
Prune back leggy stems in early spring or after the first flush of blooms to encourage bushier growth. I use sharp bypass pruners to make clean cuts just above a leaf node. This rejuvenates the plants and keeps them looking tidy. Watch for pests like aphids or spider mites, which can occasionally trouble vinca, and treat with neem oil if necessary.
Here’s how to ensure your ground cover thrives from the very first planting.
Sunlight Strategy: The 4-6 hours of direct sunlight mentioned in Step 1 isn’t just a suggestion—it’s key for abundant blooms. If your site gets less, expect fewer flowers but still lush foliage. I’ve seen vinca tolerate deeper shade, but the trade-off is a less vibrant display.
Soil Preparation Insight: In Step 1, don’t skip the 8-10 inches of loosened soil. Vinca’s shallow roots need that depth to spread easily. And that 2-3 inches of compost? It’s non-negotiable for drainage—waterlogged roots are this plant’s only real weakness.
Spacing for Success: Step 2’s 12-18 inches apart guideline is flexible. For quick coverage, go with 12 inches—you’ll get a dense mat in one season. If you’re patient, 18 inches works too, but expect to wait a bit longer for full fill-in.
Watering Wisdom: Those first 2-3 weeks in Step 3 are critical. Check soil daily by digging 1 inch deep—if it’s dry, water immediately. After establishment, vinca’s drought tolerance kicks in, but early neglect can stunt growth permanently.
This drought-tolerant plant needs minimal watering once established. Water deeply once a week for the first few weeks, then reduce to every 2-3 weeks unless extreme heat or drought occurs.
Plant in early spring or fall to allow roots to establish before extreme temperatures. Avoid planting in peak summer or winter frost to ensure optimal growth.
Consider Creeping Thyme, Liriope, or Ajuga for similar ground cover benefits. These alternatives also offer low maintenance and drought resistance but may vary in appearance.
Yellowing leaves often indicate overwatering or poor drainage. Ensure the soil is well-draining, and reduce watering frequency. Check for pests or nutrient deficiencies if the issue persists.
