
Beautiful Plants For Your Interior
Beautiful Plants For Your Interior
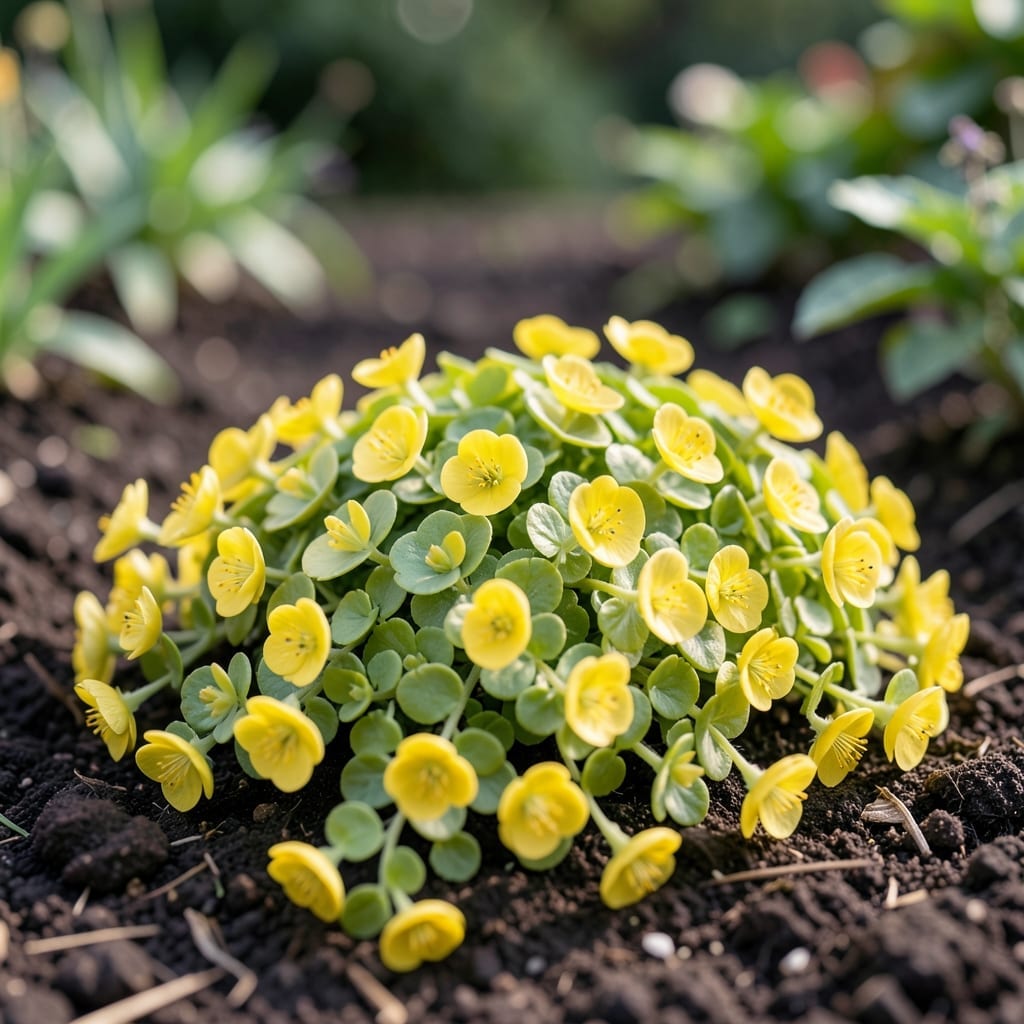
This golden ground cover changed my shady garden corners. I planted Creeping Jenny in a problem spot where nothing else would grow, and within months it spread into a vibrant yellow carpet that brightens the whole yard.
It thrives in partial shade with minimal care, though it handles full sun if the soil stays moist. The foliage stays lush from spring to fall, and it even produces little yellow flowers in summer. Perfect for borders, slopes, or filling gaps between plants.
📚 In This Guide
These small adjustments make a big difference in getting that lush, golden spread.
Sunlight Strategy: For the brightest golden foliage, aim for that 4-6 hours of direct sunlight daily. In hotter climates, morning sun with afternoon shade prevents leaf scorch while maintaining vibrant color. I’ve seen plants in full shade turn a dull green.
Drainage Test: That 1-hour drainage test from Step 1 is your best insurance against root rot. If water sits longer than an hour in your test hole, definitely amend with compost or use raised beds. Waterlogged soil is the #1 killer of Creeping Jenny.
Planting Depth: When preparing in Step 2, don’t skip loosening that 6-8 inches of soil—shallow prep means weak roots. The 2-inch compost layer on top gives your plants a nutrient boost that shows in faster growth and brighter color.
Establishment Secret: Those first 2-3 weeks of consistent moisture from Step 3 are critical. I set a phone reminder to check soil moisture daily during this period. Once established, you can ease up, but those early weeks set the foundation.
Creeping Jenny (Lysimachia nummularia) naturally has golden-yellow foliage, but if it turns pale or sickly, it may need more sunlight or suffer from nutrient deficiencies. Ensure it gets partial to full sun and well-draining soil.
Spring or early fall is ideal for planting creeping Jenny. This allows roots to establish before extreme heat or frost. Avoid planting in peak summer or winter for best results.
Try golden pothos, sedum, or sweet woodruff for similar ground cover. These also thrive in partial shade and offer vibrant foliage. Always check your climate zone for suitability.
Plant it in contained areas or use edging barriers. Regular pruning and removing excess runners help control its aggressive growth. It’s invasive in some regions, so monitor closely.
While it tolerates shade, creeping Jenny’s golden foliage is most vibrant with at least partial sunlight. In full shade, it may appear greener and grow more slowly.