
Beautiful Plants For Your Interior
Beautiful Plants For Your Interior
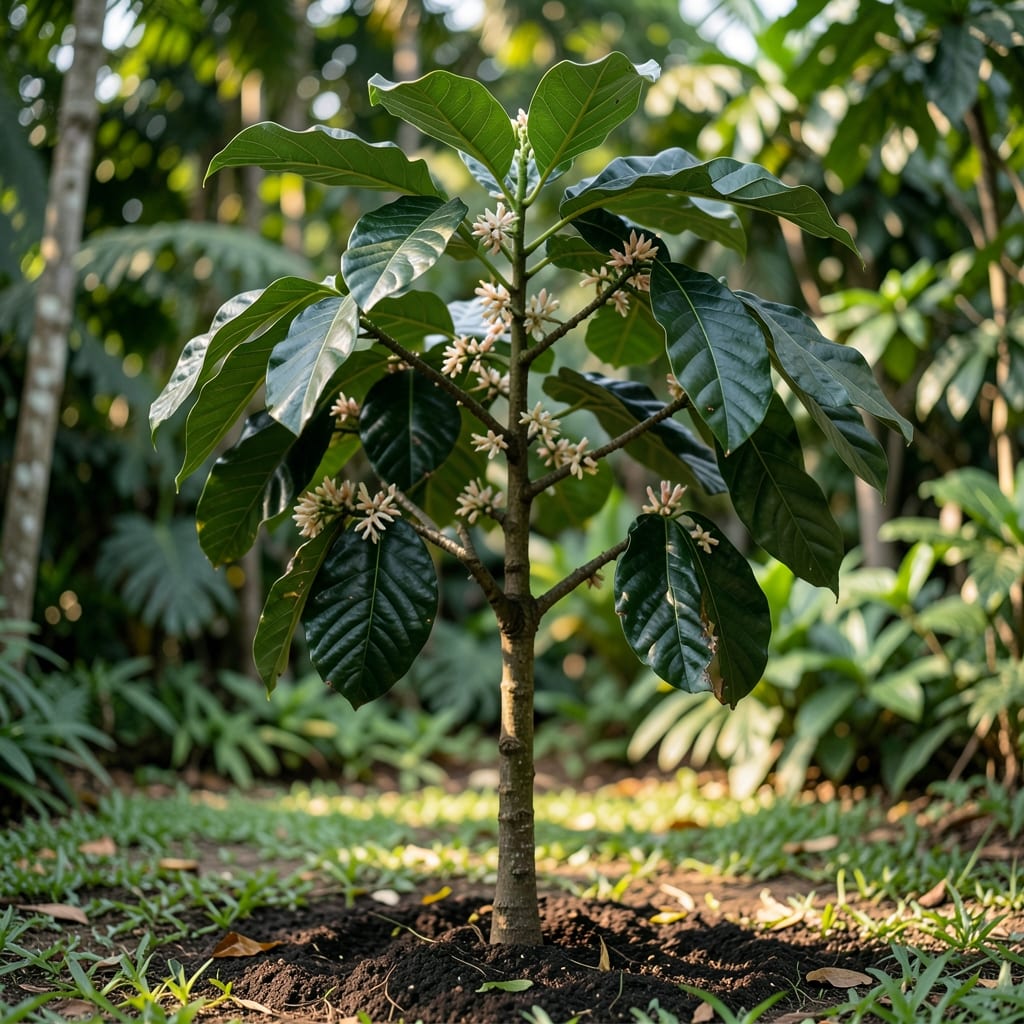
Cocoa tree leaves hold the key to fighting fungal infections naturally. I’ve seen firsthand how their organic compounds can protect plants without harsh chemicals.
This method works best with fresh, healthy leaves and consistent application. Within 2-3 weeks, you’ll notice stronger, disease-resistant foliage across your garden.
📚 In This Guide
This organic method leverages natural properties to combat fungal issues effectively and safely.
Locate a mature cocoa tree with vibrant, disease-free foliage. I always select fully mature leaves—they contain the highest concentration of antifungal compounds. Avoid any leaves showing spots, discoloration, or signs of stress, as these won’t provide the same protective benefits.
Gather about 20-25 leaves per treatment batch. Use clean, sharp pruners to make precise cuts at the stem base. Morning collection is ideal, as the leaves contain peak levels of active compounds before the heat of the day reduces their potency.
Place the leaves in a clean, breathable container. Don’t crush or damage them during collection—this preserves the integrity of the natural oils and compounds that make the treatment effective.
Rinse the collected leaves under cool running water to remove dust and surface contaminants. Pat them dry with a clean towel. This step ensures no external debris interferes with the extraction process.
Chop the leaves finely to increase surface area and enhance extraction efficiency. I use a sharp knife for this, as it cleanly severs the leaf fibers without bruising. Place the chopped leaves in a non-reactive container, such as glass or stainless steel.
Cover the leaves with 1 quart of distilled water and let the mixture steep for 24-48 hours in a cool, dark place. Stir occasionally to help release the active compounds into the water.
After steeping, strain the mixture through a fine mesh cloth or cheesecloth to remove all leaf particles. The resulting liquid should be a rich, greenish-brown color, indicating a strong concentration of beneficial compounds.
Transfer the strained extract to a spray bottle for easy application. I prefer using a dark-colored bottle to protect the extract from light, which can degrade the active compounds over time.
Apply the extract directly to the affected plants, focusing on the leaves and stems where fungal infections are present. Spray until the surfaces are thoroughly coated but not dripping. Repeat this application every 5-7 days until the infection clears.
Observe the treated plants closely over the next 1-2 weeks. You should notice a reduction in fungal symptoms, such as a decrease in spotted or wilting leaves. If the infection persists, it may require additional treatments or a stronger concentration of the extract.
For severe infections, I combine this treatment with improved air circulation and reduced moisture around the plants. Fungal issues often thrive in damp, stagnant conditions, so addressing the environment is just as important as the treatment itself.
Store any unused extract in the refrigerator for up to 1 week. Beyond this, the effectiveness of the active compounds may diminish, and it’s best to prepare a fresh batch for optimal results.
Small details make a big difference when preparing this organic treatment.
Leaf Selection: In Step 1, always choose fully mature leaves from healthy cocoa trees. Younger leaves lack the antifungal potency you need, and damaged leaves can introduce contaminants that compromise your extract’s effectiveness.
Extraction Efficiency: During Step 2, finely chopping the leaves maximizes surface area for better compound release into the distilled water. I’ve found that stirring occasionally during the 24-48 hour steeping period significantly improves the concentration of beneficial compounds.
Storage Matters: For Step 4, using a dark-colored spray bottle protects the extract from light degradation. This preserves the active compounds longer, especially important since unused extract only maintains its potency for up to 1 week in the refrigerator.
Yes! Cocoa tree leaves contain natural antifungal compounds like flavonoids and tannins, which help combat fungal infections. Many traditional remedies use them for skin and nail fungi.
Boil fresh or dried cocoa leaves in water for 10-15 minutes to make a tea or poultice. For skin infections, apply the cooled liquid directly or soak a cloth in it.
Generally safe, but some may experience mild skin irritation. Always do a patch test first. Avoid ingesting large amounts, as it may cause digestive discomfort.
Consult a doctor first. While cocoa leaves may complement treatment, they shouldn’t replace prescribed medications without professional guidance.
If symptoms persist after 1-2 weeks, try alternatives like tea tree oil or see a healthcare provider. Severe infections may require stronger treatments.