
Beautiful Plants For Your Interior
Beautiful Plants For Your Interior
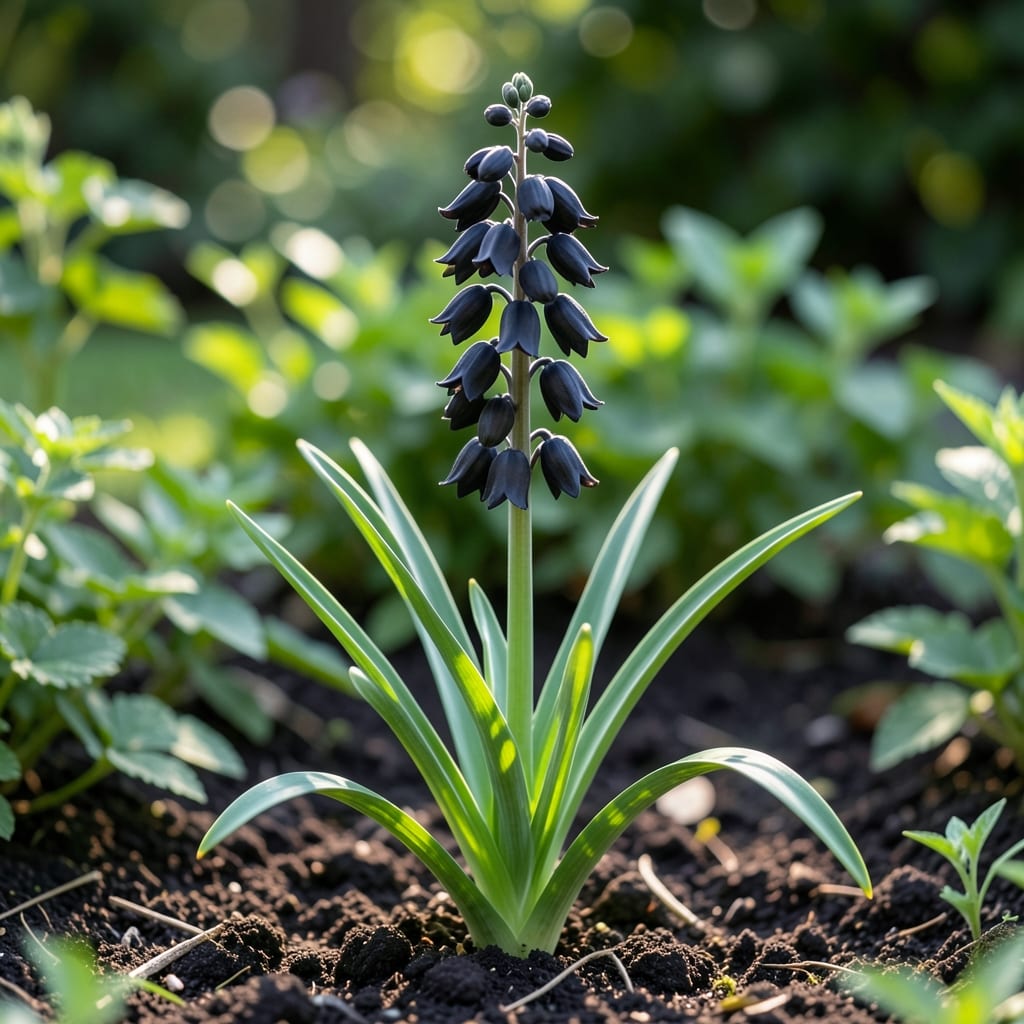
Dark, dramatic blooms can transform a shady corner. Black Beauty Lily delivers deep maroon flowers that stop visitors in their tracks, even in low-light spots where most plants struggle.
I planted mine under a maple tree three years ago. Now it spreads slowly, needs almost no attention, and blooms reliably every July with minimal fuss. Perfect for adding mystery to your garden.
📚 In This Guide
Here’s the method I use to establish these striking plants for years of deep, dramatic blooms.
Select a spot with partial to full shade, as these lilies thrive where most flowers struggle. The ideal location gets morning sun at most, with protection from harsh afternoon rays. I’ve found east-facing beds work beautifully, but north sides of structures also provide perfect conditions.
Ensure the soil drains well—standing water will rot the bulbs. Test drainage by digging a 1-foot deep hole, filling it with water, and watching how quickly it disappears. If water remains after 4 hours, improve drainage with organic matter.
Loosen the soil to a depth of 12-15 inches and mix in 2-3 inches of compost or well-rotted manure. Black Beauty lilies prefer slightly acidic to neutral soil (pH 6.0-7.0). If your soil is heavy clay, add some coarse sand to improve texture.
I always work in a handful of bone meal per planting hole—it provides the phosphorus these bulbs need for strong root development. The soil should feel crumbly and rich, not sticky or dusty.
Set the bulbs with the pointed end facing upward at a depth of 4-6 inches. Space them 12-18 inches apart to allow for mature growth. The deeper planting helps prevent frost damage in colder climates.
After placing the bulb, backfill with your prepared soil mix. Press down gently to remove air pockets, but don’t compact the soil. Water thoroughly after planting to settle the soil around the bulb—you should see water pooling briefly before it absorbs.
Keep the soil consistently moist but not waterlogged during the first growing season. You’ll know it’s right when the top 1 inch of soil feels slightly dry between waterings. Mulch with 2-3 inches of organic material to retain moisture and suppress weeds.
I apply a balanced 10-10-10 fertilizer lightly around the plants in early spring as new growth emerges. Avoid high-nitrogen fertilizers, as they promote leafy growth at the expense of those stunning dark blooms.
After the first year, these lilies are remarkably low-maintenance. Remove faded flowers to prevent seed formation, which can weaken the plant. In late fall, cut back the stems to 2-3 inches above ground after they’ve yellowed.
Divide clumps every 3-4 years in early spring or fall if they become overcrowded. You’ll see the need for division when blooms become smaller or fewer. This also gives you more plants to spread the dramatic beauty around your garden.
A few small adjustments that make a huge difference in your garden.
Shade Selection: I learned the hard way that these lilies truly need partial to full shade. Morning sun is fine, but harsh afternoon rays will scorch the leaves. East-facing beds or north sides of buildings work best for that perfect balance.
Drainage Test: That 4-hour drainage test in Step 1 isn’t optional. Dig your 1-foot hole, fill it with water, and if it doesn’t drain within exactly 4 hours, mix in compost or sand. Standing water will rot the bulbs before they even get started.
Planting Depth: In Step 3, planting at 4-6 inches deep is critical for frost protection. I’ve seen bulbs planted too shallow get damaged in cold winters. The deeper end of that range works best in colder climates.
Fertilizer Choice: Stick with the 10-10-10 fertilizer mentioned in Step 4. High-nitrogen options might give you more leaves, but you’ll sacrifice those stunning dark blooms we’re all after.
Plant in well-draining, moist soil with partial to full shade. Water regularly but avoid soggy conditions. Mulch helps retain moisture and suppress weeds.
Early spring or fall is ideal for planting. This gives the lily time to establish roots before extreme summer heat or winter cold.
Consider Queen of Night tulips or Onyx Odyssey calla lilies for similar dark, dramatic blooms in shade gardens.
Yellow leaves often signal overwatering or poor drainage. Check soil moisture and ensure the planting area has good drainage to prevent root rot.
Aphids and slugs may target lilies. Use organic pest control like neem oil or diatomaceous earth. Regularly inspect leaves for early signs of infestation.