
Beautiful Plants For Your Interior
Beautiful Plants For Your Interior
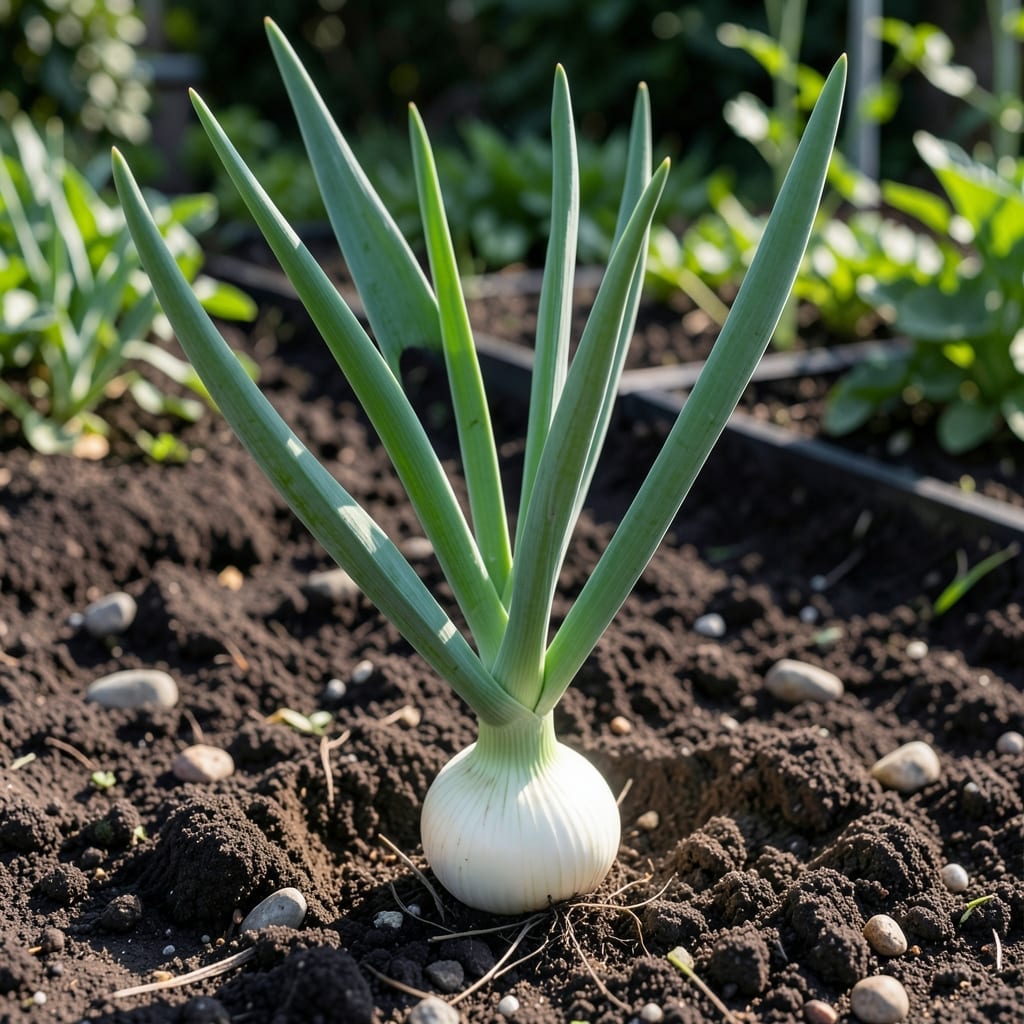
Big white onions transformed my garden from good to showstopping. These bulbs grow larger and sweeter than I ever expected with the right approach.
Start with rich soil and consistent watering, and you’ll pull up perfect globes in 90-120 days. The key is patience and a few simple growing rules.
📚 In This Guide
Here’s my tested method for growing robust, flavorful bulbs from start to finish.
Choose a location with full sun and well-draining soil with a pH between 6.0-7.0. I work the soil to a depth of 12 inches, removing rocks and breaking up clumps to encourage strong root development. Compacted soil restricts growth, so don’t skip this step.
Mix in 2-3 inches of aged compost to boost fertility without overloading the bed with nitrogen—this leads to leafy tops at the expense of bulb formation. Test drainage by digging a 6-inch hole, filling it with water, and ensuring it empties within 1 hour.
For sets (small bulbs), plant them 1 inch deep and 4-6 inches apart in rows spaced 12-18 inches apart. Press them firmly into the soil so the tip is just visible above the surface. Planting too deep delays sprouting and can rot the sets.
If starting from seeds, sow them ¼ inch deep and ½ inch apart, thinning to 4 inches once seedlings reach 2 inches tall. Seeds take longer but produce larger, more uniform bulbs. Water immediately after planting to settle the soil around the roots.
Water weekly with 1-1.5 inches of water, ensuring the soil stays evenly moist but never soggy. I stop watering once the tops begin to yellow and fall over—this signals maturity and prevents rot during curing. Overwatering at this stage ruins the bulbs.
Apply a balanced fertilizer (10-10-10) 3 weeks after planting and again when bulbs begin to form, which you’ll notice as the tops thicken at the base. Avoid high-nitrogen fertilizers after this point, as they promote leafy growth instead of bulb development.
Harvest when the tops turn yellow and fall over, usually 100-120 days after planting. On an overcast day, use a fork to lift the bulbs gently from the soil. Brush off excess dirt but don’t wash them—moisture encourages rot.
Cure the bulbs in a warm, dry, well-ventilated area for 2-3 weeks until the necks are completely dry and the outer skins are papery. I lay them in a single layer on a screen or rack to ensure air circulation. Proper curing extends storage life by months.
Small adjustments in your approach can make a big difference in bulb quality and yield.
Soil Preparation Insight: In Step 1, working the soil to that 12-inch depth isn’t just about removing rocks—it creates a loose environment where roots can expand freely. I’ve found that compacted soil, even just a few inches down, can reduce bulb size by up to 30% because the plant can’t access nutrients efficiently.
Drainage Test Tip: When testing drainage with that 6-inch hole, if the water doesn’t empty within 1 hour, don’t plant yet. I once ignored this and lost an entire row to rot. Amend with sand or compost until the test passes—it’s worth the extra effort.
Planting Depth Critical: For sets in Step 2, that 1-inch depth is precise for a reason. Planting deeper than this delays sprouting by weeks and increases rot risk. Press them in firmly so the tip just peeks above soil—this prevents them from popping out during watering.
Watering Discipline: The 1-1.5 inches weekly watering in Step 3 must be consistent. I use a rain gauge to track this. Stop watering immediately when tops yellow—this is the plant’s signal that it’s done growing and needs to cure, not a sign it needs more water.
Common causes include fungal infections (like downy mildew), bacterial rot, poor soil drainage, and pest infestations. Proper spacing, crop rotation, and good air circulation help prevent many issues.
Look for yellowing leaves, soft or mushy bulbs, white fungal growth, or black spots. Early signs include wilting or stunted growth. Remove affected plants promptly to avoid spreading.
Act at the first sign of trouble! Early morning is ideal for applying fungicides or organic treatments like neem oil, as it allows foliage to dry and reduces infection risk.
Yes! Varieties like Stuttgarter and White Sweet Spanish are known for better disease resistance. Check with local nurseries for region-specific recommendations.
If caught early, prune affected leaves, improve drainage, and apply organic treatments. Severe cases may require removal to protect the rest of your crop.