
Beautiful Plants For Your Interior
Beautiful Plants For Your Interior
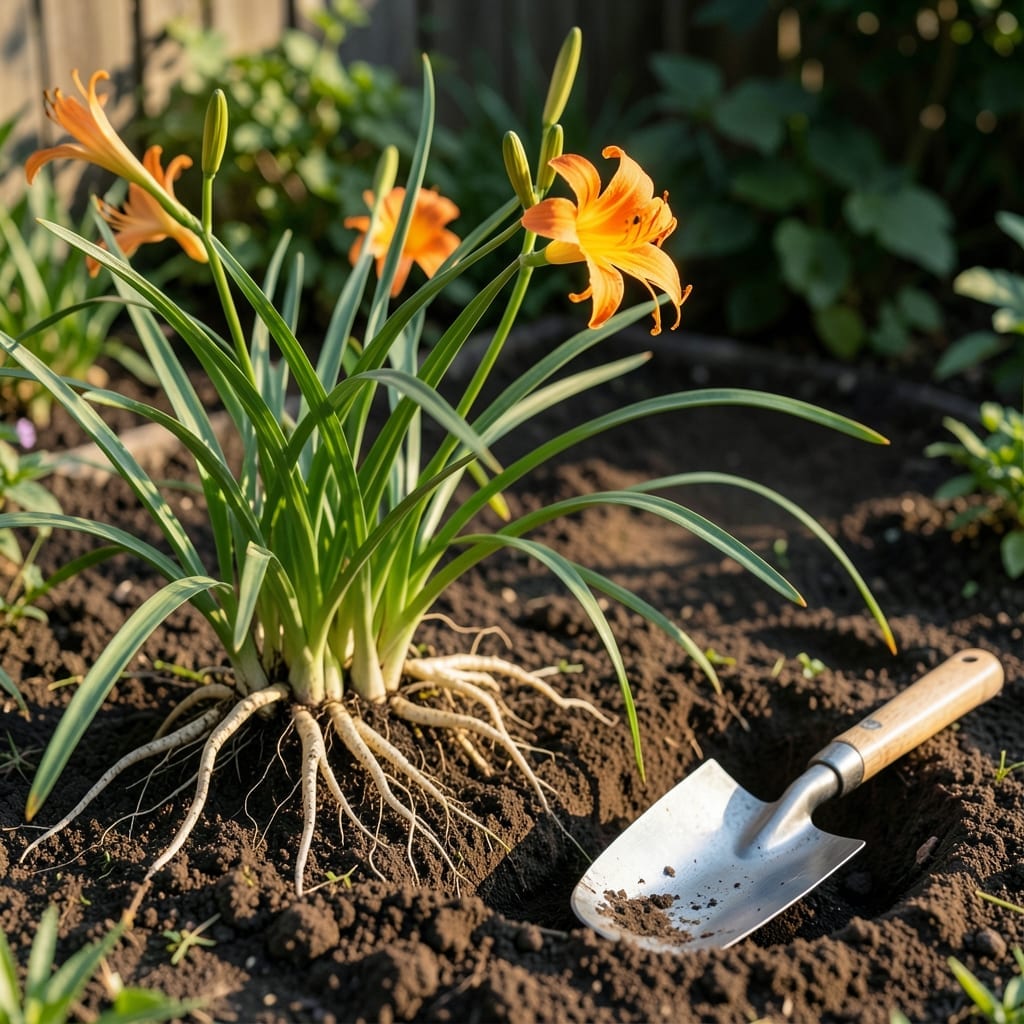
Timing is everything when it comes to giving your 🌸 Daylily the best start in its new home. Move it at the wrong moment, and you might set back its growth for an entire season.
I’ve learned the hard way that transplanting during the wrong season can leave your plants struggling. But get it right, and you’ll be rewarded with stronger roots and more vibrant blooms.
Discover the ideal windows and conditions to ensure your Daylily thrives after the move. Let’s dig into the details.


Timing your daylily transplant correctly can make or break its success. I’ve found that early spring and early fall are the goldilocks windows for most climates. These periods allow roots to establish before extreme temperatures hit.
Daylilies handle stress best when they’re dormant or just finishing their bloom cycle. This is when their energy focuses on root growth rather than flower production, giving your plants the best chance to thrive in their new location.
| Season | Ideal Months | Climate Notes |
|---|---|---|
| Early Spring | March-April | Before new growth starts |
| Early Fall | September-October | 6+ weeks before frost |
| Warm Climates | February, November | Avoid summer heat |
In cold climates (USDA zones 3-5), I recommend sticking to early spring as your primary window. The soil is workable, and plants have the entire growing season to recover before winter arrives.
For warmer zones (6-9), you have more flexibility. Early fall works beautifully because the soil stays warm while air temperatures cool, creating ideal rooting conditions. Just ensure you finish at least 6 weeks before your first frost date.
Watch for these signs your daylilies are ready: yellowing foliage after blooming or overcrowded clumps with reduced flower production. These indicate it’s time for a move, regardless of season.
The worst time? Mid-summer or during active blooming. The stress of heat combined with flower production can be too much. I’ve lost plants by ignoring this rule, and it’s a lesson I won’t repeat.
Remember that soil temperature matters more than air temperature. Aim for soil that’s 50-60°F at planting depth. Too cold, and roots won’t grow; too hot, and they’ll struggle.
If you’re dividing while transplanting, spring is ideal for colder areas. The new divisions will have all season to establish. In warmer areas, fall division works well, giving plants time to root before winter dormancy.
Always water deeply 2-3 days before transplanting. This reduces shock and makes digging easier. I’ve found well-hydrated plants recover 30-50% faster than dry ones.
Transplanting daylilies doesn’t have to be intimidating. I’ve refined my approach over the years, and the key is preparation. Start by selecting a sunny location with well-draining soil for their new home.
Begin by watering deeply 2-3 days before the move. This ensures the root ball stays intact during digging. I always mark the north-facing side of clumps to maintain proper orientation in their new spot.
When digging up your daylily clump, use a sharp spade to cut a 6-8 inch radius around the base. Lift the entire mass gently, trying to keep as many roots intact as possible.
If you’re dividing, use a clean knife to separate the clump into smaller sections. Each division should have 3-5 fans of foliage and a healthy portion of roots. This encourages quicker establishment in the new location.
Plant your divisions at the same depth they were growing before. Too deep, and you risk crown rot; too shallow, and they may dry out. I always create a small watering basin around each plant to help direct moisture to the roots.
After planting, water deeply to settle the soil and eliminate air pockets. Follow up with a 2-3 inch layer of mulch to conserve moisture and suppress weeds. Avoid piling mulch against the crown, as this can cause rot.
For the first 2-3 weeks, water every 2-3 days unless rain does the job. After that, you can taper off to weekly watering. I’ve found this schedule gives roots the best chance to establish quickly.