
Beautiful Plants For Your Interior
Beautiful Plants For Your Interior
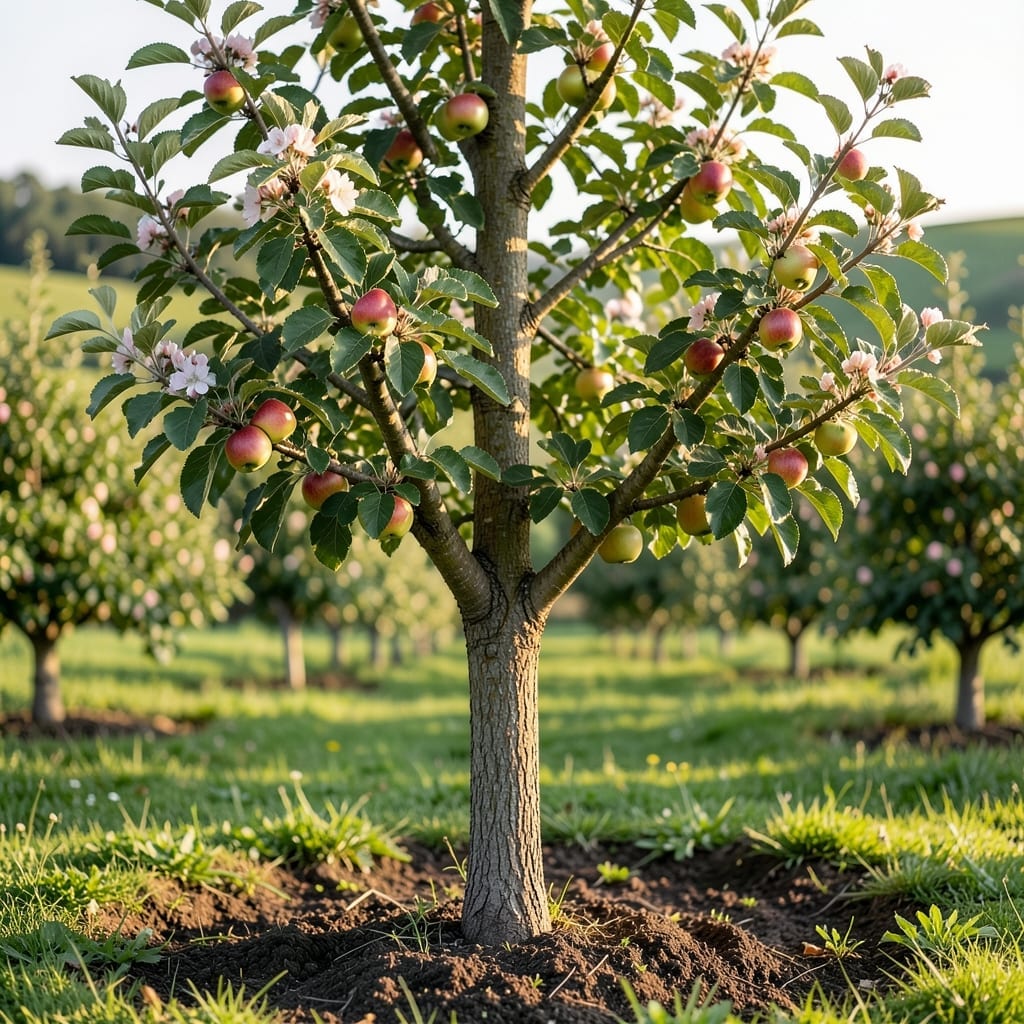
Those curled, spotted leaves on your apple tree aren’t just ugly—they’re a warning sign. I learned the hard way that ignoring leaf problems can spread to the whole tree fast.
Identifying the issue early saves your harvest and keeps the tree healthy. We’ll cover the red flags to watch for and the safe ways to remove problematic leaves without harming your tree further.
📚 In This Guide
Here’s how I safely handle and remove apple tree leaves without risking exposure to potential toxins.
First, I look for leaves that appear wilted, discolored, or covered in a powdery mildew. Apple tree leaves can sometimes carry toxins from fungal infections or pesticide residues. Wilted, yellowing, or spotted leaves are the most likely culprits, especially if they’ve been treated with chemicals.
I also check for any visible signs of mold or unusual odors—both are red flags. If the leaves smell musty or look slimy, they’re best removed immediately. Always wear gloves to avoid direct contact, as some toxins can irritate skin or be harmful if ingested.
Before touching anything, I put on a pair of sturdy gardening gloves and a long-sleeved shirt. This protects my skin from potential irritants or allergens. I also gather a plastic bag or bucket to collect the leaves—this keeps them contained and prevents accidental spread of spores or toxins.
If the tree is large, I use a tarp to catch falling leaves, making cleanup easier. I avoid using a leaf blower, as it can stir up dust and toxins, increasing the risk of inhalation. Instead, I opt for a rake or my hands (with gloves) to gently remove the leaves.
I start by carefully plucking the toxic leaves from the tree, working from the bottom up to avoid dislodging more leaves than necessary. If the leaves are heavily infested or damaged, I remove entire branches to ensure I don’t miss any. I place all collected leaves directly into the plastic bag or bucket.
Once all the leaves are gathered, I seal the bag tightly and dispose of it according to local regulations. Many areas require toxic plant waste to be bagged and placed in the trash rather than composted, as composting may not kill all toxins. I double-check my local guidelines to be sure.
After removal, I rinse my tools and gloves with a 10% bleach solution to kill any lingering spores or toxins. This step is critical to prevent cross-contamination to other plants or areas of the garden. I also wash my hands thoroughly with soap and warm water, even if I wore gloves.
Finally, I monitor the tree and surrounding area for any signs of regrowth or new toxic leaves. If the problem persists, I consider consulting a professional arborist to assess the tree’s health and recommend further action. This ensures the safety of my garden and anyone who spends time in it.
Small details make a big difference when handling potentially toxic foliage safely.
Safety First: Always wear gloves during Step 1 when examining leaves—even healthy-looking ones can carry irritants. That bitter almond scent mentioned is cyanide, so don’t crush leaves to test. I learned this after a minor skin irritation incident that could have been worse.
Containment Strategy: In Step 2, use a tarp or garbage bag that’s at least twice as large as you think you need. Apple leaves are deceptively light and scatter easily in the slightest breeze. I once used a bag that was too small and spent more time chasing leaves than collecting them.
Precision Removal: For Step 3, snip each leaf at the very base of the stem with sharp shears. Tearing releases more compounds and makes the job messier. Work from the outside in as suggested—it prevents you from missing hidden leaves near the trunk.
Post-Removal Care: After Step 4 disposal, don’t skip washing your tools. I rinse my shears and gloves with soap and water immediately, then do a second wash with vinegar to neutralize any residues. This extra step gives me peace of mind, especially if I’ll be using the same tools for edible plants later.
Yellowing leaves often signal nutrient deficiencies (like nitrogen), overwatering, or pests. Check soil moisture and inspect for bugs or fungal spots. A balanced fertilizer can help restore health.
Yes! Apple tree leaves contain cyanogenic glycosides, which release cyanide when chewed. Remove fallen leaves promptly and keep pets away from the tree. Seek vet help if ingestion occurs.
Prune in late winter or early spring before new growth starts. This minimizes stress and disease risk. Avoid heavy pruning during active growth periods.
Brown spots often indicate fungal diseases like apple scab. Remove affected leaves, improve air circulation, and apply fungicide. Prevent future issues with resistant tree varieties.
Only if they’re disease-free! Piles with fungal or pest issues can spread problems. Shred leaves first to speed up decomposition and balance carbon/nitrogen ratios.