
Beautiful Plants For Your Interior
Beautiful Plants For Your Interior
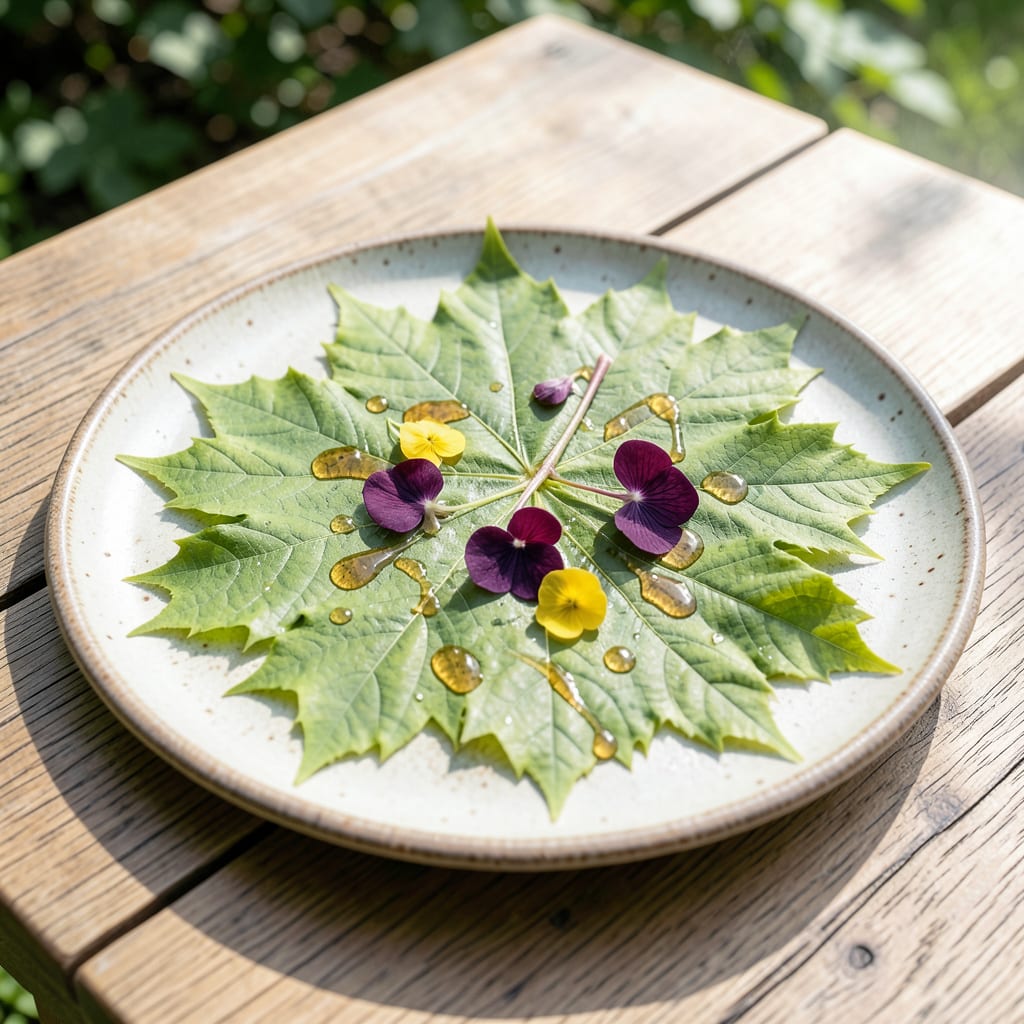
There’s something magical about watching new maple leaves unfurl each spring. 🌱 I’ve spent countless mornings examining their shape, color, and edges to identify young trees in my landscape.
With the right soil, consistent watering, and 6+ hours of sunlight, those delicate leaves transform into a vibrant canopy. Proper care early on ensures strong growth and that classic maple shape we all love.
📚 In This Guide
Here’s how I assess leaf health and nurture young maples—tested on dozens of saplings across my property.
Start by observing the lobes—young maple leaves typically have 3-5 distinct lobes with serrated edges. The central lobe is often the largest, and the sinuses (spaces between lobes) should be sharply defined. I run my fingers along the edges to confirm the characteristic pointed teeth.
Hold the leaf up to the light. A healthy young maple leaf has a deep green upper surface with a slightly paler underside. If the color looks washed out or yellowed, it’s often a sign of nutrient deficiency or too much direct sunlight for a newly planted sapling.
Look for brown spots, blackened edges, or premature leaf drop—these are red flags. Tar spot fungus appears as small, raised black spots, while powdery mildew creates a white, dusty coating. I’ve found that young maples in full sun without adequate water often develop scorched tips first.
Flip the leaf over and inspect the veins. Healthy veins are light green and prominent. If they’re dark, swollen, or accompanied by sticky residue, it could indicate aphid infestation. A quick check with a magnifying glass helps spot tiny pests before they multiply.
Young maples need consistent moisture, especially in their first 2-3 years. Stick your finger 2 inches into the soil—if it feels dry, it’s time to water. I water deeply at the base, ensuring the root zone gets saturated without wetting the leaves, which can invite fungal issues.
After watering, the soil should feel like a wrung-out sponge. If it’s soggy, you’ve overdone it; if it’s bone-dry within 24 hours, the tree needs more frequent watering or mulch to retain moisture. Young maples in containers dry out faster than those in the ground, so adjust accordingly.
Most young maples thrive in partial to full sun, but newly planted saplings benefit from afternoon shade in hot climates. I position mine where they get morning sun and dappled shade in the hottest part of the day to prevent leaf scorch.
Ideal temperatures for active growth are between 60-75°F. If a late frost is forecasted, cover young maples with a frost cloth. You’ll notice leaf damage if temperatures drop below 32°F—leaves may blacken or wilt, but healthy trees usually recover with new growth once it warms up.
Remove any dead, damaged, or diseased leaves immediately to prevent the spread of issues. Use clean, sharp pruners to snip off affected foliage at the stem. I also thin out crowded branches in early spring to improve air circulation, which reduces the risk of fungal diseases.
Young maples respond well to light pruning—never remove more than 25% of the foliage in a single season. After pruning, step back and check the tree’s shape. The goal is an open, balanced canopy that allows sunlight to reach all leaves evenly.
Small details make a big difference when nurturing saplings—I learned these the hard way.
The Moisture Check: That 2-inch soil test in Step 3 is non-negotiable. Stick your finger in deep—surface dryness doesn’t tell the whole story. I’ve ruined several saplings by watering based on the top layer alone. If it’s bone-dry at that depth, water deeply at the base, never the leaves.
Temperature Strategy: The 60-75°F sweet spot in Step 4 is ideal, but here’s what nobody tells you—newly planted maples often struggle above 75°F without afternoon shade. I lost a whole batch of saplings before realizing they needed that dappled protection during the hottest part of the day.
Pruning Precision: Step 5’s 25% foliage limit exists for a reason. I once got overzealous and removed nearly 40%—the tree spent the entire season recovering. Always step back after each cut to assess the canopy’s balance before removing more.
Disease Detection: In Step 2, don’t just look at the leaf surface. Flip it over—aphids love hiding underneath, and their sticky residue is easier to spot against the paler underside. A magnifying glass is worth its weight in gold for early detection.
This is often caused by underwatering, extreme heat, or fungal diseases. Ensure consistent watering (especially in dry spells) and check for signs of pests or infection. Prune affected leaves to prevent spread.
Early spring or fall is ideal, as cooler temperatures reduce stress on the tree. Avoid planting in summer heat or winter frost. This gives roots time to establish before extreme weather.
No, most maple leaves (especially from young trees) are not edible and may be toxic. Only certain species like Acer saccharum (sugar maple) have historically been used in small amounts for tea, but consult an expert first.
Water deeply 2-3 times a week for the first few months, then taper off as the tree matures. Keep the soil moist but not soggy. Mulching helps retain moisture and regulate temperature.
