
Beautiful Plants For Your Interior
Beautiful Plants For Your Interior
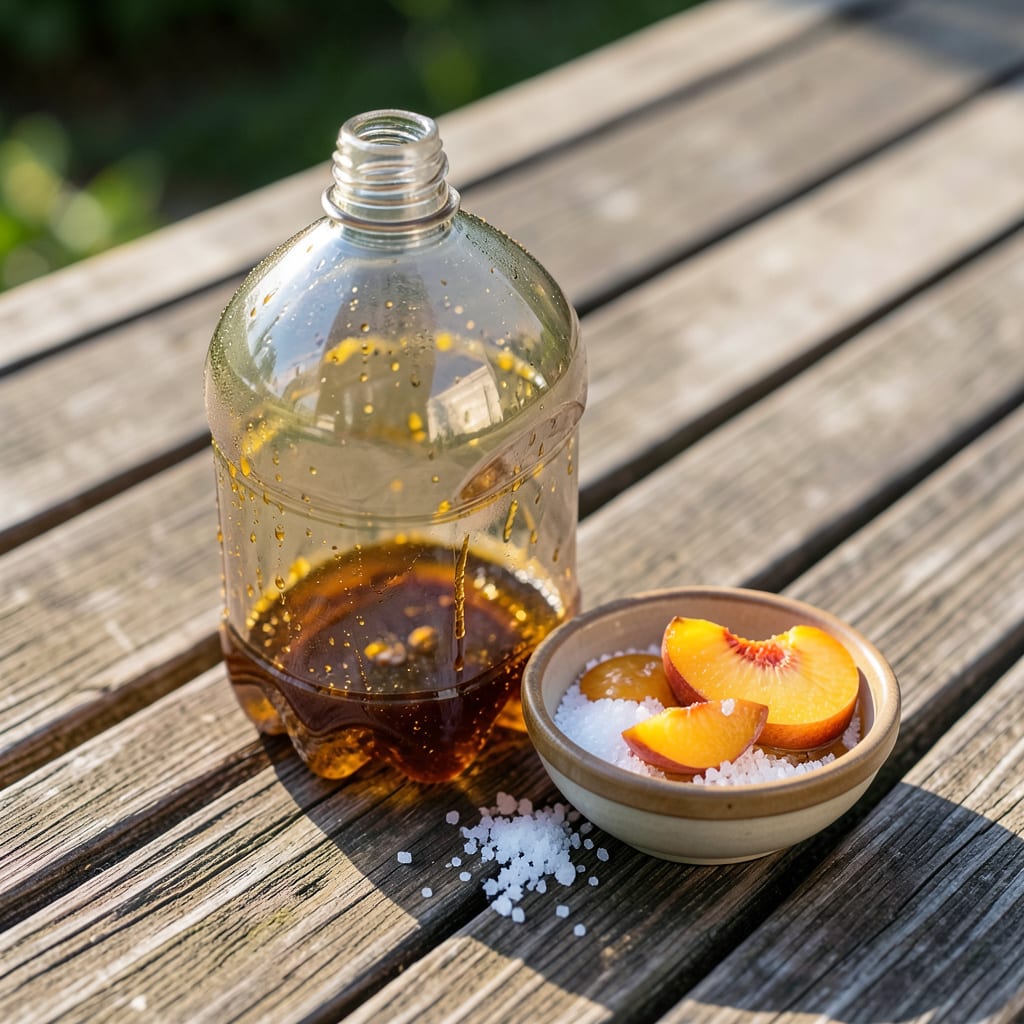
Yellow jackets ruined my summer picnics for years. These aggressive wasps don’t just sting—they terrorize gardens, steal fruit, and make outdoor spaces unusable. I finally fought back with a simple DIY solution that works.
You only need 3 household items and 10 minutes to build traps that catch dozens overnight. The best part? No chemicals, no fuss, and your backyard becomes yours again. Here’s how to reclaim your space.
📚 In This Guide
Here’s the method I rely on to keep these pests away from outdoor spaces all season long.
Choose a clean 2-liter plastic bottle or similar container with a narrow opening—this prevents bees from escaping once they enter. Remove the label to avoid any adhesive residue that might deter wasps. I prefer bottles that have already held sugary drinks, as the faint scent can initially attract yellow jackets.
Cut the bottle about 4-5 inches from the top using sharp scissors. This creates two pieces: the bottom will serve as the trap base, while the top (with its cap removed) becomes the funnel. Smooth any jagged edges with sandpaper to prevent injury when handling.
Invert the top portion of the bottle (the part with the original opening) and place it inside the bottom portion. The narrow neck should point downward, creating a funnel that guides yellow jackets in but makes escape nearly impossible. Ensure the funnel sits 1-2 inches above the liquid level you’ll add later.
Use duct tape or sturdy string to secure the funnel in place. I’ve found that 3-4 pieces of tape spaced evenly around the rim provides enough stability. Press firmly to create a seal that prevents wasps from finding alternative exit routes between the funnel and the base.
Pour 1 cup of sweet liquid (fruit juice, soda, or a sugar-water solution) into the base of the trap. Yellow jackets are particularly drawn to proteins in late summer, so I add 1-2 tablespoons of meat (like canned tuna or chicken) to enhance effectiveness. Avoid using honey or other thick substances that might clog the funnel.
Fill the trap only a third full—this gives yellow jackets enough space to enter and drown while leaving room for the bait to work. The liquid should be deep enough that wasps can’t easily crawl out once they’ve fallen in. Replace the bait every 3-5 days or when it becomes cloudy with dead insects.
Hang or place the traps in areas where yellow jacket activity is high, but at least 20 feet away from seating or eating areas. I use sturdy wire or string to suspend traps from tree branches, fence posts, or sheds. Position them at 3-5 feet above ground level for optimal visibility to flying pests.
Check traps daily in the first week to gauge effectiveness. You’ll know it’s working when you see 10-20 dead wasps floating in the liquid within 24-48 hours. If activity seems low, try moving the trap to a sunnier location—yellow jackets are more active in warm, bright conditions.
Empty and clean the trap every 1-2 weeks, or sooner if the liquid becomes foul or overly saturated with dead insects. I use a hose to rinse out the container thoroughly, then refill it with fresh bait. This prevents the buildup of bacteria that could repel yellow jackets or create unpleasant odors.
Rotate trap locations every 2-3 weeks to target new foraging areas. Yellow jackets are territorial, and moving traps ensures you’re not just catching the same colony repeatedly. For best results, maintain 2-3 traps per half-acre of property during peak season.
These practical insights will help you maximize the efficiency of your traps.
Container Selection: I always choose bottles that previously held sugary sodas because the residual scent gives the trap an immediate advantage. The 4-5 inch cut in Step 1 is critical—any shorter and the funnel won’t form properly, any longer and you lose stability. Smooth those edges thoroughly; jagged plastic can tear when you’re securing the funnel later.
Funnel Placement: In Step 2, that 1-2 inch gap above the liquid isn’t arbitrary. If the funnel sits too low, wasps can crawl out after feeding. Too high, and they won’t be drawn in effectively. The 3-4 pieces of tape might seem excessive, but I’ve found this is the minimum to prevent determined wasps from finding escape routes between the funnel and base.
Bait Strategy: The 1 cup of sweet liquid in Step 3 needs to be shallow enough that wasps drown quickly but deep enough they can’t crawl out. That’s why filling only a third full works perfectly. The 1-2 tablespoons of meat addition is particularly effective in late summer when yellow jackets shift to protein foraging for their larvae. Replace the bait every 3-5 days as specified—old bait loses its appeal and can repel rather than attract.
Positioning Wisdom: The 20 foot buffer from human activity areas in Step 4 is non-negotiable. Any closer and you’ll actually draw more wasps toward your seating areas. That 3-5 foot height maximizes visibility to flying insects while keeping traps out of reach of pets and children. If you’re not seeing 10-20 dead wasps within 24-48 hours, try moving the trap to a sunnier spot—yellow jackets are more active in warm, bright conditions.
Mix sweet bait (like soda or fruit juice) with dish soap in a 2-liter bottle. Cut the top off, invert it into the base, and secure with tape. Yellow jackets are attracted to the bait and get trapped.
Set traps in early summer to catch queens before colonies grow. For existing nests, place traps in late summer/fall when workers are most active. Avoid placing them near food areas.
Use protein-based baits (like tuna or pet food) in spring for queens, and sweet liquids (soda, juice) in summer/fall for workers. Avoid using pure meat, as it can attract other pests.
Check bait freshness, trap placement (shady, high-traffic areas work best), and ensure entry holes are the right size. Avoid using pesticides near traps, as they can repel yellow jackets.
Yes! Commercial traps or professional pest control services are effective and low-risk. If DIY-ing, keep traps away from people/pets and dispose of dead wasps carefully.
