
Beautiful Plants For Your Interior
Beautiful Plants For Your Interior
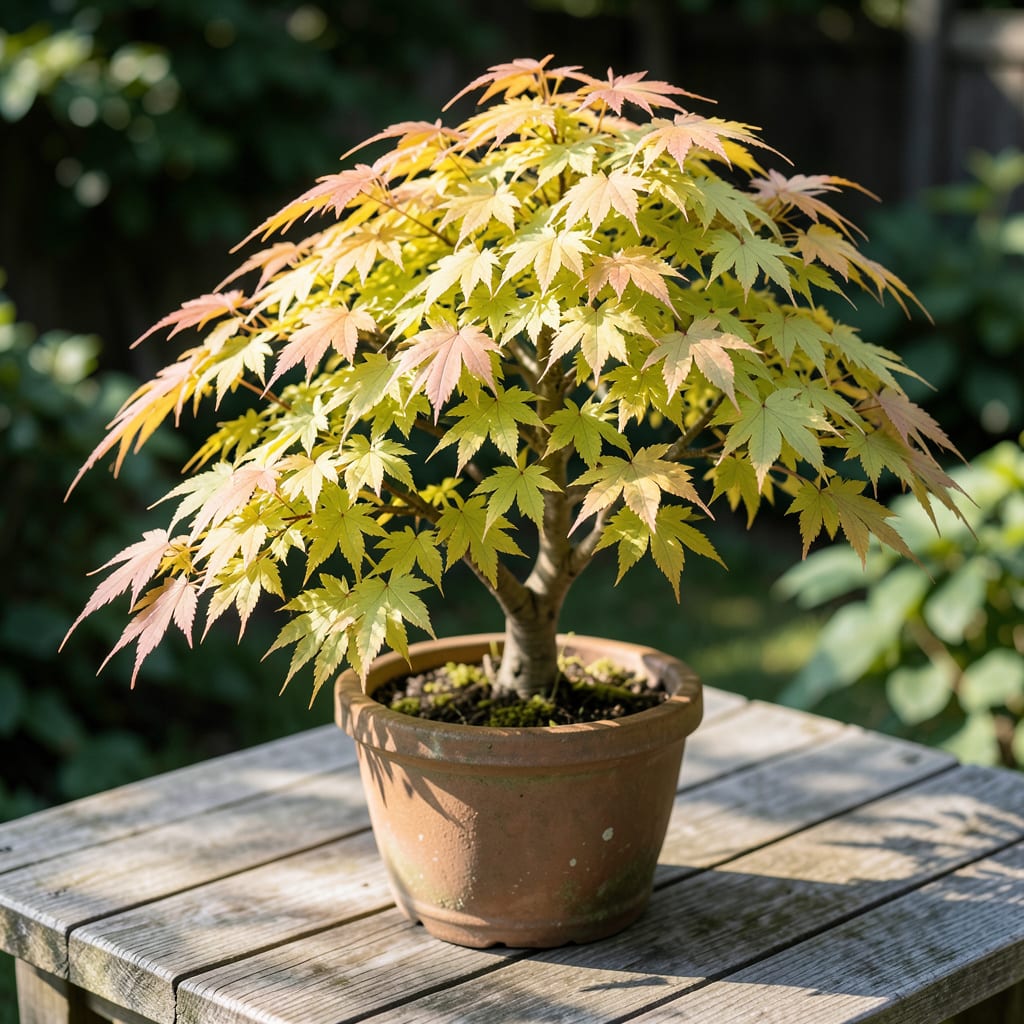
My Japanese maple’s leaves turned yellow-green last season, and I panicked. Turns out, it wasn’t dying—just begging for better care.
This color shift usually signals nutrient issues, pests, or stress. With a few adjustments to soil, water, or location, you can nurse it back to that vibrant red or purple it’s known for. Let’s figure out what’s really going on.
📚 In This Guide
Here’s the method I use to establish this tree for vibrant, long-lasting color in any landscape.
Select a spot with partial shade to protect the delicate foliage from afternoon sun scorch. Morning light with afternoon shade is ideal, as too much direct sun can bleach the leaves, while deep shade will dull their color. I always check the area’s light exposure at different times of day before committing.
Ensure the soil is well-draining—Japanese maples despise soggy roots. Test drainage by digging a 1-foot-deep hole, filling it with water, and checking if it drains within 1-2 hours. If not, amend the area with compost or consider a raised bed.
Dig a hole that’s twice as wide as the root ball but no deeper. A wider hole allows roots to spread easily, while planting too deep suffocates the trunk. I loosen the soil around the edges of the hole to encourage outward root growth.
If your soil is heavy clay or sand, mix in 20-30% organic matter like compost or peat moss to improve texture. Avoid adding fertilizer at planting—it can burn tender roots. Instead, focus on creating a loose, fertile environment for the tree to settle into.
Gently remove the tree from its container and inspect the roots. If they’re circling, tease them apart to prevent girdling. Place the tree in the hole so the root flare (where roots meet the trunk) sits 1-2 inches above ground level—it will settle over time.
Backfill with native soil, pressing lightly to eliminate air pockets. Water thoroughly after planting, then add a 2-3 inch layer of mulch around the base, keeping it 3 inches away from the trunk to avoid rot. Mulch helps retain moisture and regulate soil temperature.
Water deeply 2-3 times per week for the first 4-6 weeks to help the tree establish. After that, reduce to once weekly, unless rainfall is insufficient. Check soil moisture by inserting your finger 2 inches deep—if it feels dry, it’s time to water.
Overwatering is just as harmful as underwatering. Signs of stress include drooping or yellowing leaves. I water in the early morning to allow foliage to dry before nightfall, reducing the risk of fungal diseases. Consistency is key, especially in the first year.
Prune only when necessary, removing dead, damaged, or crossing branches in late winter. Avoid heavy pruning—this tree’s natural shape is part of its charm. I use clean, sharp pruners to make precise cuts just outside the branch collar.
Fertilize lightly in early spring with a balanced, slow-release product, following label instructions. Over-fertilizing leads to excessive leafy growth at the expense of vibrant color. Watch for pests like aphids or mites, and treat promptly with horticultural oil if needed.
These insights will help you avoid common pitfalls when establishing this beautiful tree.
The Light Factor: Partial shade is non-negotiable for this tree. I learned the hard way that afternoon sun can scorch those delicate leaves, turning them crispy brown instead of vibrant yellow-green. Morning light with afternoon shade gives you that perfect balance for the most stunning foliage color.
Drainage Test: Don’t skip the drainage test from Step 1. Dig that 1-foot-deep hole, fill it with water, and watch the clock. If it doesn’t drain within 1-2 hours, your tree’s roots will suffocate. I’ve seen more Japanese maples die from soggy roots than from drought.
Planting Depth: Here’s what nobody tells you—planting too deep is the #1 killer of young Japanese maples. That root flare needs to sit 1-2 inches above ground level, not at or below it. The tree will settle over time, so resist the urge to bury it deeper for stability.
Mulch Wisdom: The 2-3 inch layer of mulch around the base is your secret weapon for moisture retention. But keep it 3 inches away from the trunk—mulch volcanoes cause rot. I use a ruler to measure this distance when I’m planting, it’s that important.
This variety typically grows 1-2 feet per year, reaching 10-15 feet tall at maturity. Growth rate depends on soil, water, and sunlight conditions.
Plant in early spring or fall to avoid extreme heat or cold. This gives roots time to establish before summer stress or winter dormancy.
Yes! Choose a large pot with good drainage and use well-draining soil. Dwarf varieties are ideal for containers, but all types need consistent moisture.
Brown leaves often signal underwatering, sunburn, or poor drainage. Check soil moisture, ensure partial shade, and avoid waterlogged roots.
Consider Corallinum or Viridis Japanese maples for lower-maintenance options with vibrant foliage. Both thrive in similar conditions.
