
Beautiful Plants For Your Interior
Beautiful Plants For Your Interior
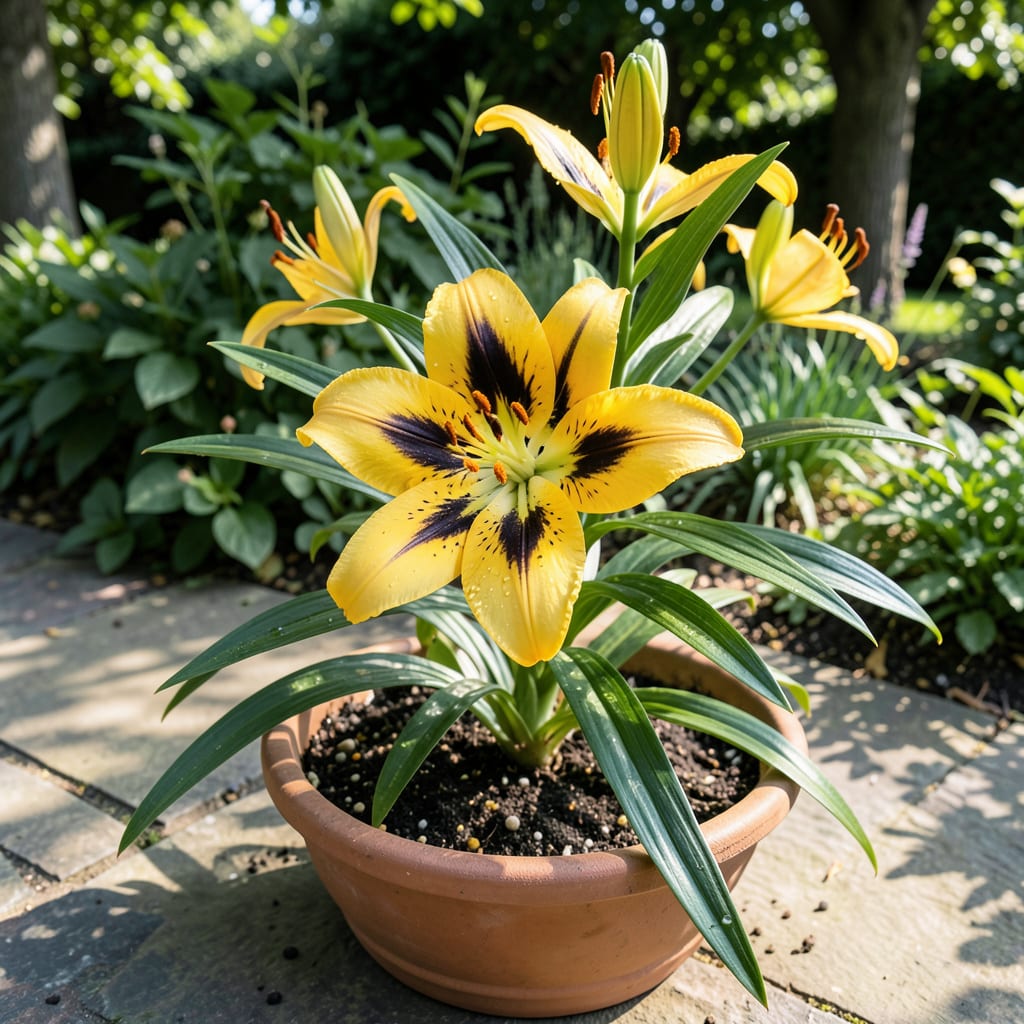
These dramatic blooms stop every gardener in their tracks. I planted my first yellow and black lilies last spring, and the contrast against green foliage is still breathtaking months later.
They thrive in full sun with well-draining soil, and the bulbs return bigger each year. You’ll get bold color without the high maintenance—just plant, water, and enjoy the show.
📚 In This Guide
Here’s my go-to method for creating bold, eye-catching displays with these stunning flowers.
Select a spot with full sun to partial shade, as lilies thrive with at least 6 hours of sunlight daily. The soil should drain well—avoid low areas where water pools after rain. I always test drainage by digging a 1-foot deep hole and filling it with water; if it drains within 2-3 hours, you’re in good shape.
Yellow and black lilies prefer slightly acidic to neutral soil (pH 6.0-7.0). If your soil leans alkaline, work in some peat moss or sulfur a few weeks before planting to adjust the balance. The contrast of these flowers really pops against a dark mulch backdrop.
Loosen the soil to a depth of 12-15 inches using a garden fork or tiller. This encourages deep root growth, which is crucial for tall lily stems that can reach 3-4 feet. Mix in a 2-3 inch layer of compost or well-rotted manure to boost fertility.
Remove any rocks, debris, or weeds that could compete with your lilies. I like to add a handful of bone meal to the planting hole for each bulb—this gives them a phosphorus boost for strong root development. Just don’t let the bulb touch the fertilizer directly, as this can burn the roots.
Plant bulbs in early spring or fall, about 4-6 inches deep and 8-12 inches apart. The depth should be roughly three times the height of the bulb. Place the bulb with the pointed end facing upward; if you’re unsure which end is which, plant it on its side and it will still find its way.
After placing the bulb, cover it with soil and press down gently to remove air pockets. Water thoroughly to settle the soil around the bulb. You’ll know the soil is properly settled when the surface looks level and there are no visible gaps where the bulb was placed.
Water your lilies deeply once a week, providing about 1 inch of water each time. Once the plants are established, they’re fairly drought-tolerant, but consistent moisture helps them produce the best blooms. I water at the base of the plant to keep the foliage dry, which prevents fungal diseases.
Apply a 2-3 inch layer of organic mulch around the plants to retain moisture and suppress weeds. As the plants grow, you may need to stake taller varieties, especially in windy areas. Use soft ties to secure stems to stakes without damaging them.
Feed your lilies with a balanced 10-10-10 fertilizer in early spring as new growth appears, then again after they finish blooming. This encourages strong growth and abundant flowers next season. Be careful not to over-fertilize, as this can lead to lush foliage at the expense of blooms.
Deadhead spent flowers to prevent seed formation, which redirects the plant’s energy toward bulb growth. However, don’t remove the foliage until it turns yellow and dies back naturally in fall—this process feeds the bulb for next year’s display. After a few seasons, you may notice clumps becoming crowded; this is your signal to divide the bulbs in fall for rejuvenation.
These simple adjustments will help you create stunning displays with minimal effort.
The Sunlight Factor: In Step 1, that 6 hours of sunlight daily is non-negotiable for vibrant blooms. I learned the hard way that even partial shade for too long results in weak stems and fewer flowers. If your garden has limited sun, consider container planting so you can move pots to sunnier spots throughout the day.
Drainage Test Hack: The 2-3 hours drainage test from Step 1 is your best insurance against bulb rot. Dig that 1-foot deep hole in multiple spots if your yard has varying elevations. Between us, I once skipped this and lost an entire planting to waterlogged soil—don’t make my mistake.
Planting Depth Precision: For Step 3, that 4-6 inches deep guideline is measured from the top of the bulb to soil level. If you’re planting in heavy clay soil, lean toward the 4-inch depth. In sandy soil that drains quickly, 6 inches helps bulbs stay anchored. The “three times the bulb height” rule works perfectly when you’re unsure.
Aftercare Insight: The 1 inch of water weekly in Step 4 is more critical during the first growing season. I water my new plantings twice weekly for the first month, then taper off. Always water at soil level—wet foliage is the fastest way to invite fungal problems that can ruin your display.
The yellow and black lily often represents transformation and striking contrast. Yellow symbolizes joy and energy, while black adds mystery and elegance, making it perfect for bold garden designs.
Plant yellow and black lilies in early spring or fall for optimal growth. Ensure well-drained soil and partial sunlight to help them thrive and produce vibrant blooms.
Yes! Try pairing yellow lilies with dark purple or deep red varieties for a similar contrast. Black calla lilies or ‘Blackout’ tulips can also create a dramatic effect.
Yellowing leaves may indicate overwatering, poor drainage, or nutrient deficiency. Check soil moisture and adjust care, or fertilize lightly to restore health.
In colder climates, mulch the base to protect bulbs from frost. Potted lilies should be moved indoors or to a sheltered area until spring.
