
Beautiful Plants For Your Interior
Beautiful Plants For Your Interior
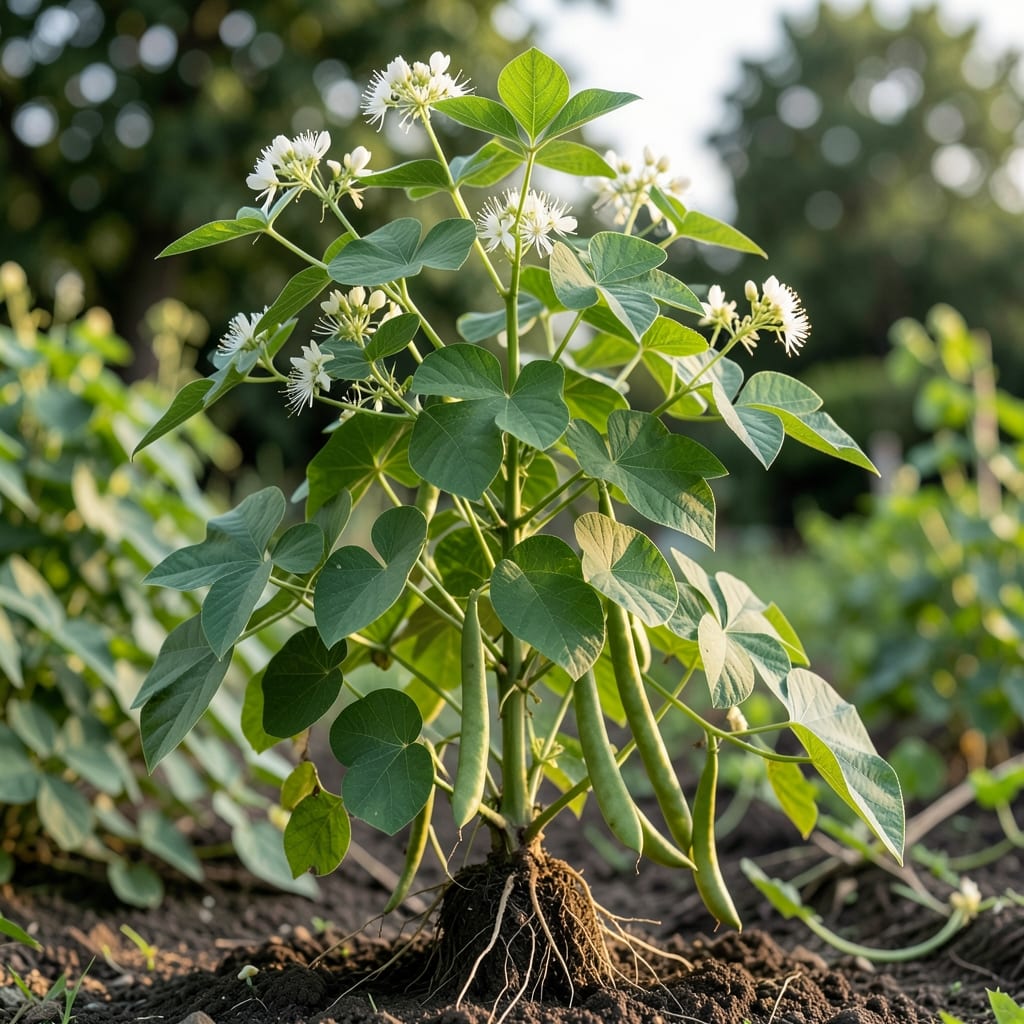
These vines changed my garden last summer. White velvet beans climb fast, fix nitrogen in the soil, and produce pods that are as productive as they are beautiful.
They thrive in heat, tolerate poor soil, and even suppress weeds. Plant them once and you’ll understand why they’re a permaculture favorite—low effort, high reward.
📚 In This Guide
Here’s the method I’ve perfected to get vigorous vines and heavy pod production every time.
Choose a location with full sun exposure—white velvet beans demand at least 6-8 hours of direct sunlight daily for optimal growth. I always test the soil first; these plants thrive in well-draining loam with a pH between 6.0-7.0. If your soil is heavy clay, amend it with compost to improve drainage and fertility.
Work the soil to a depth of 12-15 inches, breaking up any compacted areas. This encourages deep root penetration, which is crucial for supporting the vigorous vines. Remove all weeds and debris—they’ll compete with your beans for nutrients and water. A clean seedbed prevents many early growth problems.
Sow seeds directly into the prepared soil after the last frost date when soil temperatures have reached at least 60°F. Plant seeds 1-1.5 inches deep—any deeper and germination will be slow and erratic. Space seeds 4-6 inches apart in rows that are 24-30 inches apart.
I plant 2-3 seeds per hole and thin to the strongest seedling once they’re 3-4 inches tall. This ensures you get uniform growth without overcrowding. Water the seeds in immediately after planting, using enough water to moisten the soil to a depth of 6 inches without creating puddles.
Keep the soil consistently moist but not waterlogged during germination, which typically takes 7-14 days. Once seedlings emerge, water deeply 1-2 times per week, providing about 1-1.5 inches of water each time. The key is deep, infrequent watering to encourage strong root development.
Watch for the first signs of stress—drooping leaves in the afternoon often indicate it’s time to water. I’ve found that mulching with 2-3 inches of organic matter helps retain moisture and keeps soil temperatures stable. Avoid wetting the foliage when watering to prevent fungal diseases.
White velvet beans are vigorous climbers that can reach 10-15 feet in a single season. Install trellises, poles, or a sturdy fence at planting time so the vines have immediate support. I use 6-8 foot bamboo poles arranged in a teepee formation, which works well for small plantings.
Train the young vines to the support structure as they grow. This isn’t just about keeping plants tidy—proper support improves air circulation, reduces disease risk, and makes harvesting much easier. You’ll notice the vines begin to twine around the support within 2-3 weeks of germination.
The plants will begin flowering in 60-70 days, with pods forming shortly after. Harvest pods when they’re young and tender, typically 3-4 inches long, for the best flavor and texture. I check plants every 2-3 days during peak production, as pods can quickly become tough and fibrous if left too long.
Use sharp pruners or scissors to cut pods from the vine, taking care not to damage the plant. Regular harvesting encourages continued production. You’ll know it’s time to stop when the vines begin to yellow and die back, usually after the first frost in cooler climates.
These insights will help you maximize your harvest and avoid common pitfalls.
Sunlight Priority: In Step 1, the requirement for 6-8 hours of direct sunlight daily isn’t just a suggestion—it’s critical for vigorous growth. I learned this the hard way when my first planting in partial shade produced weak, spindly vines with minimal pods. Even if your garden has some shade, prioritize the sunniest spot available for these beans.
Soil Temperature Matters: Don’t rush planting in Step 2. Soil must reach at least 60°F for reliable germination. I’ve had seeds rot in cold, damp soil when I planted too early. Use a soil thermometer to check, or wait until after your last frost date when the ground has warmed sufficiently.
Support System Timing: Install your trellises or poles at planting time as mentioned in Step 4, not after the vines start growing. I once waited until vines were 2 feet long to add support, and they became tangled and difficult to train. The 6-8 foot bamboo poles I recommend work perfectly when placed early.
Harvest Frequency: The 2-3 day checking schedule in Step 5 is crucial. Pods develop remarkably fast and can go from tender to tough in just a day or two during peak production. Set a reminder to inspect your plants regularly—you’ll be amazed at how quickly new pods appear.
Yes! White velvet beans are hardy and thrive in warm climates with well-drained soil. They’re drought-tolerant once established, making them a low-maintenance choice for gardeners. Just ensure they get full sun and support for climbing.
Typically, white velvet beans mature in 90–120 days. Pods are ready for harvest when they turn yellow or brown and rattle when shaken. Patience is key—these vines grow vigorously once they get going!
Yes, but choose a large container (at least 5–10 gallons) with a sturdy trellis. Ensure good drainage and consistent watering. Container-growing may limit yield, but it’s a great option for small spaces.
Watch for aphids, bean beetles, or fungal issues like rust. Rotate crops, avoid overhead watering, and use organic sprays if needed. Healthy soil and airflow help prevent most problems.
Only if properly processed! Raw beans contain toxins (like L-DOPA). They’re often used as cover crops or animal forage. For human consumption, thorough cooking or fermentation is a must—consult experts first.