
Beautiful Plants For Your Interior
Beautiful Plants For Your Interior
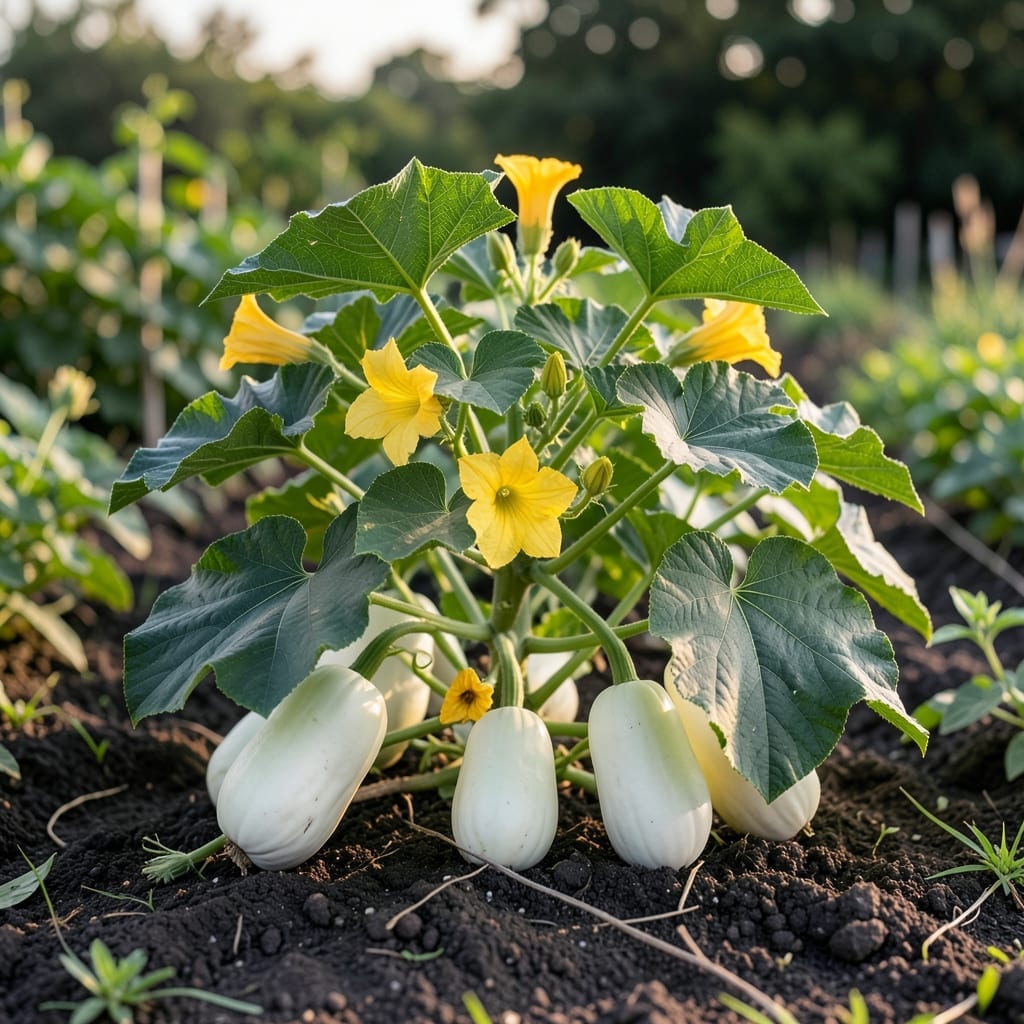
I started growing white oval squash on a whim last summer. The vines spread fast, and within 60 days, I was pulling in smooth, cream-colored fruits that tasted even better than they looked.
This variety thrives in full sun with consistent moisture. Give it room to wander or train it up a trellis, and you’ll be rewarded with a harvest so productive, you’ll be giving squash away to neighbors.
📚 In This Guide
Here’s the method I’ve refined over seasons to produce healthy, productive vines every time.
Choose a location with full sun and well-draining soil. I work in plenty of aged compost to improve fertility and drainage. Squash plants need room to sprawl, so space hills 4-6 feet apart in all directions.
Test your soil by squeezing a handful—it should hold together briefly then crumble. If it stays in a tight ball, the soil is too dense and needs more organic matter. The ideal pH is 6.0-6.8, which most home test kits can verify.
Direct sow seeds 1 inch deep after the last frost when soil temperature reaches 60°F. Plant 4-5 seeds per hill, then thin to the strongest 2-3 seedlings once they develop first true leaves.
If using transplants, harden them off for 7-10 days first. Set plants slightly deeper than their original container depth—this encourages strong root development. Water immediately after planting to settle the soil around roots.
Provide 1-2 inches of water weekly, more during extreme heat. I water at the base in the morning so foliage dries quickly, which prevents mildew. The soil should feel moist 3-4 inches down at all times.
Use a soaker hose or drip irrigation to keep leaves dry. Mulch around plants with straw to retain moisture and suppress weeds. Yellowing leaves often signal both overwatering and underwatering—check soil moisture before adjusting your schedule.
Watch for vines to spread rapidly once established. I place a trellis behind each hill to save space and improve air circulation. Gently train young vines onto the structure as they grow—this prevents damage from wind or heavy fruit.
Feed plants with a balanced fertilizer when vines begin to run. Side-dress with compost every 3-4 weeks throughout the growing season. You’ll know it’s working when you see dark green leaves and vigorous growth.
Pick squash when the rind is firm and the stem begins to crack near the fruit. For white oval varieties, this typically occurs 50-60 days after planting. Use a sharp knife to cut the stem, leaving 2-3 inches attached to the squash.
Check plants daily during peak production—these varieties can grow surprisingly fast. Harvesting regularly encourages more fruit production. Store in a cool, dry place and use within 1-2 weeks for best quality.
After years of trial and error, I’ve learned what truly makes a difference in growing this crop successfully.
Soil Preparation: The pH range of 6.0-6.8 mentioned in Step 1 isn’t just a suggestion—it’s critical for nutrient uptake. Test your soil before planting, and amend with aged compost as directed to hit this sweet spot. Dense soil that holds together tightly needs more organic matter to match the well-draining quality your plants require.
Planting Depth and Spacing: In Step 2, the 1 inch deep planting depth and 4-6 feet apart spacing are non-negotiable. Planting too deep can smother seeds, while crowding plants leads to poor air circulation and disease. Thinning to 2-3 seedlings per hill ensures each plant has enough room to thrive.
Watering Technique: The 1-2 inches weekly guideline in Step 3 is a baseline, but always check soil moisture 3-4 inches down as instructed. Morning watering is key—it allows foliage to dry quickly, reducing the risk of mildew. A soaker hose or drip irrigation keeps leaves dry, which is just as important as the amount of water.
Harvest Timing: Step 5’s 50-60 days window is your target for peak maturity. Start checking daily as you approach this range, since squash can grow rapidly. The firm rind and cracking stem are your visual cues—don’t wait for the fruit to soften, as that’s a sign of overripeness.
Plant in well-draining soil with full sun exposure. Sow seeds 1-2 inches deep, spacing plants 2-3 feet apart. Keep soil consistently moist but not waterlogged, and use mulch to retain moisture.
Harvest when the rind is firm and the skin turns a pale, creamy white, usually 50-60 days after planting. Use a sharp knife to cut the stem, leaving 1-2 inches attached to prevent rot.
Try pattypan squash, zucchini, or acorn squash. These substitutes share a similar mild flavor and versatile use in recipes like roasting, grilling, or stuffing.
Wilting can result from underwatering, overwatering, or pests like squash bugs. Check soil moisture and inspect leaves for damage. Adjust watering habits or apply organic pest control as needed.