
Beautiful Plants For Your Interior
Beautiful Plants For Your Interior
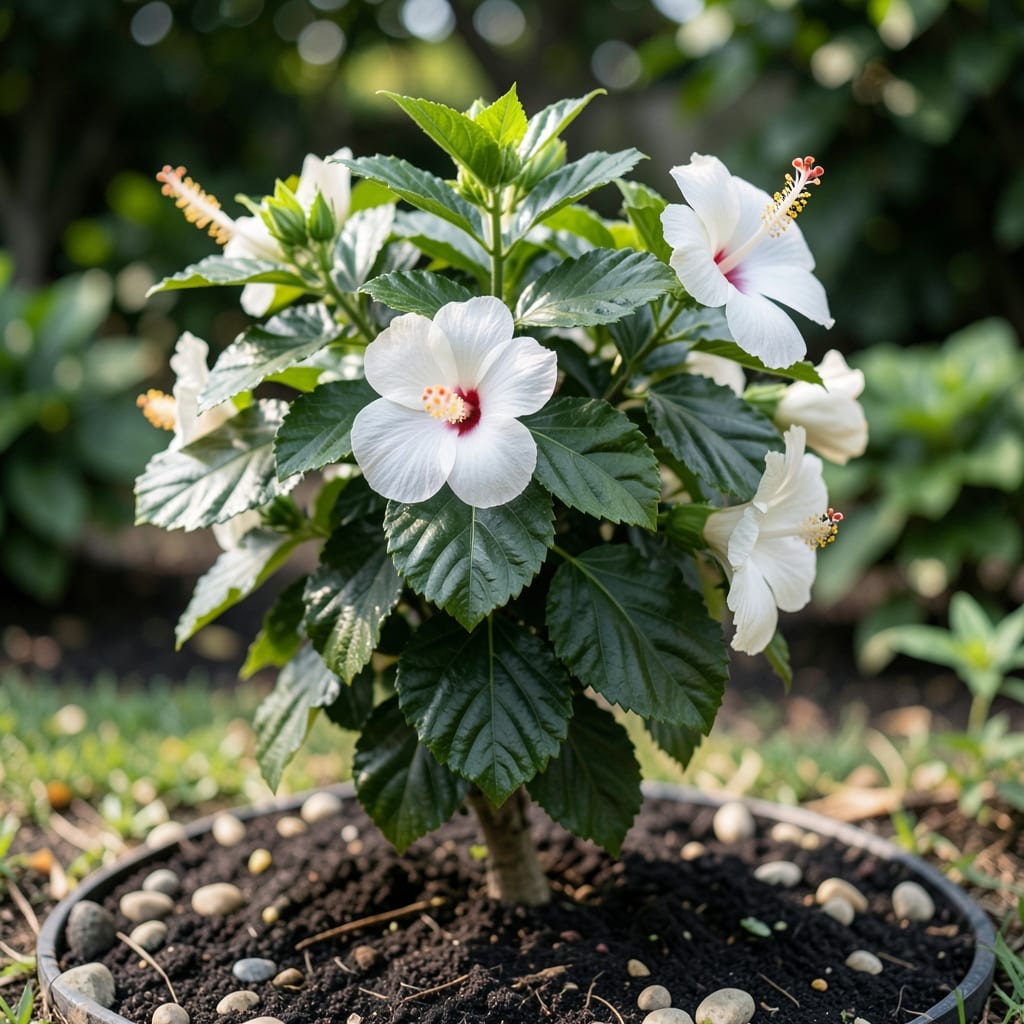
That first white hibiscus bloom stopped me in my tracks. Pure, glossy petals unfurling like something from a tropical postcard right in my backyard.
Here’s the thing—these shrubs thrive with 6+ hours of sun, consistent moisture, and a little pruning to keep them shaped. Get it right and you’ll have dinner-plate-sized blooms from summer through fall.
📚 In This Guide
Here’s the professional method I use for establishing vibrant, long-blooming white hibiscus in any garden.
Choose a location with full sun to partial shade—white hibiscus thrives with at least 6 hours of direct sunlight daily. The soil should drain well; if your garden has heavy clay, amend it with compost or create a raised bed. I always dig a test hole 12 inches deep and fill it with water to check drainage speed.
Remove all weeds and debris from a 3-foot diameter area around your planting spot. The roots need space to spread without competition. Loosen the soil to a depth of 18 inches, breaking up any compacted areas. This encourages deep root penetration, which is critical for drought tolerance.
Dig a hole exactly as deep as the root ball and twice as wide. Gently remove the hibiscus from its container and inspect the roots—if they’re circling, tease them apart with your fingers. This prevents girdling, which can kill the plant within a few years.
Place the shrub in the hole, ensuring the top of the root ball sits 1-2 inches above the surrounding soil level. This accounts for settling. Backfill with native soil, tampling lightly as you go to eliminate air pockets. Water thoroughly with 5 gallons of water to settle the soil around the roots.
For the first 2-3 weeks, water deeply 2-3 times per week—the soil should stay consistently moist but never soggy. I check by pushing my finger 2 inches into the soil; if it feels dry, it’s time to water. After establishment, reduce to 1 inch per week, including rainfall.
Apply a 3-4 inch layer of organic mulch, such as wood chips or pine straw, in a 2-foot radius around the base. Keep mulch 6 inches away from the trunk to prevent rot. Mulching conserves moisture, suppresses weeds, and regulates soil temperature—critical for healthy hibiscus growth.
Feed your hibiscus with a balanced, slow-release fertilizer in early spring, just as new growth begins. I use 10-10-10 formula at the rate specified on the package, typically 1 pound per 100 square feet. Avoid high-nitrogen fertilizers, which promote leafy growth at the expense of flowers.
Prune in late winter or early spring before new growth starts. Remove dead, diseased, or crossing branches first. Then, shape the shrub by cutting back one-third of the oldest stems to the ground. This rejuvenates the plant and encourages more blooms. Always use clean, sharp pruners to make 45-degree angle cuts just above a bud.
Inspect your hibiscus regularly for common pests like aphids, whiteflies, or spider mites. These often appear on the undersides of leaves. A strong blast of water can dislodge many pests, but for severe infestations, I use horticultural oil or insecticidal soap, applying it in the early morning or late evening to avoid leaf burn.
Watch for signs of fungal diseases, such as yellowing leaves or black spots. These often indicate overwatering or poor air circulation. If you spot issues, remove affected leaves immediately and avoid overhead watering. In humid climates, space plants 4-6 feet apart to improve airflow and reduce disease risk.
These professional insights will help you avoid common pitfalls when establishing your white hibiscus.
Sunlight Strategy: The 6 hours of direct sunlight mentioned in Step 1 is non-negotiable for vibrant blooms. In hotter climates, afternoon shade prevents leaf scorch. I’ve found that morning sun with afternoon shade produces the most consistent flowering without stressing the plant.
Soil Preparation Wisdom: That 18-inch soil loosening depth in Step 1 isn’t just for drainage—it creates a root-friendly environment that encourages the deep anchoring this shrub needs. Confession: I skipped this step once and watched my hibiscus topple in a summer storm. Lesson learned the hard way.
Watering Technique: During the initial 2-3 weeks of watering in Step 3, the 2-inch finger test is your best guide. Push your finger into the soil at the 3-foot diameter area you cleared—if it’s dry at 2 inches, it’s time to water. This prevents both underwatering and root rot from overwatering.
Pruning Precision: When cutting back one-third of the oldest stems in Step 4, always make those 45-degree angle cuts just above a bud. This angle sheds water away from the bud, preventing rot. Also, sanitize your pruners between cuts with rubbing alcohol to prevent disease spread between plants.
Water deeply 2-3 times per week during the growing season, ensuring the soil stays moist but not soggy. Reduce to once a week in cooler months. Overwatering can lead to root rot.
Yellow leaves often signal overwatering, poor drainage, or nutrient deficiencies. Check soil moisture and drainage first. If the issue persists, test soil pH and consider fertilizing with a balanced formula.
Prune in late winter or early spring before new growth starts. This encourages healthy blooms and removes dead or damaged branches. Avoid heavy pruning during the growing season.
Consider gardenias, oleanders, or plumerias for similar tropical vibes. These shrubs also produce striking flowers and thrive in warm climates, though care requirements may vary.
Common pests like aphids or spider mites can be treated with neem oil or insecticidal soap. Spray in the early morning or late evening, and repeat every 5-7 days until pests are gone.