
Beautiful Plants For Your Interior
Beautiful Plants For Your Interior
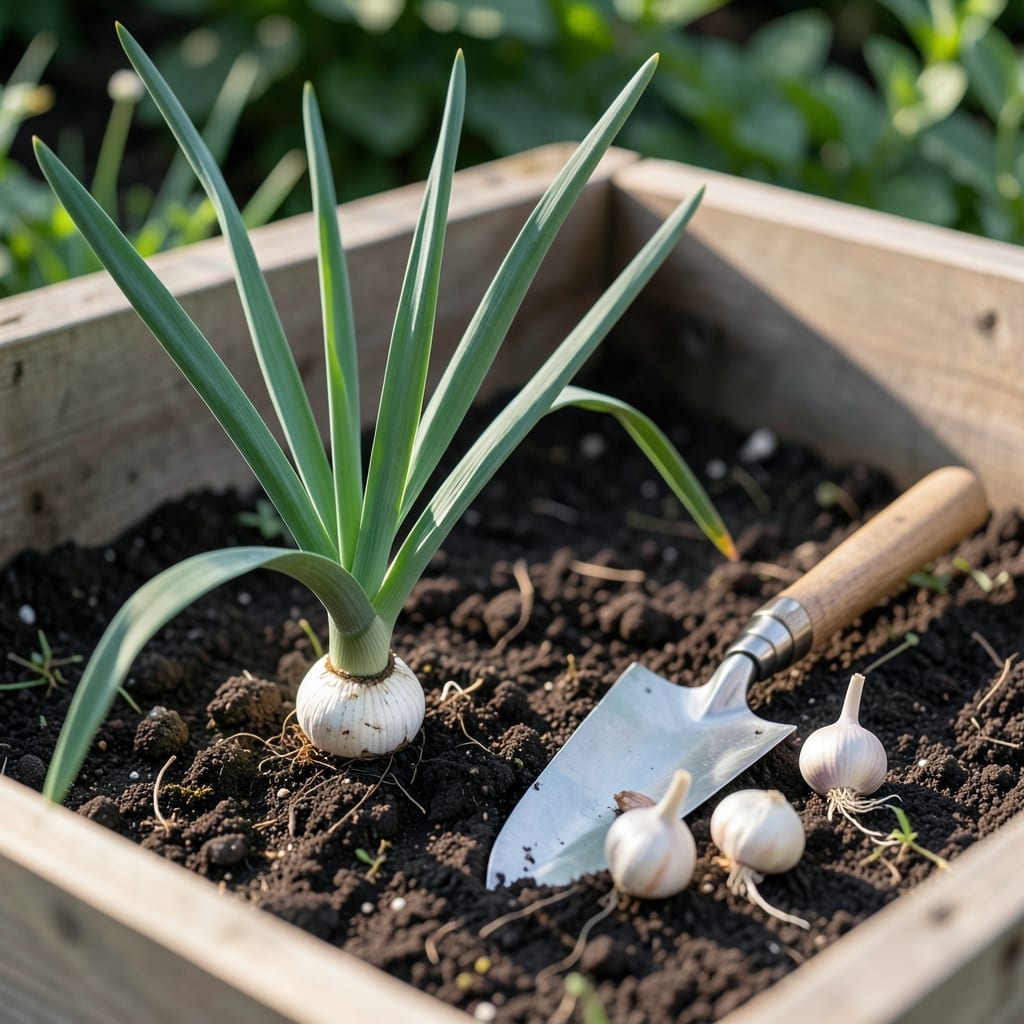
Planting allium bulbs the wrong way up can stunt growth or even prevent blooming entirely. The secret lies in a simple orientation: pointy end up.
I’ve seen many gardeners make this mistake with their 🧅 Allium, only to wonder why their plants never thrive. Getting the direction right is the key to strong roots and vibrant flowers.
Whether you’re new to gardening or just need a refresher, this guide will clear up the confusion. You’ll discover exactly how to position your bulbs for the best results.
Let’s dig into the details so your Allium can grow tall and healthy, ready to impress come spring.
If you’ve ever stared at an allium bulb wondering which end goes up, you’re not alone. This confusion is common, but planting it upside down can ruin your blooms. The pointy end is always the top. 🌱
I always check for the basal plate—the flat, root-like side—that should face downward. This is where roots emerge, while the pointy tip sends up the shoot. It’s nature’s way of giving us a clear roadmap. 🌿
| Feature | Description |
|---|---|
| Pointy End | Shoot emerges here (faces up) |
| Flat Basal Plate | Roots grow from this side (faces down) |
| Texture | Pointy end is firm; basal plate is dry |
| Size | Basal plate is wider than the tip |
Sometimes the pointy end isn’t obvious, especially with smaller bulbs. In these cases, look for dried roots or remnants of last year’s stem at the basal plate. That’s your clue for the bottom. ✂️
Why does orientation matter so much? The root system needs to establish downward to anchor the plant and absorb nutrients. If planted upside down, the bulb wastes energy trying to right itself, often failing to bloom. 🌻
I’ve learned that even a slight angle can cause issues. The bulb might still grow, but it’ll be weaker and smaller. For the best results, take a moment to double-check the orientation before planting. 🌷
Another trick I use is to look at the shape of the bulb. Most allium bulbs are teardrop-shaped, with the point naturally indicating the top. This is especially helpful for beginners. 🌱
If you’re planting a large batch, lay all the bulbs out first and sort them by orientation. This saves time and ensures you don’t accidentally flip one during the planting process. ☀️
Remember, the basal plate is where all the action happens below ground. It’s the foundation for healthy roots, so giving it the right starting position is crucial for vibrant allium blooms. 🌿
Finally, if you’re still unsure, plant the bulb on its side. While not ideal, it’s better than upside down, as the shoot will still find its way to the surface. But for the best results, always aim for pointy end up. 🌻
Planting allium bulbs correctly starts with orientation. I always check for the pointy end first—that’s the top. The flat basal plate goes down, where roots will emerge.
Once oriented, dig a hole about 4-6 inches deep. This depth protects the bulb from freezing and gives roots room to establish before winter sets in.
Spacing matters too. I plant my bulbs 6-8 inches apart to give each one enough room to grow without competing for nutrients. This also improves air circulation, reducing disease risk.
After placing the bulb, backfill with soil and water thoroughly. This helps settle the soil and eliminates air pockets that could dry out the roots. A light mulch layer can also protect against temperature swings.
For best results, I plant in full sun locations. Alliums thrive with 6+ hours of sunlight daily, which ensures strong stems and vibrant blooms come spring.
Finally, mark your planting spots. It’s easy to forget where bulbs are buried, and accidental digging can damage them. I use small garden flags or sticks as reminders. ✂️