
Beautiful Plants For Your Interior
Beautiful Plants For Your Interior
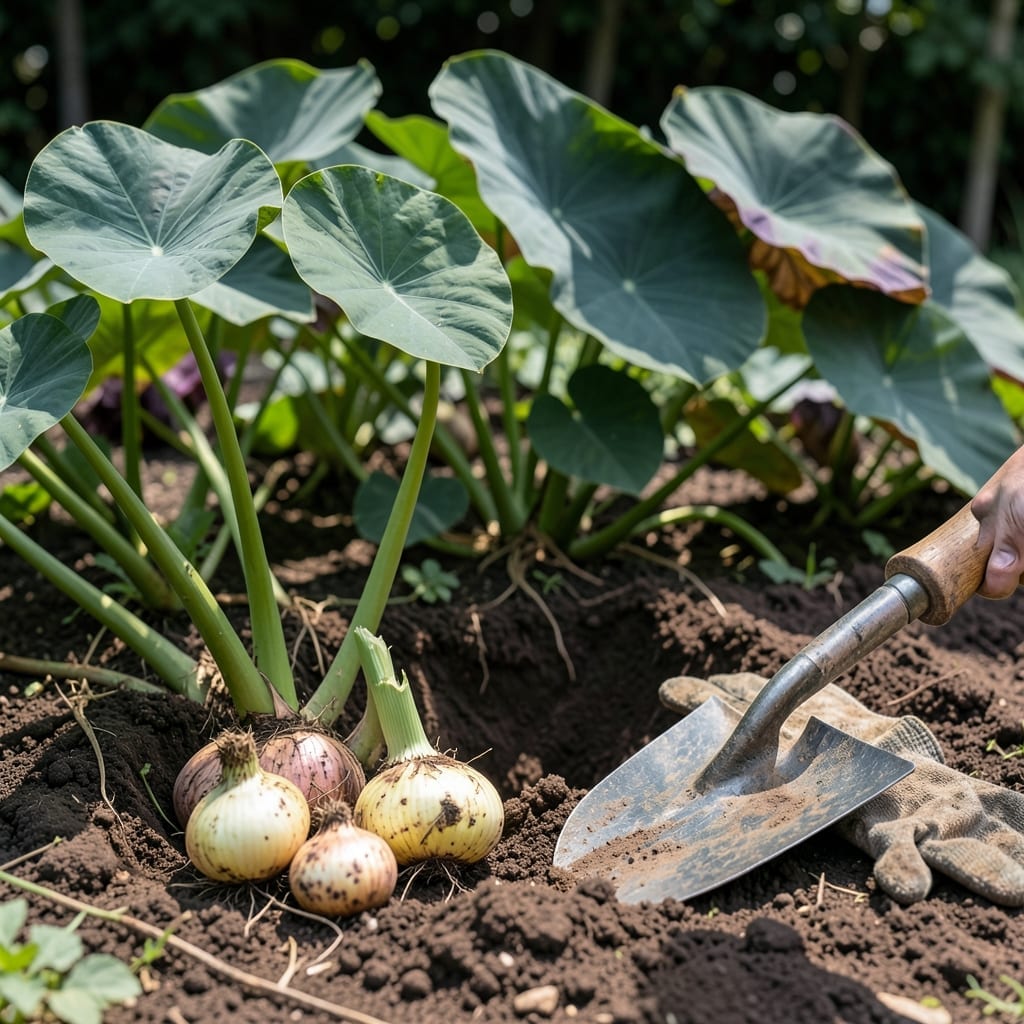
Planting elephant ear bulbs the wrong way can leave you with a sad, empty patch of dirt. The 🌿 Elephant Ear is particular about how it enters the world, and getting it right makes all the difference.
I learned this the hard way—after a season of waiting for growth that never came. The orientation of those bulbs is the key to unlocking their full, lush potential.
Discover how to spot the correct side and why pointy side up isn’t just a suggestion—it’s your ticket to thriving foliage.

Getting the orientation right is critical for elephant ear bulbs. These tropical plants have a pointy top and a rounded bottom, and planting them upside down can ruin your growing season.
I’ve seen gardeners struggle because they couldn’t tell which end was up. The pointy side is where the sprout emerges, while the flat or rounded end has the roots. It’s that simple, but easy to miss if you’re not looking closely.
| Feature | Description |
|---|---|
| Pointy Side | Sprout emerges here—plant facing up |
| Flat/Rounded Side | Root end—plant facing down |
| Visual Cue | Look for small bumps or dry roots at the base |
If you’re still unsure, examine the bulb closely. The top side often has a slightly rougher texture or even tiny sprout nubs starting to form. The bottom, meanwhile, may have dried root remnants from last season.
Another trick is to soak the bulbs in warm water for an hour before planting. This can make the sprouting end more obvious as it starts to swell. It’s a small step that can save you a lot of guesswork.
I always recommend double-checking before placing the bulb in the soil. Turn it over in your hands and compare both sides. The difference might be subtle, but it’s there.
Remember, elephant ears are tropical plants, so they thrive in warm, moist soil. If you’re planting in cooler climates, wait until the soil temperature is at least 60°F to avoid shocking the bulb.
Some gardeners mistakenly think the larger, flatter side should face up because it looks more stable. But this is a common error that leads to failed growth. Trust the pointy end—it knows the way.
If you’ve ever planted bulbs upside down, don’t worry—it happens. But with elephant ears, correct orientation is non-negotiable. Take your time, inspect each bulb, and plant with confidence.
Once you’ve mastered identifying the sides, you’re ready to plant. The next step is ensuring the soil is loose and well-draining to give those roots room to stretch out.
With the right approach, your elephant ears will reward you with stunning, dramatic foliage that becomes the centerpiece of your garden 🌿
Now that you’ve identified the pointy side of your elephant ear bulbs, it’s time to get them in the ground. The planting process is straightforward, but a few key details will ensure strong, healthy growth.
I always start by preparing the soil. Elephant ears love rich, well-draining soil with plenty of organic matter. Work in some compost or aged manure to give your bulbs the best start.
Depth matters with elephant ears. Planting too shallow can expose the bulb to drying out, while planting too deep may delay or prevent sprouting. Stick to the 2-4 inch range for best results.
Spacing is another critical factor. These plants can grow 3-6 feet tall with leaves spreading just as wide. Give them room to shine by planting 12-24 inches apart, depending on the variety.
After planting, water your bulbs deeply and thoroughly. This helps settle the soil and encourages the roots to start growing downward. Keep the soil consistently moist but not waterlogged.
Finally, consider adding a layer of organic mulch around your newly planted bulbs. This will help retain moisture and suppress weeds, giving your elephant ears the best chance to thrive. With proper care, you’ll see sprouts in 2-4 weeks 🌱