
Beautiful Plants For Your Interior
Beautiful Plants For Your Interior
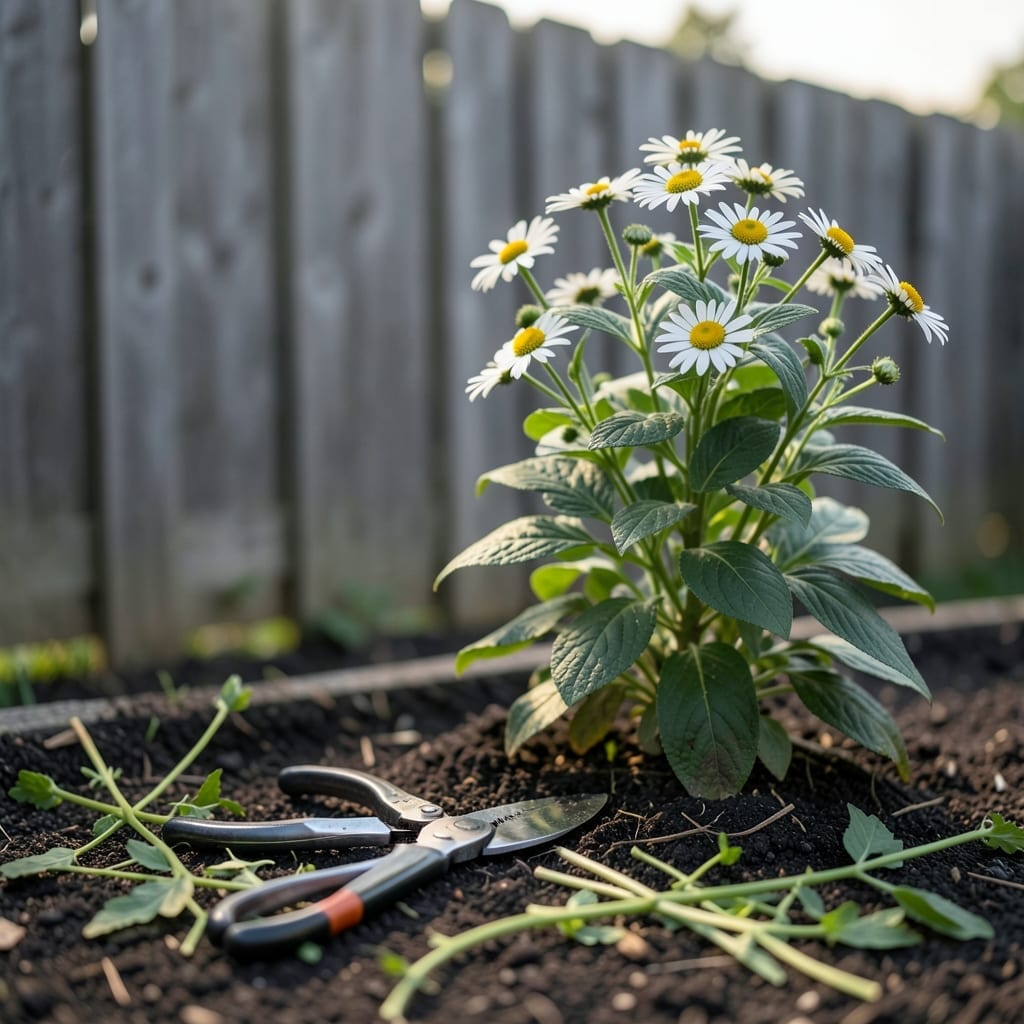
I love watching my 🌼 Montauk Daisy transform the garden with its vibrant blooms. But here’s what most gardeners miss: timing your trims can make or break next season’s display.
Pruning at the wrong moment leaves you with fewer flowers and a weaker plant. The good news? There’s a simple schedule that guarantees healthier growth and more abundant blooms.
Discover the seasonal sweet spots that keep your Montauk Daisy thriving year after year. Let me show you exactly when to make those cuts.
I’ve found that Montauk daisies thrive when pruned at the right seasonal moments. These hardy perennials bloom late, so timing your cuts ensures you don’t accidentally remove potential flowers.
The best approach balances new growth encouragement with preserving the current season’s blooms. Let me break down the ideal windows for you.
| Season | Action | Purpose |
|---|---|---|
| Early Spring | Cut back to 6-12 inches | Encourage new growth |
| After First Flush | Deadhead spent blooms | Promote second bloom cycle |
| Late Fall | Light trim to remove dead growth | Prepare for winter dormancy |
In early spring, just as new growth appears, I trim my Montauk daisies down to 6-12 inches from the ground. This removes old, woody stems and makes room for fresh, vigorous shoots.
This hard prune might look drastic, but it’s the secret to bushier plants with more blooms later in the season. Don’t skip this step!
After the first wave of flowers fades in summer, I do a light deadheading. Removing spent blooms redirects the plant’s energy toward producing more flowers instead of seeds.
This mid-season trim keeps the plant looking tidy and can encourage a second flush of blooms in early fall. It’s a simple task with big rewards.
As fall approaches, I resist the urge to cut back too much. A light trim to remove dead or diseased growth is fine, but leave most of the foliage intact to protect the plant during winter.
This foliage acts as natural insulation, shielding the crown from freezing temperatures. I’ve learned that over-pruning in fall can leave the plant vulnerable to cold damage.
Finally, in late winter, just before new growth starts, I clean up any remaining dead stems. This final tidy-up prepares the plant for the growing season ahead.
By following this seasonal pruning schedule, my Montauk daisies reward me with healthier growth and abundant blooms year after year. Try it and see the difference for yourself! ✂️
I always start with the right tools for pruning my Montauk daisies. Sharp bypass pruners are essential for clean cuts that heal quickly. Dull blades can crush stems, leading to disease.
A good pair of gloves protects my hands from the plant’s slightly rough foliage. I also keep a small saw handy for thicker, woody stems that pruners can’t handle.
When making cuts, I focus on removing dead or crossing branches first. These can harbor pests or diseases that spread to healthy growth. I always cut just above a leaf node or bud.
For spring pruning, I aim to reduce the plant by about one-third of its height. This encourages bushier growth and more blooms. Never remove more than half the plant at once.
During mid-season trims, I’m more conservative, only removing spent blooms and any damaged stems. This maintains the plant’s shape while encouraging continued flowering.
After each cut, I take a moment to step back and assess the plant’s shape. This helps me avoid over-pruning one area. A balanced approach leads to a fuller, healthier plant with abundant blooms. ✂️