
Beautiful Plants For Your Interior
Beautiful Plants For Your Interior
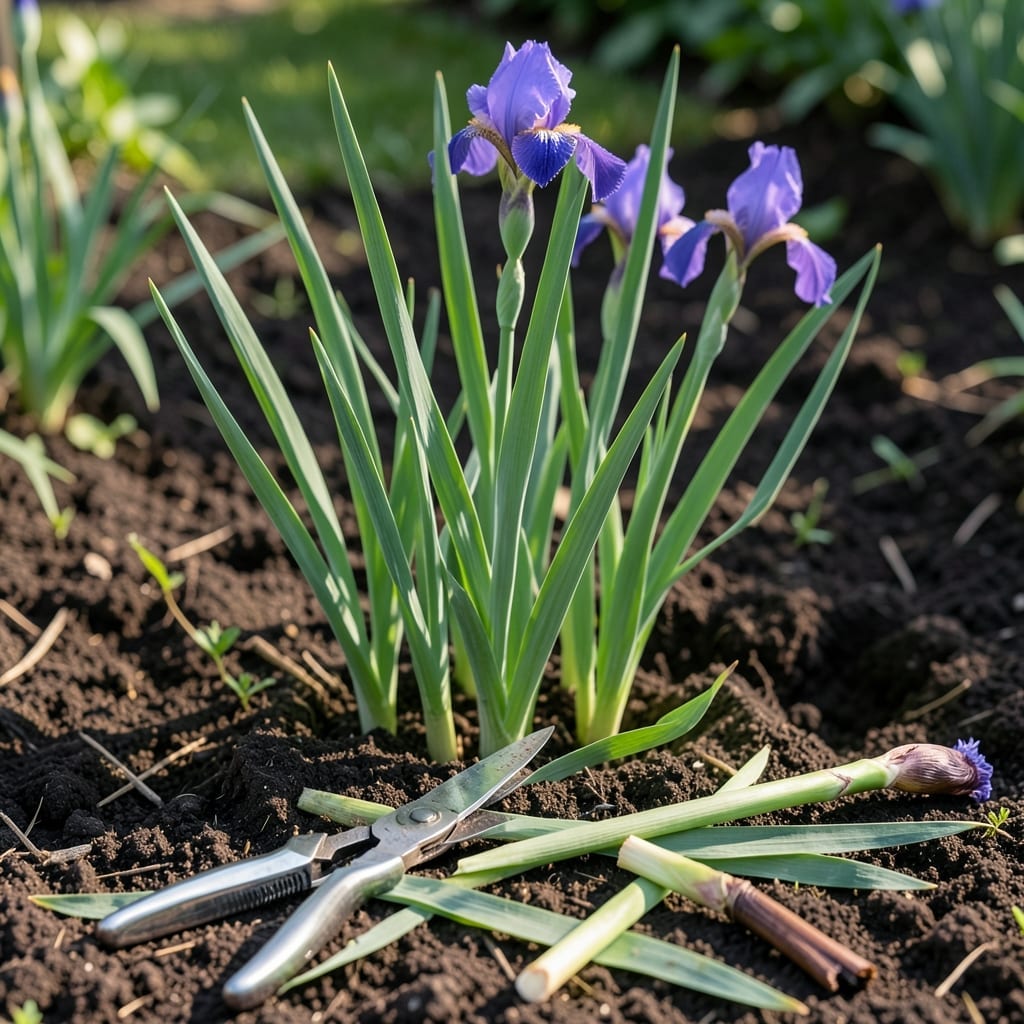
Timing your iris trimming perfectly can mean the difference between a lackluster garden and a burst of vibrant 🌸 blooms next season. These hardy perennials reward careful timing with healthier growth.
Knowing when and how to prune ensures maximum flower production. The right approach keeps your Iris plants thriving year after year.
Let me show you the most effective seasonal schedule for trimming that will transform your garden’s potential. You’ll be amazed at the difference proper timing makes.
The perfect timing for trimming iris plants depends on their growth cycle. I always wait until after the blooming season ends, typically in early summer, to remove spent flower stalks.
This prevents the plant from wasting energy on seed production. The foliage should remain untouched until late summer or early fall when it starts to yellow and die back naturally.
🌸 Iris Trimming Schedule
| Stage | Action | Timing |
|---|---|---|
| After Blooming | Remove spent flowers | June to July |
| Foliage Dieback | Cut back leaves | August to September |
| Winter Prep | Trim dead foliage | Late Fall |
I recommend using sharp pruning shears for clean cuts. This reduces stress on the plant and helps prevent disease. Always sterilize your tools between cuts to avoid spreading pathogens.
For bearded irises, the most common type, I trim the flower stalks down to the base immediately after blooming. The green leaves should stay until they begin to brown, usually in late July or August.
This timing allows the plant to store enough energy in its rhizomes for next year’s growth. Cutting back too early can weaken the plant and reduce next season’s blooms.
In warmer climates, you might need to trim a bit earlier. Watch for the first frost date in your area as a guide. I generally complete all trimming at least 6 weeks before the first expected frost.
Reblooming irises may need a second trimming after their fall bloom. I check each plant individually, as their timing can vary. The same principles apply: remove spent blooms but leave foliage until it dies back.
Remember that proper timing isn’t just about aesthetics—it’s crucial for the plant’s health. Trimming at the right time ensures your irises have the energy they need for vibrant blooms next season. ✂️
I’ve found that following this schedule results in stronger plants with more abundant flowers. The key is observing your plants and adjusting based on your local climate and the specific iris variety you’re growing. 🌿
Proper iris trimming starts with the right tools. I always use clean, sharp shears to make precise cuts. This prevents jagged edges that can invite disease or pests to your plants.
First, I locate the spent flower stalks and cut them back to the base. This step should happen immediately after blooming ends, usually in early to mid-summer for most iris varieties.
🌸 Key Trimming Steps
For the green foliage, I wait until it begins to yellow and die back naturally. This usually occurs in late summer or early fall. I trim these leaves to about 6 inches above the ground.
Never remove healthy green leaves too early, as they’re essential for photosynthesis and energy storage. The plant needs this energy to produce strong blooms the following year.
After trimming, I always clean up plant debris around the base. This helps prevent pests and diseases from overwintering in your garden. I also apply a light mulch layer for winter protection.