
Beautiful Plants For Your Interior
Beautiful Plants For Your Interior
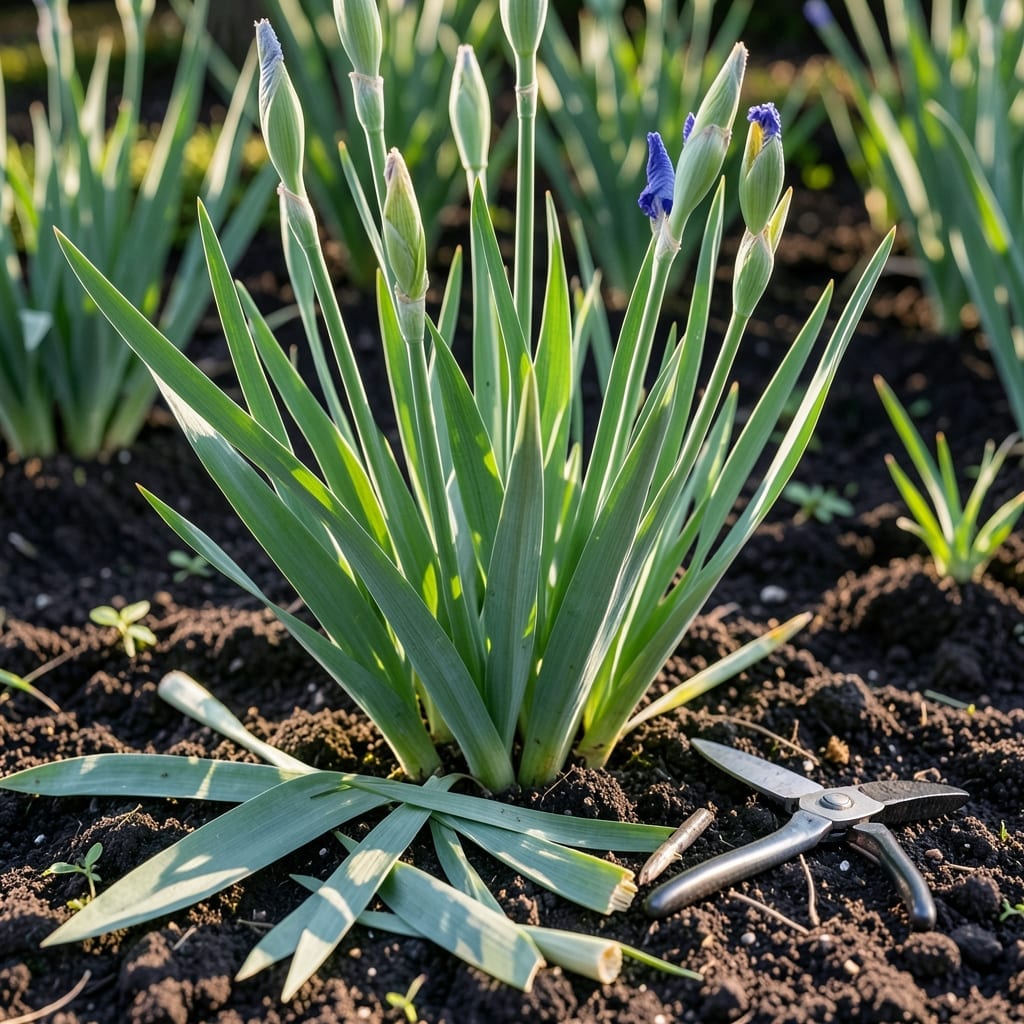
Trimming Iris 🌸 leaves at the right time can make or break your garden’s summer display. Do it too soon, and you might stunt those gorgeous blooms we all love.
I learned the hard way that timing is everything when it comes to these beauties. The difference between a thriving plant and a struggling one often comes down to just a few weeks.
Discover when to make that crucial cut, and how doing it right will reward you with healthier plants and more vibrant flowers next season.
Timing your iris leaf trimming perfectly ensures healthy rhizomes and vibrant blooms next season. I’ve found that cutting back too early can weaken the plant’s ability to store energy.
The ideal window is after the blooms fade but while leaves are still green. This gives the plant time to photosynthesize and build reserves for next year’s growth.
| Stage | Action |
|---|---|
| Post-Bloom (June) | Remove spent flower stalks |
| Late Summer (July-Aug) | Cut leaves to 6-inch fans |
| Fall (Sept-Oct) | Trim brown foliage only |
In warmer climates, you might trim in early fall, but in cooler zones, aim for late summer. The key is to avoid cutting while the plant is actively blooming.
I always check for yellowing leaves as a sign it’s time. Healthy green foliage means the plant is still storing energy, so I hold off on major cuts.
For reblooming irises, a light trim after the first bloom cycle encourages a second flush. But never remove more than one-third of the foliage at once.
If your irises are in containers, monitor them closely. They may need trimming earlier than garden-planted ones due to limited root space.
Avoid trimming during wet weather to prevent fungal diseases. I learned this after losing a few plants to rot—always wait for a dry spell.
After trimming, I clean up all debris around the base. This removes hiding spots for pests and reduces the risk of disease spreading.
Finally, mark your calendar for next year. Consistency in timing your trims will reward you with stronger plants and more abundant blooms.
✂️Properly trimming iris leaves keeps your plants healthy and ready for next year’s blooms. I always start by gathering the right tools to make clean cuts and avoid damaging the rhizomes.
The best time to begin is when the flower stalks turn brown after blooming. This signals the plant has finished its flowering cycle and is ready for maintenance.
I always use sterilized pruners to prevent spreading any fungal spores between plants. A quick wipe with rubbing alcohol between cuts does the trick.
When cutting the leaves, aim for a 45-degree angle to help water run off instead of pooling on the cut ends. This simple step can prevent rot.
After trimming, I apply a light fertilizer to give the rhizomes a boost. A balanced 6-10-10 works well, but avoid high-nitrogen options.
Finally, water your irises deeply after trimming to help them recover. But remember, always water at the base to keep the foliage dry and disease-free. ✂️