
Beautiful Plants For Your Interior
Beautiful Plants For Your Interior
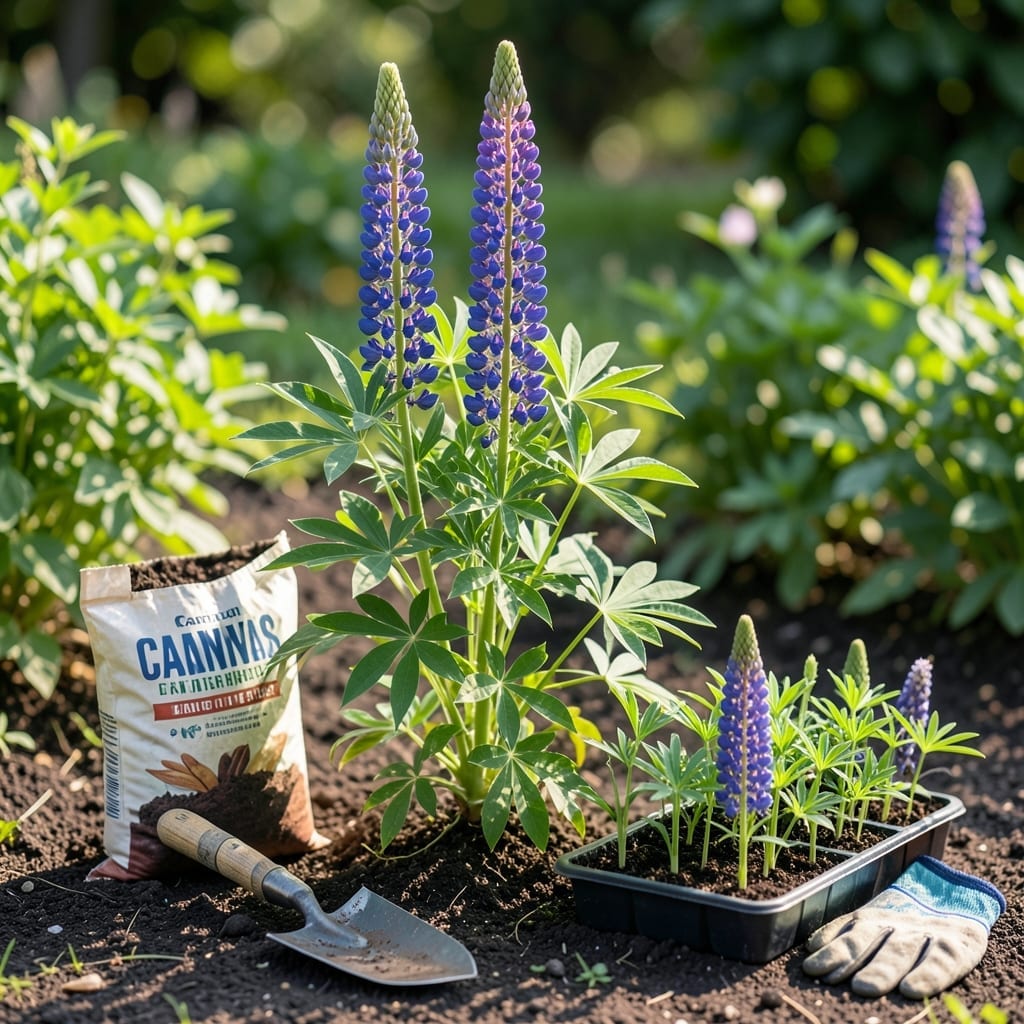
Timing is everything when it comes to moving your Lupine 🌸 without causing stress. Get it right, and you’ll be rewarded with stronger roots and more vibrant blooms.
I’ve learned the hard way that transplanting at the wrong moment can set back these beautiful perennials. The key is watching for that sweet spot when conditions are just right.
Discover the ideal window and simple signs that your Lupine is ready for its new home. Your garden will thank you for the extra care.


The ideal window for transplanting Lupine is in early spring or early fall. This timing allows the plant to establish roots before extreme heat or cold sets in.
I always aim for April to May or September to October, depending on my USDA Zone. These periods avoid the stress of summer heat or winter frost.
| Season | Best Months | Conditions |
|---|---|---|
| Early Spring | April-May | After last frost |
| Early Fall | September-October | Before first frost |
| Avoid | June-August | Heat stress risk |
In warmer climates, fall transplanting often works better as the soil stays warm longer. This gives roots more time to settle before winter.
For cooler regions, spring is safer. The soil temperature should be at least 50°F for best results.
Watch for new growth emerging from the base. This is your Lupine’s signal that it’s ready for a move. Dormant plants transplant less successfully.
I check the 5-day forecast before transplanting. A stretch of mild weather with no extreme temperatures helps reduce shock.
Morning transplanting is ideal. The cooler temperatures and lower sun intensity give plants time to adjust before the day’s heat.
Remember that container-grown Lupines can be moved almost anytime during the growing season, as their roots are already contained and less disturbed.
After moving, I always water deeply and add mulch to retain moisture. This simple step makes a huge difference in the first critical weeks.
Lupines are tough, but they appreciate your care during transitions. With the right timing and preparation, they’ll reward you with stunning blooms for years to come 🌸
Transplanting Lupine successfully starts with site preparation. I always dig the new hole twice as wide as the root ball but keep the depth the same.
This extra width gives roots room to spread without competition. I mix in compost to improve drainage and add nutrients for the transition.
When digging up your Lupine, I use a sharp spade to slice through the soil in a wide circle around the plant. This preserves as many roots as possible.
For mature plants, I aim for a 12-inch root ball diameter. Smaller plants need less, but always err on the side of too much soil rather than too little.
After placing the plant in its new home, I press the soil gently around the base to eliminate air pockets. These can dry out roots and cause transplant shock.
I always water thoroughly right after transplanting, then add a 2-inch layer of mulch. This helps maintain consistent moisture during the critical first weeks.
For the first week, I check the soil daily and water if the top inch feels dry. This attention to detail makes all the difference for your Lupine’s recovery 🌸