
Beautiful Plants For Your Interior
Beautiful Plants For Your Interior
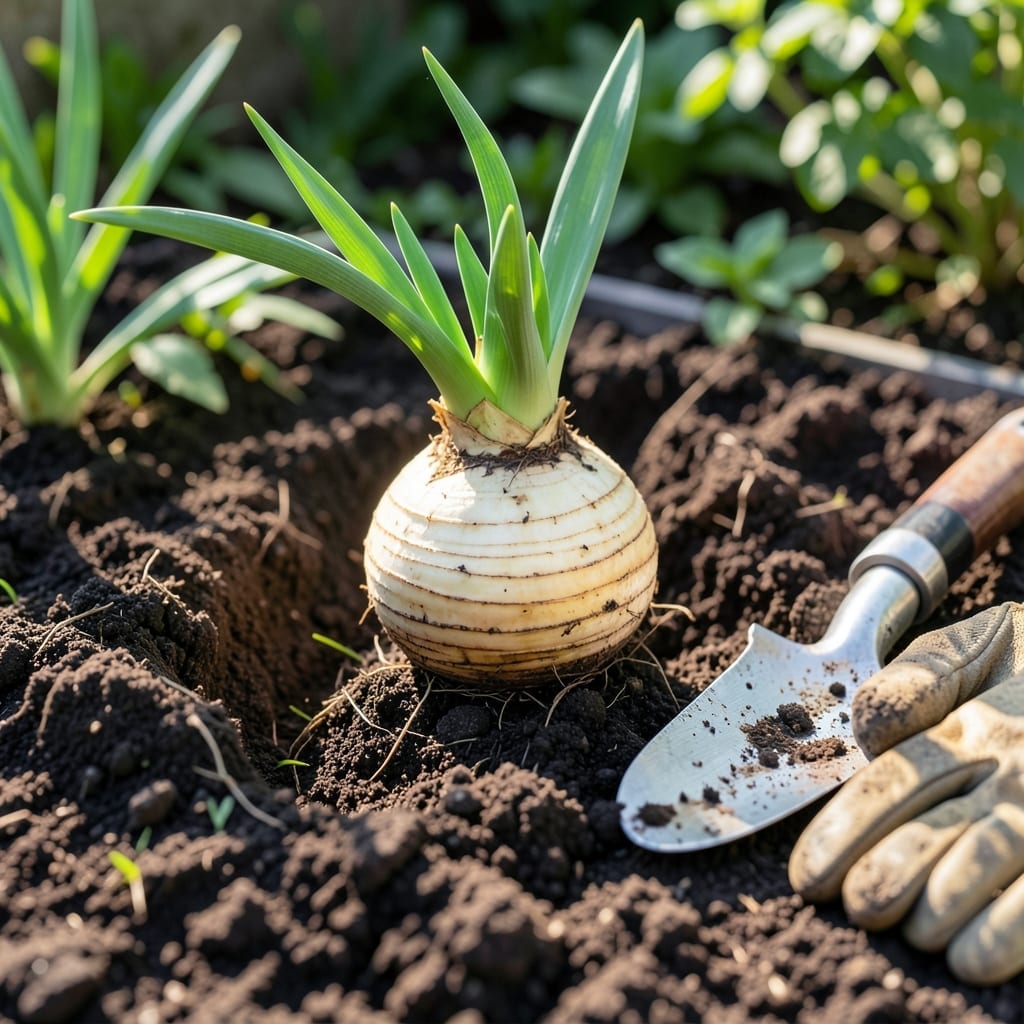
Timing is everything when it comes to moving your 🌷 Lily bulbs. Get it right, and you’ll be rewarded with stronger plants and more vibrant blooms next season.
Transplanting at the wrong moment can stress your Lilies, leaving them struggling to recover. The good news? There’s a simple window that works best for most gardeners.
Discover the ideal season and step-by-step approach to ensure your Lilies thrive after the move. Let’s dig in.


Timing your lily bulb transplant correctly can make or break next year’s blooms. I’ve found that early fall is the sweet spot for most gardeners, giving bulbs time to establish roots before winter dormancy.
September through October works best in most USDA zones, but I always check my local frost dates. Transplanting 4-6 weeks before the first frost ensures bulbs settle in properly.
In warmer climates (zones 8-10), I can push transplanting into November since the ground stays workable longer. But in colder areas, I stick to early fall to avoid frost damage.
Spring transplanting is possible but riskier. I only do this if I missed the fall window. The key is waiting until soil temperatures reach at least 50°F and all frost danger has passed.
I always check the 5-day forecast before digging. A stretch of cool, cloudy weather is perfect for transplanting, reducing stress on the bulbs. Hot, sunny days can shock them.
For Asiatic lilies and Oriental hybrids, fall transplanting works beautifully. But daylilies are more forgiving and can handle spring moves if needed.
Soil preparation matters just as much as timing. I amend the new site with compost and ensure good drainage. Lilies hate soggy feet, so I avoid low-lying spots.
After transplanting, I mark the location with small stakes so I don’t accidentally dig there later. It’s easy to forget where those bulbs are sleeping underground!
Remember, consistency is key. Whether you choose fall or spring, pick a time when you can give your lilies proper aftercare with regular watering and protection from extremes.
🌷Transplanting lily bulbs requires care to prevent damage and ensure a smooth transition. I always start by preparing the new site with loose, well-draining soil enriched with organic compost.
First, I water the plants thoroughly 1-2 days before digging to reduce stress. This makes the soil easier to work with and helps the bulbs retain moisture during the move.
When digging, I use a sharp spade to carefully lift the entire bulb clump with as many roots as possible. I avoid pulling on the stems, as this can damage the basal plate where new roots form.
I replant the bulbs at the same depth they were growing before, typically 4-6 inches deep. The pointy end should face upward, and I space them 12-18 inches apart to allow for future growth.
After planting, I water deeply to settle the soil and eliminate air pockets. I also add a light mulch layer to help retain moisture and regulate soil temperature as the bulbs establish.
For the first 2-3 weeks, I keep the soil consistently moist but not soggy. I avoid fertilizing immediately after transplanting, as this can stress the bulbs. Instead, I wait until I see new growth in spring.
🌷