
Beautiful Plants For Your Interior
Beautiful Plants For Your Interior
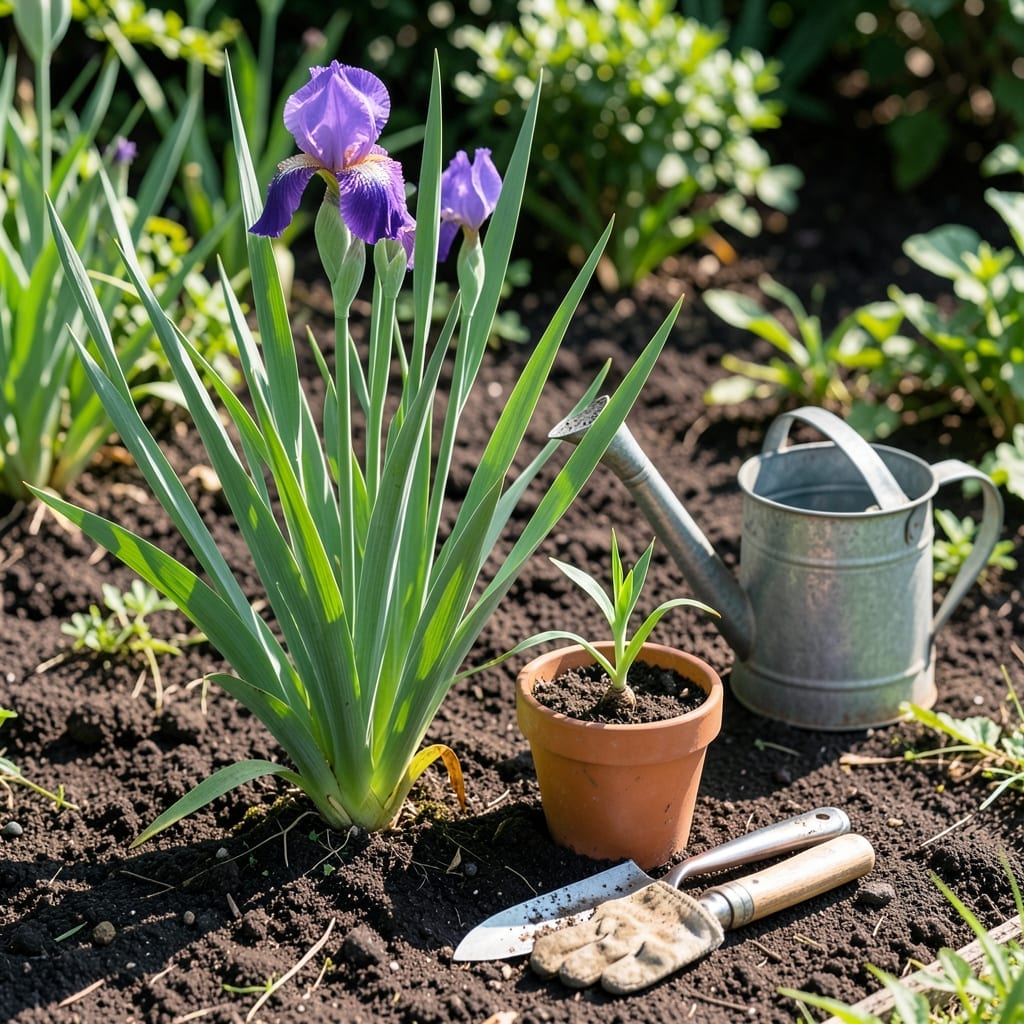
Transplanting iris plants at the right time ensures vibrant blooms and healthy growth for years to come. Get the timing wrong, and you risk stunted flowers or struggling roots.
The 🌸 Iris thrives when moved during its dormant period. I’ve seen gardens flourish by following this simple rule, and you can too.
Discover the ideal window and key steps to ensure your Iris plants transition smoothly and bloom beautifully next season.


The ideal window for transplanting iris plants is 4-6 weeks after blooming, when foliage begins to yellow. This dormant period allows roots to establish before winter.
In most regions, July through September works best. I’ve found bearded iris and Siberian iris thrive when moved during these months, avoiding active growth phases.
| Iris Type | Best Timeframe | Key Notes |
|---|---|---|
| Bearded Iris | July-September | After blooms fade |
| Siberian Iris | Late August-October | Cool soil preferred |
| Japanese Iris | Early September | Needs moist soil |
Soil temperature matters too. Aim for 60-70°F for best results. In warmer climates, you may transplant earlier, but avoid extreme heat or frost.
I always check for yellowing leaves and firm rhizomes before moving. These are clear signs your iris is ready for a new home.
Regional differences play a role. In USDA Zone 6, July-August is perfect. For Zone 8, wait until September to avoid summer stress.
Morning transplantation reduces stress. I water deeply the day before and trim foliage to 6 inches to minimize shock.
After transplanting, keep soil moist but not soggy. I’ve seen new roots form within 2-3 weeks with proper care.
Avoid transplanting during active bloom or freezing temps. Both can damage rhizomes and reduce next year’s flowers.
With the right timing and simple prep, your iris will reward you with bigger, brighter blooms next season. 🌸
Transplanting iris without stress starts with proper preparation. I always begin by watering plants deeply the day before to ensure hydrated roots for the move.
Use a sharp spade to carefully lift the entire clump, keeping as much root system intact as possible. This step is critical for survival and future growth.
Once lifted, gently separate rhizomes if the clump is large. Discard any soft or diseased portions, as these won’t recover well. I always inspect for pests during this process too.
Trim the foliage to 6 inches to reduce water loss and stress. This helps the plant focus energy on root establishment rather than leaf maintenance.
Replant your iris at the same depth as before, with rhizomes partially exposed. This prevents rot issues and ensures proper growth. I space them 12-24 inches apart for good air circulation.
After planting, water thoroughly and keep the soil consistently moist for the first 2-3 weeks. Avoid fertilizing immediately, as this can burn new roots.
With this method, I’ve seen iris establish quickly and produce vibrant blooms the following season. ☀️