
Beautiful Plants For Your Interior
Beautiful Plants For Your Interior
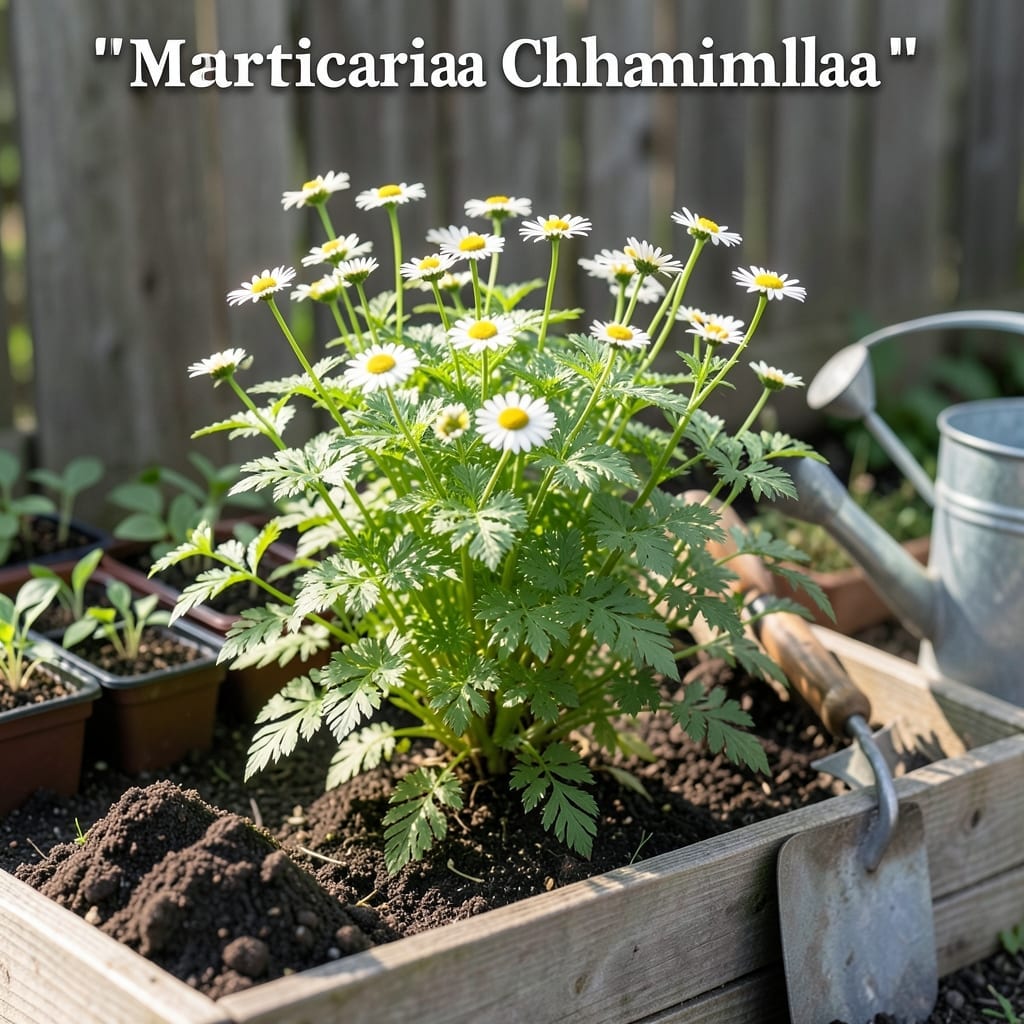
Timing is everything when it comes to giving your 🌼 Chamomile the best start. Get it right, and you’ll have robust plants ready to thrive. Get it wrong, and you risk stunting their growth or losing them entirely.
I’ve learned the hard way that transplanting too early or too late can make all the difference. The perfect window depends on a few key factors, like soil warmth and seedling maturity.
If you’re in zone 6, you’ll want to aim for late spring when the soil has warmed. This is when your seedlings will have the best chance to establish strong roots.
Discover the exact timing and conditions to ensure your Chamomile seedlings transition smoothly and grow into healthy, flourishing plants.


Timing is everything when moving chamomile seedlings to their permanent home. I’ve found that waiting until they develop 2-3 true leaves gives them the best chance to thrive after the move.
In most regions, 2-3 weeks after the last frost date is ideal. This ensures the soil temperature stays consistently above 50°F, which chamomile loves for root establishment.
| Factor | Requirement |
|---|---|
| Seedling Age | 6-8 weeks old |
| True Leaves | 2-3 sets developed |
| Soil Temp | 50°F+ minimum |
| Frost Date | 2-3 weeks after last frost |
I always check the weather forecast before transplanting. A sudden cold snap can set back tender seedlings, so I aim for a stretch of mild nights above 45°F.
For USDA Zone 6, mid-April to early May is typically perfect. In cooler zones, wait until late May. Warmer climates can transplant as early as March if frost isn’t a risk.
The seedlings should be hardened off first. I start by placing them outside for 1-2 hours in partial shade, gradually increasing exposure over 7-10 days.
Avoid transplanting during peak heat or on windy days. Early morning or overcast afternoons reduce stress on the plants. I also water them well 1 hour before moving them.
If you’re growing in containers, you can start earlier since you control the environment. Just ensure the potting mix stays consistently moist but not soggy during the transition.
Watch for signs your seedlings are ready: sturdy stems, bright green leaves, and roots that hold the soil together when gently lifted. These indicate they’ll handle the move well.
Remember, patience pays off. Rushing the process often leads to transplant shock, which can stunt growth for weeks. 🌱
Transplanting chamomile seedlings doesn’t have to be stressful for you or the plants. I’ve refined my method over the years to minimize transplant shock and ensure a smooth transition to their new home.
Start by hardening off your seedlings about 7-10 days before the move. This gradual exposure to outdoor conditions toughens them up for the big change.
I always choose an overcast day or early morning to transplant. This reduces stress on the seedlings by avoiding direct sun and heat immediately after the move.
Space your chamomile plants 8-12 inches apart to give them room to grow. They’ll spread out as they mature, and proper spacing prevents overcrowding and disease issues.
After transplanting, keep the soil consistently moist for the first week. I use a gentle spray to avoid dislodging the soil around the roots. A layer of mulch helps retain moisture too.
Watch for signs of stress like wilting or yellowing leaves. If this happens, provide some temporary shade and ensure they’re getting enough water. Most seedlings bounce back within a few days.
With this approach, your chamomile will establish strong roots quickly and reward you with healthy growth all season long. 🌿