
Beautiful Plants For Your Interior
Beautiful Plants For Your Interior
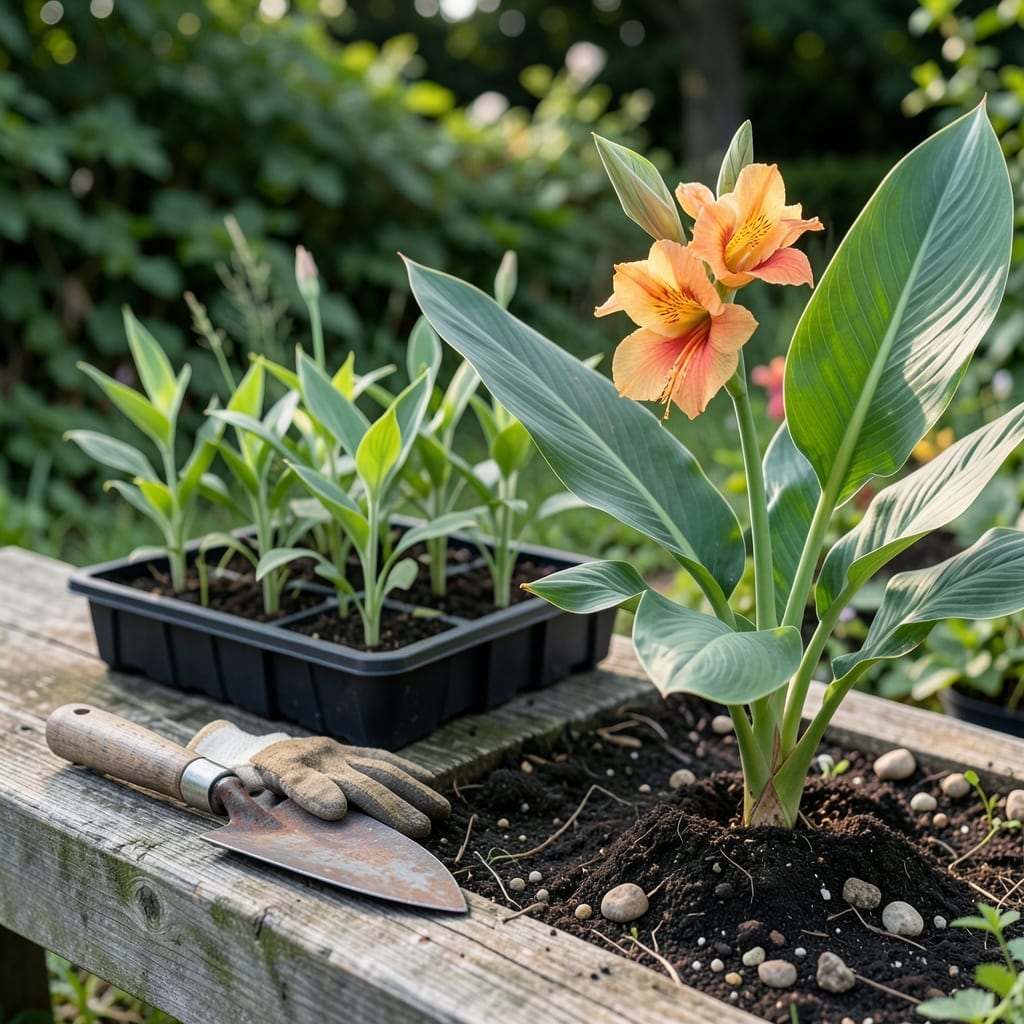
Timing is everything when it comes to moving your 🌺 Canna plants. Get it right, and you’ll be rewarded with lush foliage and vibrant blooms. Get it wrong, and you might face stunted growth or even loss.
I’ve learned through experience that spring is the most important season for this task. The soil needs to be warm enough to welcome those tropical roots, and the air should be free of frost threats.
Whether you’re in zone 6 or a warmer climate, understanding your local conditions is the key to success. Let me walk you through what you need to know.
We’ll cover the ideal window, soil prep tips, and how to care for your cannas after the big move. Discover how to give your plants the best start in their new home.


I’ve found that early spring is the ideal time to transplant canna lilies in most regions, right after the last frost date has passed and the soil warms to at least 60°F. This gives the rhizomes a chance to establish before summer heat.
In warmer climates, like USDA zones 8-10, you can also transplant in early fall, giving the plants 6 weeks before the first frost to settle in. Avoid extreme heat or cold snaps, as both can stress the plants.
| Condition | Specification |
|---|---|
| Best Time | Early spring after frost |
| Soil Temp | 60°F or warmer |
| USDA Zones | 6-10 (adjust timing) |
| Fall Window | 6+ weeks before frost |
| Avoid | Active bloom, extreme temps |
For zone 6 gardens, I mark my calendar for mid-April to May, once the soil is workable and nighttime temps stay above 50°F. This timing ensures the canna rhizomes won’t rot in cold, wet ground.
If you’re in zone 7 or warmer, you can start as early as March, but watch for late frosts. I always check the 10-day forecast before moving my cannas to avoid unexpected cold snaps.
Soil preparation is just as critical as timing. I amend the new site with compost for nutrient-rich, well-draining soil. Cannas hate soggy roots, so avoid low-lying spots where water pools.
For container-grown cannas, I wait until night temps are consistently above 55°F. This prevents transplant shock and encourages quick root establishment in their new home.
I’ve learned the hard way that transplanting during bloom can stress the plant and reduce flower production. If your cannas are already blooming, it’s best to wait until the flowers fade before moving them.
In drought-prone areas, I transplant in early morning to reduce water stress. This gives the plants a full day to recover before the harsh afternoon sun hits.
Remember, cannas are tropical and thrive in warm conditions. If you’re unsure about your soil temperature, use a soil thermometer—it’s a game-changer for precise timing.
With the right timing and conditions, your cannas will reward you with lush foliage and vibrant blooms all season long. 🌺
Transplanting canna lilies at the right time is crucial, but the process itself matters just as much. I always start by watering plants thoroughly 24 hours before the move to reduce stress on the roots. This ensures the soil stays intact around the rhizomes during digging.
Next, I trim the foliage by half to minimize water loss through the leaves. This step is often overlooked but makes a huge difference in preventing transplant shock. Use clean, sharp pruning shears for a clean cut.
When digging up the canna rhizomes, I use a garden fork to gently lift the entire clump. Be careful not to damage the roots, as this can set back growth. If the clump is large, I divide it into smaller sections, ensuring each has at least one eye or bud.
For replanting, I choose a sunny location with well-draining soil. The hole should be just deep enough to accommodate the rhizome at the same depth it was growing before. Planting too deep can lead to rot or poor growth, so I always double-check this step.
After placing the rhizome in the hole, I backfill with soil and press gently to remove air pockets. Then, I water thoroughly to help the soil settle. For the first week, I keep the soil consistently moist but not waterlogged to encourage root establishment.
Finally, I hold off on fertilizing for 2-3 weeks to give the plant time to recover. Adding mulch helps retain moisture and suppress weeds, but I keep it light to avoid suffocating the new growth. With these steps, my cannas thrive in their new home ☀️