
Beautiful Plants For Your Interior
Beautiful Plants For Your Interior
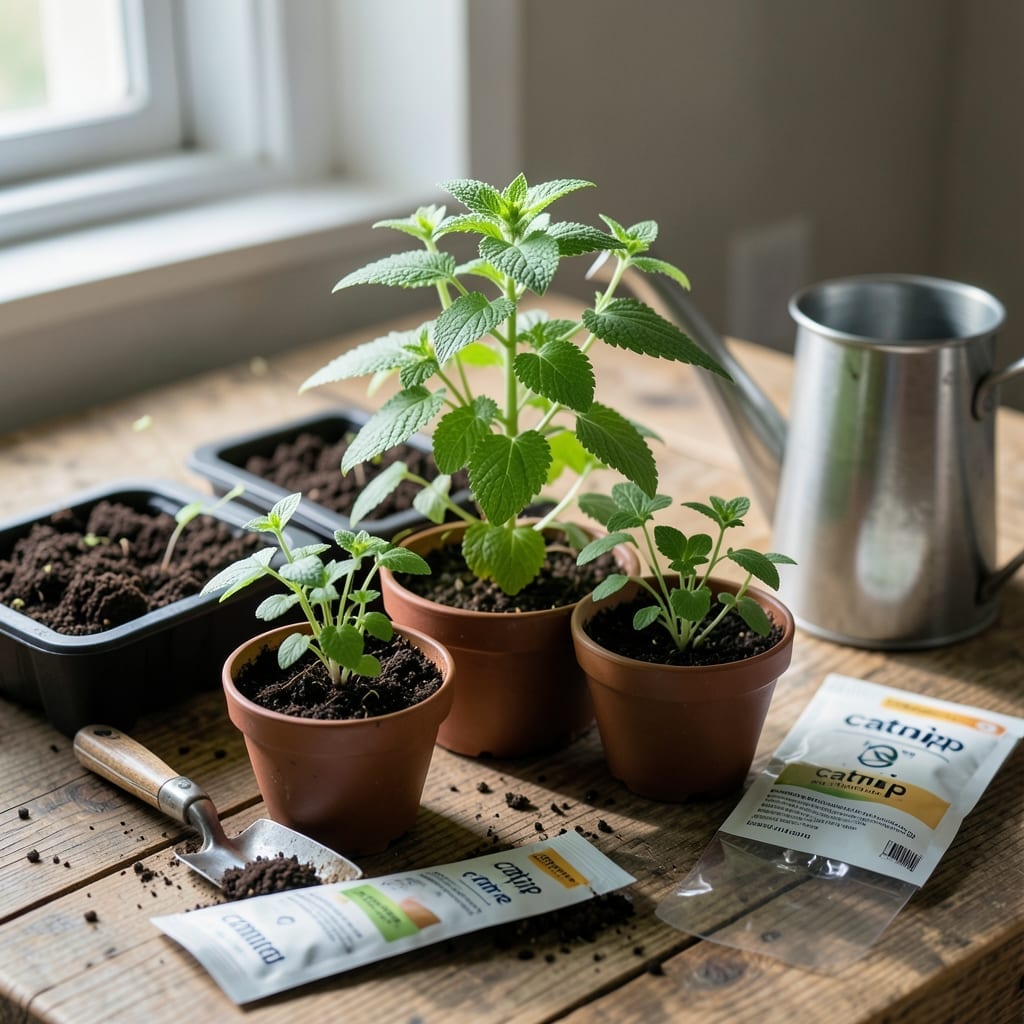
Timing is everything when starting Catnip 🐱 seeds indoors. Plant too early or too late, and you risk weak seedlings or missed growing seasons.
I’ve learned the hard way that getting this right means the difference between thriving plants and a disappointing harvest. Whether you’re in zone 3 or 9, the window is tighter than you think.
What if I told you there’s a simple schedule that works for most climates? It’s all about counting backward from your last frost date.
Discover the exact timing that gives your Catnip the strongest start possible. Your future feline friends will thank you.
Getting your catnip seeds started indoors at the right time is crucial for strong, healthy plants. I always recommend counting backward from your area’s last frost date to nail the timing perfectly.
For most regions, starting seeds 6-8 weeks before the last frost gives your seedlings enough time to grow sturdy before transplanting. This works well for USDA zones 3-9, where catnip thrives. 🌱
| USDA Zone | Start Indoors | Last Frost Date | Transplant Outdoors |
|---|---|---|---|
| 3-4 | Mid-March | May 15 | Early June |
| 5-6 | Late February | April 15 | Mid-May |
| 7-8 | Early February | April 1 | Late April |
| 9 | Early January | March 1 | Late March |
If you’re in colder zones like 3 or 4, wait until mid-March to start your seeds. This prevents leggy seedlings that struggle when moved outside. I’ve seen many gardeners rush this and regret it later.
For warmer zones like 8 or 9, you can start as early as January. The longer growing season gives your catnip plenty of time to establish before summer heat arrives. Just watch for late cold snaps!
Always check your local frost dates for precision. A quick search for “last frost date [your city]” will give you the exact timing. I rely on this every year to fine-tune my schedule. ☀️
Remember, catnip germinates in 5-10 days under ideal conditions. Use a seedling heat mat if your home stays below 70°F to speed up the process.
Once seedlings have 2-3 true leaves, they’re ready for transplanting. Harden them off by placing trays outside for a few hours each day, gradually increasing exposure.
In my experience, consistent moisture is key during germination. Keep the soil damp but not soggy, and ensure your containers have drainage holes to prevent rot.
Finally, label your trays with the start date and variety. It’s easy to forget details when you’re juggling multiple plantings. Trust me, your future self will thank you! 🌿
Starting catnip seeds indoors is simpler than you might think. I always begin by soaking the seeds in lukewarm water for 12 hours to soften the outer shell and speed up germination.
Next, fill seed trays with a well-draining potting mix—catnip hates soggy roots. Press the seeds lightly into the soil, just 1/4 inch deep, and mist with water. 🌱
I place my trays under grow lights or near a sunny window. Catnip needs 12-14 hours of light daily for strong growth. If using a window, rotate the trays daily to prevent leggy seedlings.
Keep the soil consistently moist but never waterlogged. I use a spray bottle for gentle watering and cover the trays with plastic wrap to retain humidity until germination.
You should see sprouts in 5-10 days. Once they have 2-3 true leaves, it’s time to thin them out, leaving the strongest seedlings to grow on. ✂️
Finally, when seedlings are 3-4 inches tall and have several sets of leaves, they’re ready to harden off before transplanting outdoors. This process takes about 7-10 days of gradual exposure.
With these steps, you’ll have healthy catnip seedlings ready for the garden in no time. 🌿