
Beautiful Plants For Your Interior
Beautiful Plants For Your Interior
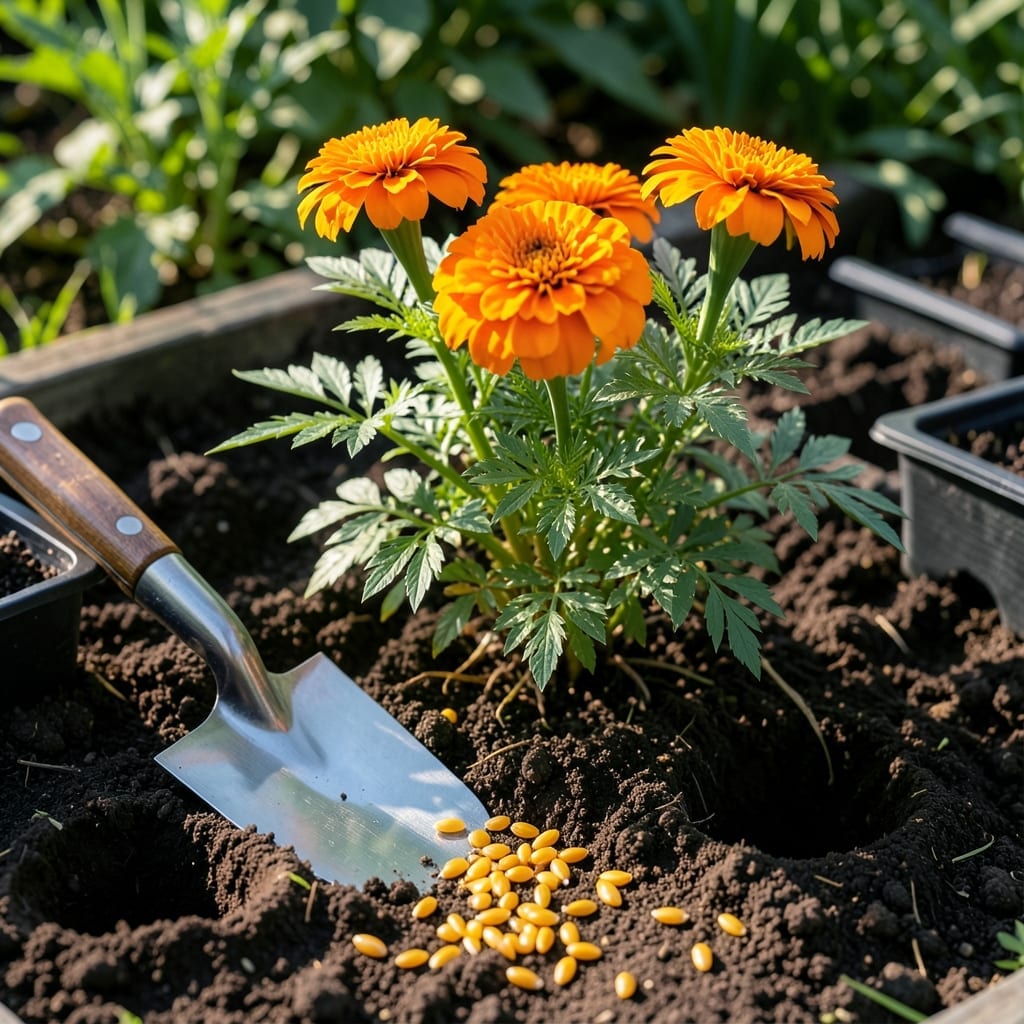
Timing is everything when planting Marigold seeds outside—plant too early and frost may kill them, too late and you’ll miss their vibrant summer bloom.
I’ve learned that getting this right means the difference between a lackluster garden and one bursting with colorful 🌼 blooms from June to September.
In USDA Zone 6, the sweet spot is April to May, but your local climate plays a huge role. It’s not just about the calendar—soil temperature and frost dates matter just as much.
Discover the exact timeline and pro tips to ensure your marigolds thrive from the very first sprout.
I’ve found that marigolds thrive when planted at the right time, and USDA hardiness zones are your best guide. In Zone 6, I always wait until April to May to sow seeds directly outside.
This timing ensures the soil temperature is consistently above 60°F, which is critical for germination and early growth. Planting too early risks frost damage, while too late may delay blooming.
| Zone | Planting Window | Last Frost Date |
|---|---|---|
| Zones 3-4 | Late May | May 15 |
| Zones 5-6 | April – May | April 15 |
| Zones 7-8 | March – April | March 15 |
| Zones 9-10 | February – March | February 15 |
For cooler zones like 3-4, I recommend starting seeds indoors 6-8 weeks before the last frost, then transplanting. This gives them a head start in shorter growing seasons.
In warmer zones like 9-10, marigolds can even be planted in fall for winter blooms. However, I’ve noticed they may struggle in the intense summer heat of these regions.
Always check your local weather forecast for unexpected late frosts. I use a soil thermometer to confirm temperatures before planting—it’s a game-changer for accuracy.
Remember, microclimates matter too. A south-facing garden bed warms up faster than a shaded spot. I’ve seen marigolds thrive in urban heat islands where rural areas might still be too cold.
If you’re unsure about your zone, the USDA Plant Hardiness Zone Map is an excellent resource. Just enter your ZIP code for precise information.
For the best results, I also recommend acclimating seedlings if you started them indoors. Place them outside for a few hours each day, gradually increasing exposure over a week.
Finally, keep in mind that marigolds are quite forgiving. Even if you miss the ideal window by a week or two, they’ll often still produce beautiful blooms with proper care.
Before sowing marigold seeds outside, I always check the soil first. It’s not just about warmth—texture and moisture matter too. 60°F soil temperature is the magic number for germination, but there’s more to it.
If your soil crumbles easily and isn’t waterlogged, it’s likely ready. I’ve found that a simple finger test works: dig an inch deep and feel for dryness. If it’s cold or soggy, wait a few more days.
Signs Your Soil Is Ready:
I use a soil thermometer for precision, especially in early spring when temps fluctuate. If your soil is still below 60°F, a black plastic mulch can help warm it faster.
Another trick? Watch the weeds. If they’re starting to sprout, your soil is likely warm enough for marigold seeds. Nature’s timing is often spot-on.
For clay-heavy soil, I mix in compost to improve drainage. Marigolds hate “wet feet,” so this step is non-negotiable for me. It prevents rot and encourages strong root growth.
Finally, test a small patch first. Plant a few seeds and observe. If they sprout within 5-7 days, your soil is perfect. If not, adjust and try again. Patience pays off with marigolds!
🌼