
Beautiful Plants For Your Interior
Beautiful Plants For Your Interior
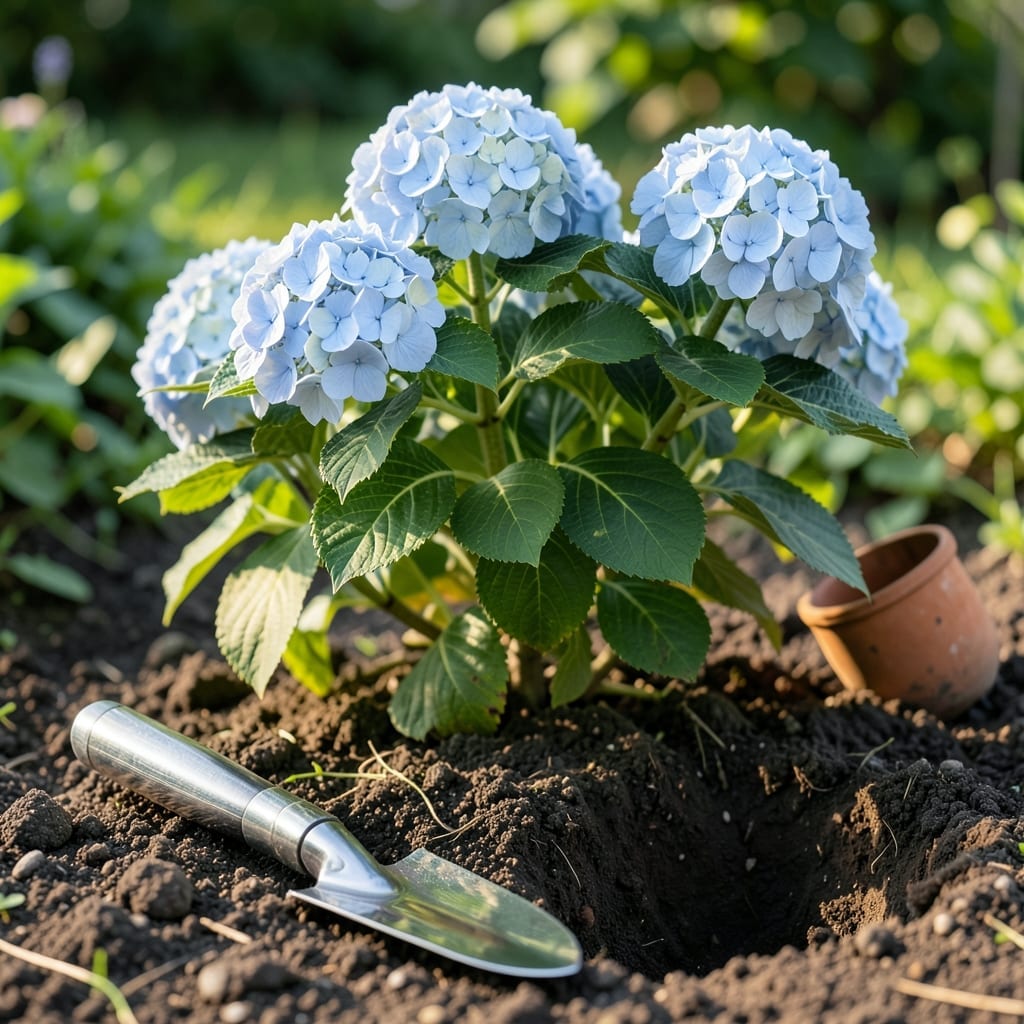
Timing is everything when it comes to planting hydrangea cuttings outside. Do it right, and you’ll enjoy lush 🌸 Hydrangea blooms for years to come.
Do it wrong, and your cuttings may struggle to take root. The difference often comes down to choosing the perfect window when conditions are ideal.
In my experience, getting the timing right means understanding your local climate and soil conditions. The right moment can turn a struggling cutting into a thriving shrub.
Discover the most important factors to consider and how to spot the perfect planting window for your area. Let’s make sure your cuttings have the best start possible.
If you’re wondering when to plant hydrangea cuttings outside, timing is your secret weapon. I’ve found that spring and early fall are the goldilocks periods for most climates. These seasons offer the mild temperatures and consistent moisture that cuttings crave to establish roots without stress.
In my experience, 60-70°F soil temperatures are ideal for root development. Planting too early risks frost damage, while waiting too long exposes cuttings to summer heat stress or winter dormancy issues.
| Season | Ideal Months | Temperature Range | USDA Zones |
|---|---|---|---|
| Spring | March-May | 60-70°F | 4-9 |
| Early Fall | September-October | 65-75°F | 5-8 |
| Avoid | June-August | >80°F | All |
For northern climates (USDA zones 3-5), I recommend waiting until after the last frost in spring. In my garden, that’s usually mid-April. The soil needs to be workable and warm, not cold and compacted from winter.
In southern regions (zones 7-9), you can start earlier in spring or extend into late fall. However, I always check the 10-day forecast to avoid unexpected heatwaves or cold snaps that could shock the cuttings.
Early morning planting is my go-to strategy. It gives the cuttings time to acclimate before midday heat. I also
If you’re in a mild coastal climate, you might get away with year-round planting, but I still avoid the hottest summer months. Even drought-tolerant hydrangeas like oakleaf varieties struggle when temperatures soar above 85°F.
Watch for these signs that your cuttings are ready: new leaf growth and resistance when gently tugged. This usually takes 4-6 weeks after rooting indoors. I never rush this process—patience pays off with stronger, healthier plants.
For bigleaf hydrangeas (Hydrangea macrophylla), which are common in gardens, spring planting gives them the entire growing season to establish roots before winter. Fall planting works too, but I stop by 6 weeks before first frost to ensure root development.
Remember, local microclimates matter. If you’re near a body of water or in a urban heat island, adjust your timing accordingly. When in doubt, I always err on the side of cooler temperatures rather than risking heat stress 🌿
Planting hydrangea cuttings outside requires careful preparation to ensure they thrive. I always start by checking that the soil is well-draining and slightly acidic, which hydrangeas love.
It’s also crucial to harden off your cuttings before transplanting. This means gradually exposing them to outdoor conditions over 7-10 days to avoid shock.
I’ve found that early morning planting reduces stress on the cuttings. The cooler temperatures and lower sunlight intensity help them adjust more easily to their new environment.
After transplanting, keep the soil consistently moist but not waterlogged. I use a drip irrigation system to deliver water directly to the roots, which prevents fungal issues.
If your cuttings show signs of wilting or yellowing, it might be due to overwatering or poor drainage. Adjust your care routine immediately to rescue them.
Finally, add a 2-3 inch layer of mulch around the base to retain moisture and regulate soil temperature. This simple step can boost survival rates significantly. 🌿