
Beautiful Plants For Your Interior
Beautiful Plants For Your Interior
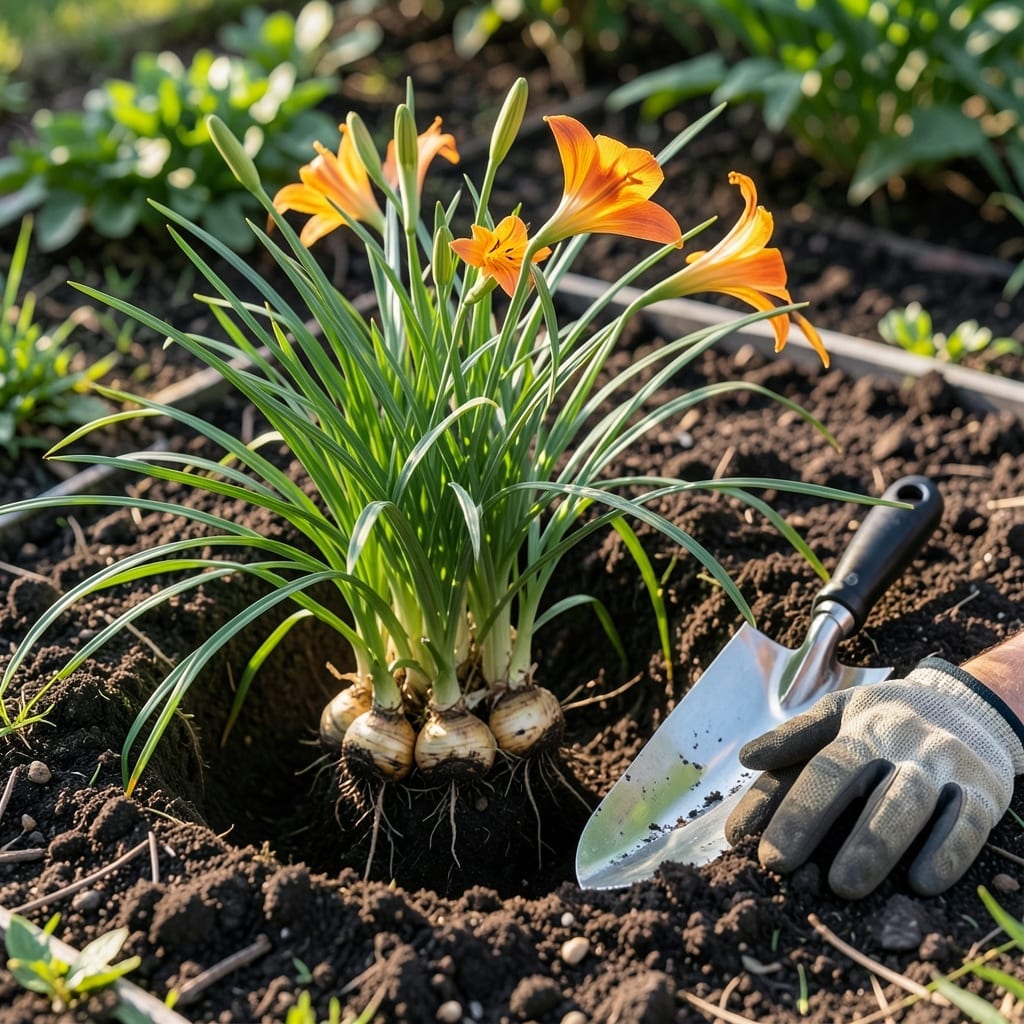
Timing is everything when it comes to planting Daylily 🌸 bulbs—plant too early or too late, and you risk stunted growth or no blooms at all.
I’ve learned the hard way that even a few weeks can make the difference between a thriving garden and a disappointing one. Whether you’re in zone 6 or adjusting for your local climate, nailing this timing is crucial.
Discover the perfect window to ensure your garden bursts with vibrant, healthy daylilies year after year. Let me show you exactly when and how to make it happen.
Getting the timing right for daylily bulbs can transform your garden. I’ve seen spring planting deliver stunning blooms, while early fall gives roots time to establish before winter.
Climate zones matter most—USDA zones 3-9 have different windows. In colder zones, late spring avoids frost damage, while warmer zones can plant earlier.
| Season | Zone | Soil Temp |
|---|---|---|
| Early Spring | 3-6 | 50-60°F |
| Late Spring | 7-9 | 60-70°F |
| Early Fall | All | 55-65°F |
In zone 6, I plant in March-April or September-October. This gives bulbs 6 weeks to root before extreme temperatures hit.
Soil temperature is critical—50°F minimum ensures active growth. Use a soil thermometer to check before planting.
For southern gardeners, February can work, but watch for late frosts. Northern gardeners should wait until May for safety.
Fall planting has advantages: cooler temps reduce stress, and spring blooms appear earlier. Just finish 6 weeks before frost.
In containers, you can extend the season. I’ve successfully planted in late fall by moving pots indoors during cold snaps.
Remember, well-draining soil prevents rot. Daylilies hate soggy roots, so amend heavy clay with compost or sand.
After planting, water deeply once, then let the top inch dry between waterings. This encourages deep root growth.
With proper timing, your daylilies will reward you with years of vibrant blooms. I’ve seen repeated flowering from well-timed plantings.
🌸Planting daylily bulbs correctly sets the stage for years of vibrant blooms. I always start by checking my local frost dates to avoid surprises.
Soil preparation is non-negotiable. I amend with compost and ensure good drainage to prevent root rot. Daylilies thrive in loamy soil with a pH of 6.0-7.0.
In warmer climates, I plant 1 inch deep to protect from heat. In cooler zones, 2 inches deep helps insulate against cold.
Spacing matters for air circulation. I give each bulb 12-18 inches to prevent overcrowding and reduce disease risk. This also makes dividing clumps easier later.
Watering is crucial the first week. I soak the area deeply once, then water weekly unless rain does the job. Avoid overwatering—daylilies are drought-tolerant once established.
After planting, I mark the spot with garden flags to avoid accidental digging. In 3-4 weeks, green shoots should emerge, signaling successful rooting. 🌱
For container planting, use pots at least 12 inches deep with drainage holes. I’ve had great success with terracotta pots that breathe well.