
Beautiful Plants For Your Interior
Beautiful Plants For Your Interior
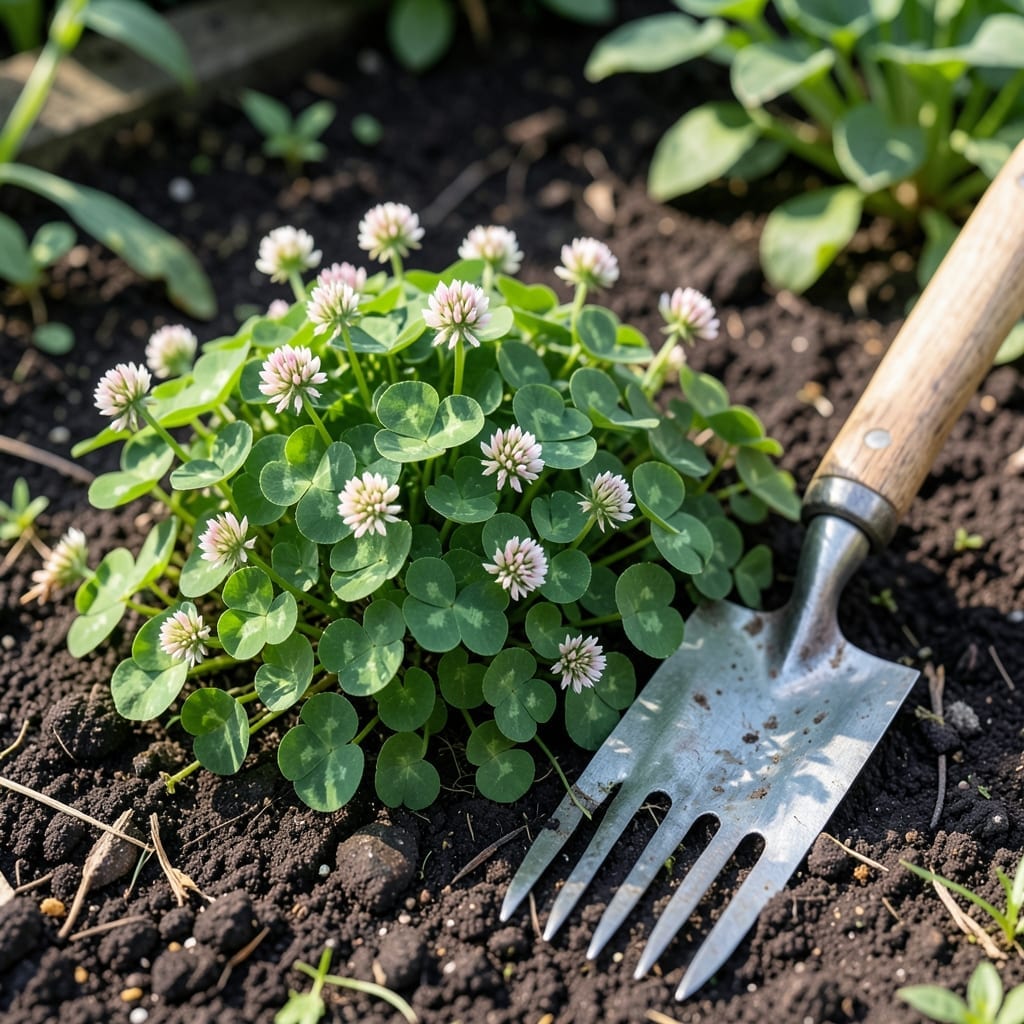
Planting clover in the fall could be the game-changer your lawn or garden needs. The cooler temperatures and reduced competition from weeds create perfect conditions for this hardy plant to thrive.
With 🍀 Clover, timing is everything. Plant too early, and summer heat might stress the seeds. Plant too late, and winter frost could hinder growth. Getting it right means a lush, green carpet come spring.
I’ve found that late summer to early fall—specifically August through September—is ideal for most regions, including USDA Zone 6. This window gives clover enough time to establish strong roots before the cold sets in.
Discover how to nail the timing and set your clover up for success. The rewards of a well-timed planting are well worth the effort.
Timing your clover planting in fall is crucial for strong root establishment before winter. I’ve found the ideal window is 4-6 weeks before your first frost date.
In most regions, this means late August to early September. The soil temperature should be between 50-65°F for optimal germination and growth.
| USDA Zone | Planting Window | First Frost Date |
|---|---|---|
| Zones 3-4 | Mid-August | Early October |
| Zones 5-6 | Late August | Mid-October |
| Zones 7-8 | Early September | Late October |
| Zones 9-10 | Mid-September | November-December |
For cooler climates like Zones 3-4, aim to plant by mid-August to give clover enough time to establish roots before the ground freezes.
In moderate Zones 5-6, late August planting works well, as the first frost typically arrives in mid-October. This timing allows 6-8 weeks of growth.
Warmer regions in Zones 7-8 can plant in early September. The milder fall extends the growing season, but soil moisture is key for success.
If you’re in Zones 9-10, mid-September is ideal. Here, frost is rare, but cooler temperatures still promote strong root growth without summer heat stress.
Always check your local frost dates for precision. I use the USDA Plant Hardiness Zone Map for accurate timing in my area.
Remember, soil prep is just as important as timing. Test your soil pH—clover thrives in slightly acidic to neutral soil (pH 6.0-7.0).
Finally, water consistently after planting, especially if fall rains are sparse. Keep the soil moist but not waterlogged for the first 2-3 weeks. 🌱
Fall is my favorite season for establishing clover because the cooler temps reduce stress on new seedlings while the soil stays warm enough for root development. I always aim to plant 4-6 weeks before the first hard frost.
This timing gives the clover seeds enough time to germinate and establish a strong root system before winter dormancy. The ideal soil temperature for germination is between 50-65°F, which is common in early fall.
Prep the soil by removing debris and loosening the top 2-3 inches for better seed contact.
Broadcast seeds evenly at 1/4 lb per 1000 sq ft, then lightly rake them in for good soil contact.
Water lightly but frequently to keep soil moist for 7-10 days until germination occurs.
Monitor growth and reduce watering once plants are 2-3 inches tall, as clover is drought-tolerant.
I’ve found that morning planting works best in fall because it allows seeds to absorb moisture from dew and reduces evaporation. The soil should be slightly damp but not waterlogged before seeding.
After planting, I recommend using a light mulch like straw to protect seeds from birds and help retain moisture. This is especially important in dry fall climates where rainfall might be scarce.
One trick I swear by is mixing clover seeds with sand before broadcasting. This helps distribute the tiny seeds more evenly and prevents clumping that can lead to patchy growth.
Finally, avoid walking on the newly planted area for at least 2 weeks to give the seeds time to establish. With proper care, you’ll see green shoots in about 7-14 days under ideal conditions. 🌱