
Beautiful Plants For Your Interior
Beautiful Plants For Your Interior
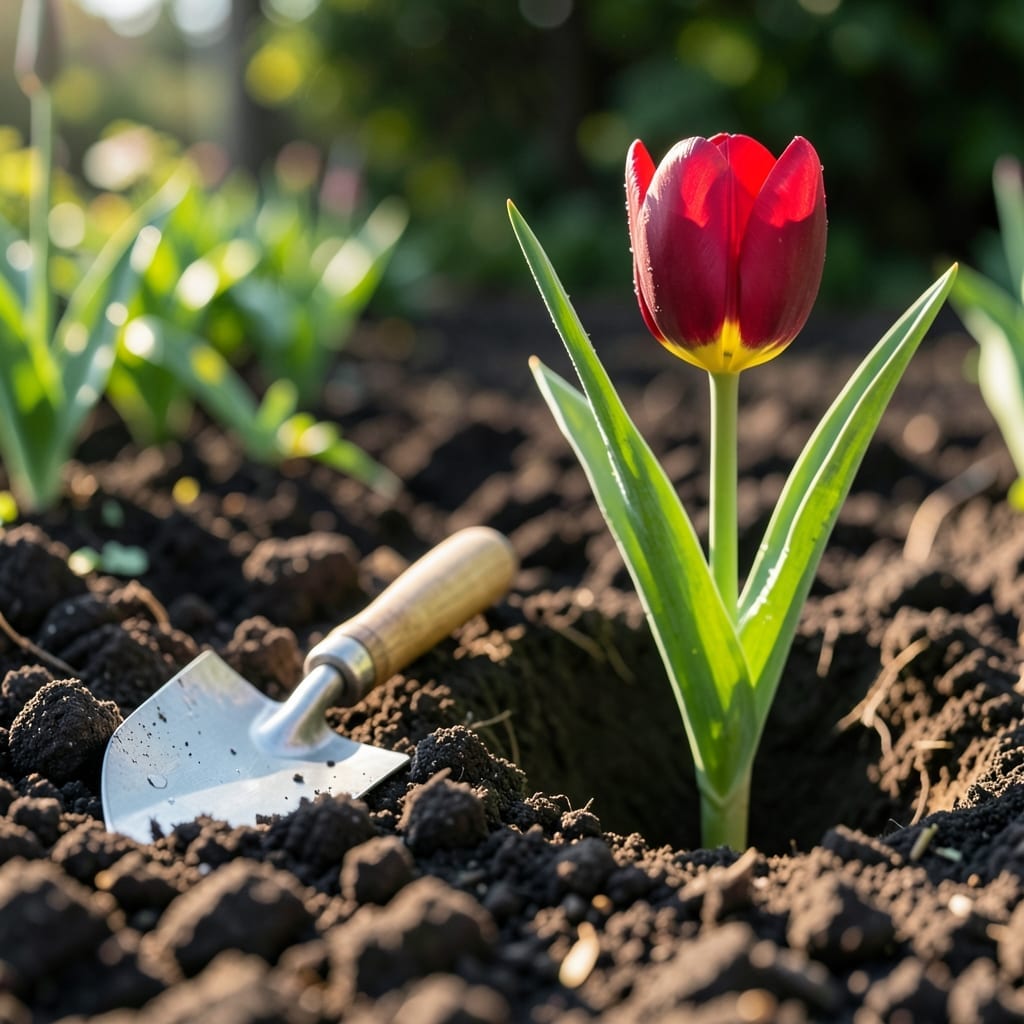
Transplanting Tulips 🌷 at the wrong time can leave you with lackluster blooms or worse – no flowers at all next season. I’ve seen it happen too many times, and it’s always a disappointment after putting in the effort.
Timing is everything when it comes to moving these bulbs. Do it too early or too late, and you risk shocking the plant when it’s most vulnerable. The good news? There’s a best window that nearly guarantees success.
In my experience, waiting for the right seasonal cues makes all the difference. The bulbs need time to establish themselves before their next growth cycle begins.
Let me walk you through when and how to do this properly so your Tulips thrive in their new home. The results will speak for themselves come spring.
Timing is everything when transplanting tulips. I’ve learned that moving them during dormancy ensures the least stress. The best window is early fall, just after the foliage dies back but before the ground freezes.
In most regions, this means September to November. I always check my USDA zone—for Zone 6, mid-October is ideal. The soil temperature should be below 60°F to prevent premature sprouting. This timing allows bulbs to establish roots before winter. 🌷
| Stage | Action | Timing |
|---|---|---|
| Post-Bloom | Let foliage die back | June-July |
| Dormancy | Dig and store bulbs | July-August |
| Replanting | Transplant bulbs | September-November |
| Root Growth | Bulbs settle in | Fall-Winter |
I avoid moving tulips in spring or summer because they’re actively growing. Transplanting then can shock the bulbs and reduce next year’s blooms. If you must move them in spring, wait until after flowering but before the foliage yellows.
For warmer climates, like Zone 8 or 9, I adjust the timing. I plant bulbs in late November or December to mimic winter chill. Always check your local frost dates—tulips need 12-14 weeks of cold to bloom properly.
I’ve found that soil preparation is just as important as timing. Before transplanting, I loosen the soil to 12 inches deep and mix in compost or bulb fertilizer. This gives the bulbs a nutrient boost for root development.
If you’re moving tulips from pots to the ground, the same rules apply. I wait until the foliage dies back, then transplant the bulbs to their new location. This ensures they’ve stored enough energy for the next growing season.
In colder regions, I mulch the new planting site with 2-3 inches of straw or leaves. This insulates the soil and protects bulbs from freeze-thaw cycles. Remove the mulch in early spring to allow new shoots to emerge.
I also avoid transplanting tulips during rainy periods. Wet soil can compact around bulbs, making it harder for them to establish roots. Aim for a dry, overcast day to reduce stress on the plants.
Finally, I always label my bulbs when storing or transplanting. It’s easy to forget varieties, and proper spacing (about 4-6 inches apart) ensures healthy growth. With the right timing and care, your tulips will reward you with vibrant blooms year after year. 🌿
Moving tulip bulbs requires careful timing and technique to avoid transplant shock. I always recommend starting this process after the foliage yellows but before the first frost sets in.
This window, typically late summer to early fall, gives the bulbs time to establish roots in their new location before winter dormancy. The key is working when the soil is workable and the plants are inactive.
Before digging, I mark the bulb locations with small flags to avoid accidentally slicing through them. This simple step saves hours of frustration later. Always use a garden fork rather than a shovel for gentler extraction.
The storage period is critical. Keep bulbs in a cool, dry place with good airflow. Never store them in plastic bags, as this traps moisture and encourages rot. Mesh bags or cardboard boxes work perfectly.
When replanting, I always add a handful of bone meal to each hole for an extra phosphorus boost. This helps the bulbs develop strong roots quickly. Space them 4-6 inches apart to prevent overcrowding.
After planting, resist the urge to water heavily. A light watering is all that’s needed to settle the soil. Too much water can cause bulb rot before roots establish. Trust me, your tulips will thank you come spring. 🌷