
Beautiful Plants For Your Interior
Beautiful Plants For Your Interior
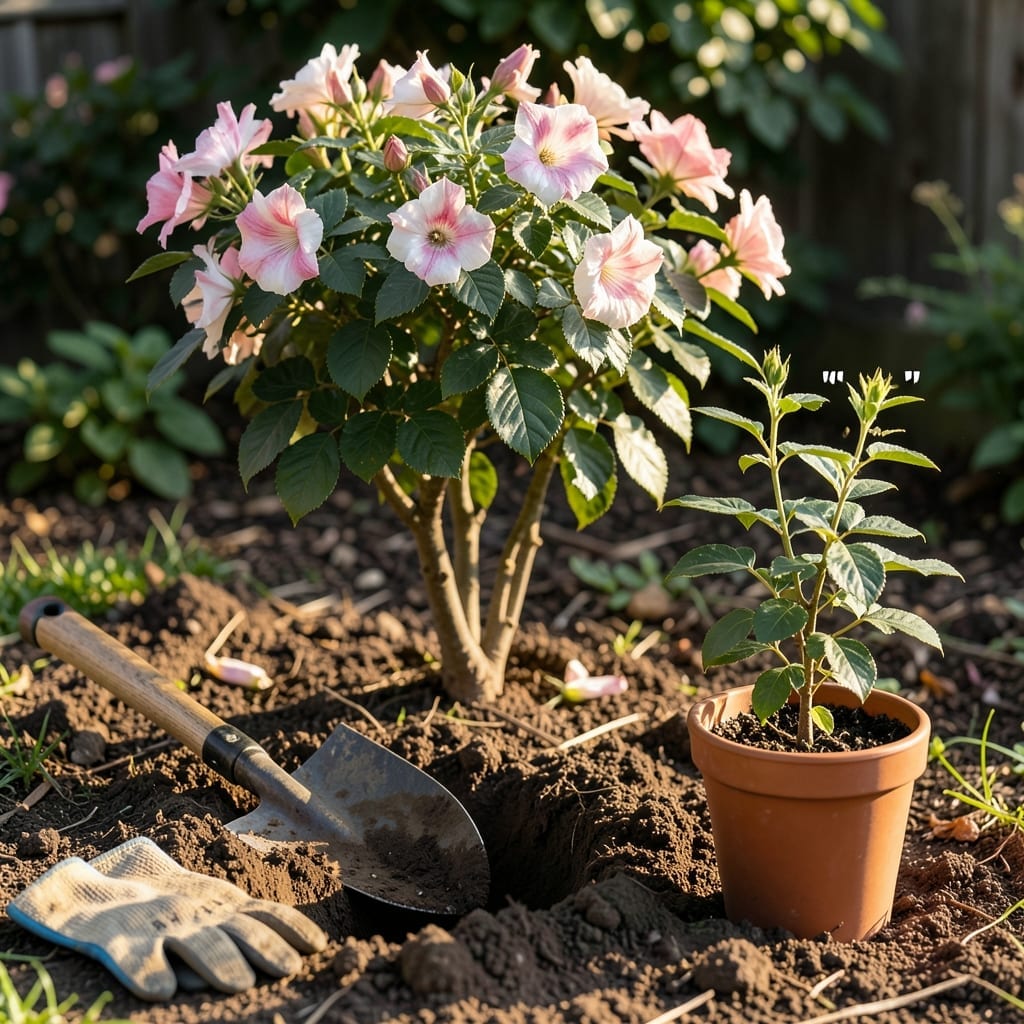
Transplanting your 🌺 Rose Of Sharon at the wrong time can set back its growth for years. I learned this the hard way after moving mine in the peak of summer and watching it struggle to recover.
Timing is the key to a smooth transition. The right season helps your shrub establish roots before stress hits, whether from heat or cold.
Discover when to make the move for healthier plants and vibrant blooms in their new home. Let’s get this right together.
I’ve found that early spring and fall are the best times to move your Rose of Sharon. These seasons offer cool temperatures and moderate moisture, reducing stress on the plant. 🌿
Early spring allows roots to establish before summer heat kicks in. Fall transplanting gives the shrub time to settle before winter dormancy. Both windows minimize shock. 🌱
I always check the soil temperature before moving my Rose of Sharon. It should be above 50°F in spring and below 70°F in fall for best results. This ensures the roots can actively grow in their new location.
Avoid summer moves at all costs. The heat stress can cause wilting and poor recovery. Similarly, winter transplanting risks root damage from frost, which can kill the shrub.
If you live in USDA zones 5-9, stick to these windows. In warmer climates, you might push fall moves into late November. Cooler areas should aim for early September to avoid early frosts.
I prepare the new planting hole a week in advance. This lets me amend the soil with compost and ensure proper drainage. A well-prepared site reduces transplant shock significantly.
Water deeply 2-3 days before moving your Rose of Sharon. This helps the root ball stay intact during digging. I also prune back about 1/3 of the foliage to reduce water loss.
After transplanting, I mulch heavily around the base to retain moisture. Keep the soil consistently moist (but not soggy) for the first 4-6 weeks. This is critical for root establishment.
Watch for signs of stress like yellowing leaves or drooping branches. These usually appear within 7-10 days if the plant isn’t adjusting well. Adjust your care if needed.
With the right timing and care, your Rose of Sharon will reward you with vibrant blooms in its new location. I’ve seen mine thrive after following these steps, and yours can too. 🌺
Moving your Rose of Sharon requires careful preparation to avoid stress. I always start by selecting the new location with similar sun exposure and soil conditions. ☀️
Begin by watering deeply 2-3 days before the move. This helps the root ball stay intact when digging. I also prune back about 1/3 of the foliage to reduce water loss. ✂️
✅ Step-by-Step Transplanting
I use a sharp spade to dig a wide circle around the plant. The root ball should be 18-24 inches in diameter for mature shrubs. This preserves as many roots as possible. 🌱
When lifting, I slide a tarp under the root ball. This makes transport easier and prevents root damage. Never lift by the stems, as this can cause serious harm.
The new hole should be twice as wide as the root ball but no deeper. I mix the native soil with compost for better drainage and nutrient availability.
After planting, I water deeply to settle the soil and eliminate air pockets. Then I add 3-4 inches of organic mulch around the base, keeping it away from the trunk. 💧
For the first 4-6 weeks, I monitor soil moisture closely. The plant needs consistent watering but not soggy conditions. This helps establish the root system in its new home.