
Beautiful Plants For Your Interior
Beautiful Plants For Your Interior
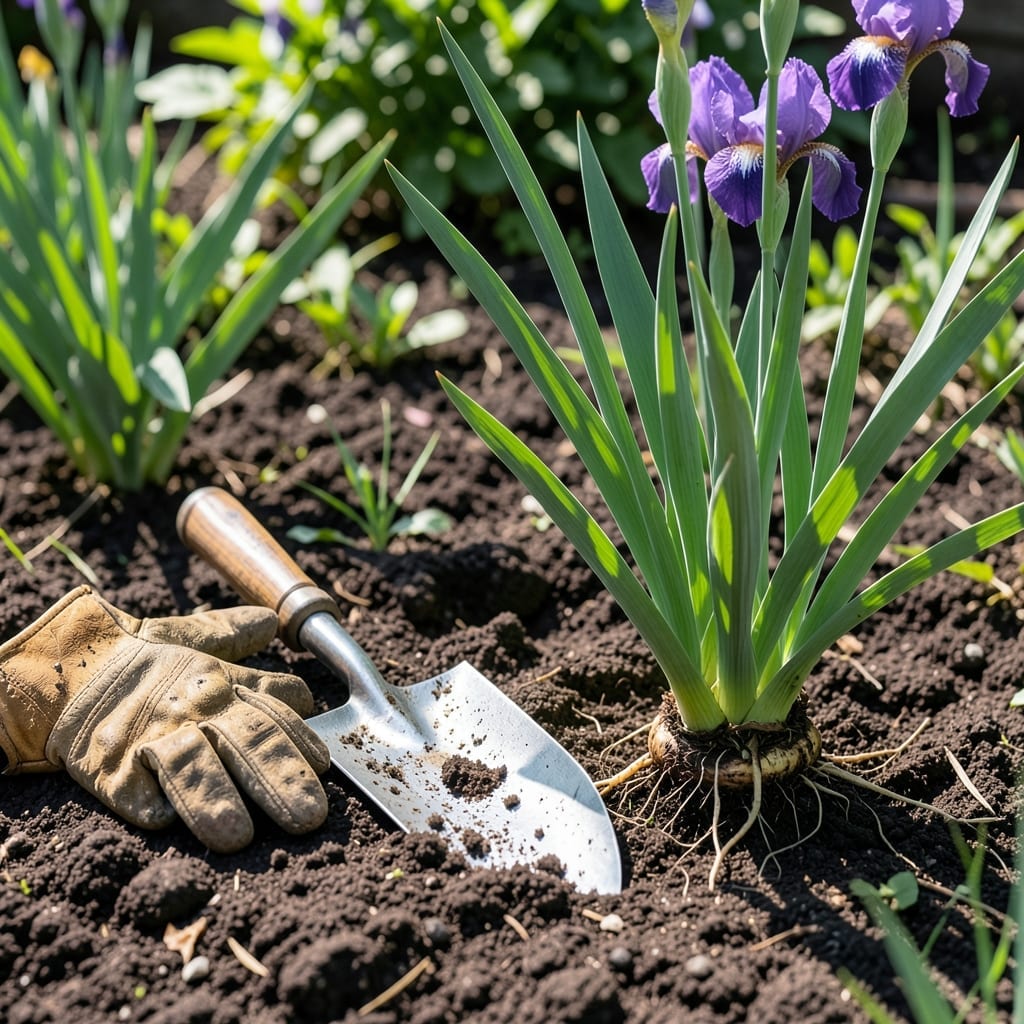
Moving your 🌸 Iris bulbs at the right time can be the difference between a garden full of vibrant blooms and a season of disappointment. I learned this the hard way after a few failed attempts.
Timing is everything when it comes to transplanting these beauties. Do it too early or too late, and you risk stressing the plants when they need stability the most.
Let me share the best window for relocation and how to spot the signs your Iris bulbs are ready for a change. You’ll have healthy plants in no time.
Timing your iris bulb transplanting can make or break your garden’s success. I’ve found that late summer to early fall is the sweet spot for most regions, giving your irises time to establish before winter.
This period, typically 6-8 weeks after blooming, allows the bulbs to focus on root growth rather than flower production. The soil is still warm but not scorching, which reduces transplant shock significantly.
| cell” style=”background-color:#6fd544;color:#fff;font-weight:bold;”>Conditions | row”> | cell”>Warm soil, cooler air | row”> | cell”>Moderate temps | row”> | cell”>Blooming period | Stresses plants |
In USDA Zone 6, I aim to complete my iris moves by mid-September to ensure roots establish before the first frost around October 15th. This timing gives them a full growing season to settle in.
The soil temperature should be above 60°F for best results. I use a simple soil thermometer to check – it’s a small investment that prevents big mistakes.
Watch for overcrowded clumps as a sign it’s time to divide. When your irises stop blooming as vibrantly or the center dies out, that’s nature’s way of saying they need more space.
For warmer climates like Zone 8-10, you can push the timeline to October. Just ensure you finish 4-6 weeks before your first expected frost date.
I always prepare the new planting site first, amending the soil with compost. This gives the bulbs a nutrient boost right when they need it most for root development.
The rhizomes should be firm and healthy when you dig them up. If they’re soft or mushy, that indicates rot and you should discard them rather than transplant.
After moving, I water deeply once and then hold off on additional watering for 5-7 days. This encourages the roots to seek moisture and establish themselves in their new home.
Remember, morning planting reduces stress on the bulbs. The cooler temperatures and lower sun intensity give them a gentler start in their new location 🌱
Transplanting iris bulbs requires careful handling to avoid shocking the plants. I always start by preparing the new site with well-draining soil amended with compost for a nutrient boost.
First, dig up the bulbs gently using a garden fork, being careful not to damage the rhizomes. The best time is when the soil is dry to prevent clumping and make separation easier.
Next, divide the rhizomes if the clump is overcrowded. I discard any soft or diseased pieces and keep only the healthy, firm rhizomes with visible roots for replanting.
When replanting, I place the rhizomes just below the soil surface, spacing them 12-24 inches apart. This shallow depth helps prevent rot while allowing the tops to bask in sunlight.
After planting, I water deeply once to settle the soil, then resist the urge to water again for 5-7 days. This encourages the roots to grow deep in search of moisture.
Finally, I mulch lightly around the new plantings to retain moisture and suppress weeds. I avoid heavy mulching, as irises prefer good air circulation around their rhizomes.