
Beautiful Plants For Your Interior
Beautiful Plants For Your Interior
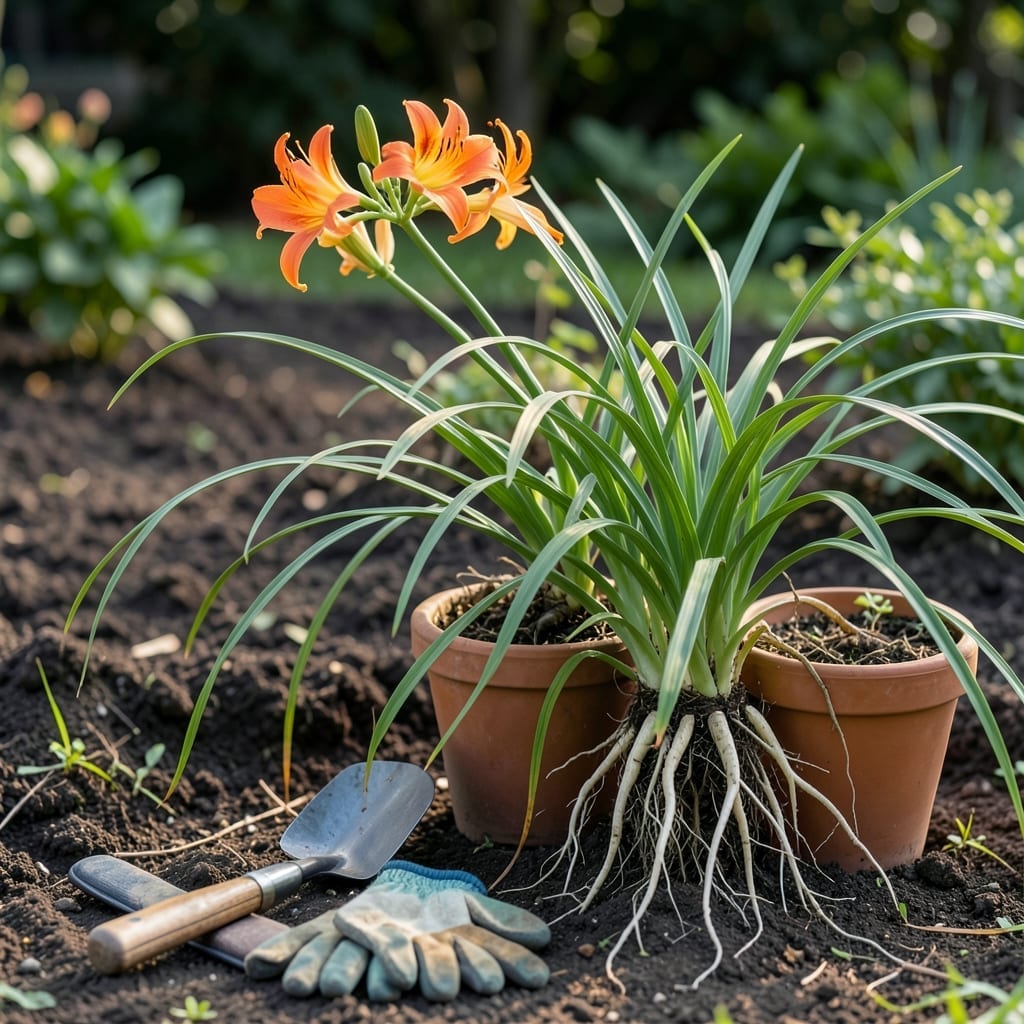
Timing is everything when it comes to moving Daylilies—do it right, and you’ll enjoy vibrant blooms for years. Do it wrong, and you risk stressing the 🌸 plants or stunting their growth.
I’ve learned that spring and early fall are the best windows for transplanting. These seasons give your Daylilies the ideal conditions to establish roots without the stress of extreme heat or cold.
Let me walk you through how to pick the perfect moment and set your plants up for success. It’s easier than you think!
Choosing the right season to move your daylilies is crucial for their survival and future blooms. I always recommend early spring or early fall as the best times to minimize stress on the plants.
During these periods, the soil is warm, and the weather is mild, which helps the roots establish quickly. Avoid moving them in the heat of summer or the dead of winter, as extreme temperatures can shock the plants.
| Season | Months | Reason |
|---|---|---|
| Early Spring | March-April | Cool temps, moist soil |
| Early Fall | September-October | Warm soil, less heat stress |
| Avoid Summer | June-August | Heat stress, drought risk |
In USDA zones 6-8, March to April is ideal because the last frost has usually passed, and the plants can focus on root growth before blooming season.
For northern climates (zones 3-5), wait until late April or May when the soil has warmed. In southern zones (9-11), you can start as early as February or extend into November.
The fall window (September-October) is equally good because the soil stays warm while air temperatures cool. This gives roots 6-8 weeks to establish before winter dormancy.
I’ve found that morning transplanting works best, as it gives plants all day to recover before nighttime temperatures drop. Always water deeply the day before moving to reduce shock.
Avoid transplanting during active blooming periods, as this diverts energy from flower production to recovery. If you must move them in summer, do it on a cloudy day and provide extra water.
Remember, daylilies are tough, but timing your move correctly ensures they’ll reward you with stronger growth and more abundant blooms the following season.
If you’re in doubt, early fall is my top recommendation—it’s the most forgiving time for both the plant and the gardener 🌸
Transplanting daylilies successfully starts with proper preparation. I always begin by watering the plants thoroughly 24 hours before the move to ensure the roots are hydrated and less prone to shock.
Next, I prepare the new planting site by loosening the soil to a depth of 12-15 inches and mixing in compost or aged manure for added nutrients. This gives your daylilies a nutrient-rich start in their new home.
When digging up the daylily clump, I use a sharp spade to cut a wide circle around the base, about 6-8 inches out from the foliage. This ensures I capture most of the root system intact.
If the clump is large, I divide it into smaller sections using a clean garden knife. Each division should have 3-5 healthy fans of foliage and a good portion of roots. This also helps rejuvenate older plants that may have become overcrowded.
After placing the daylily in its new hole, I backfill with soil and press gently to remove air pockets. I always make sure the crown (where roots meet foliage) sits at the same depth as it did in its original location.
Finally, I water deeply immediately after transplanting and add a 2-inch layer of mulch to help retain moisture. For the first week, I check the soil daily and water as needed to keep it consistently moist but not soggy ✂️