
Beautiful Plants For Your Interior
Beautiful Plants For Your Interior
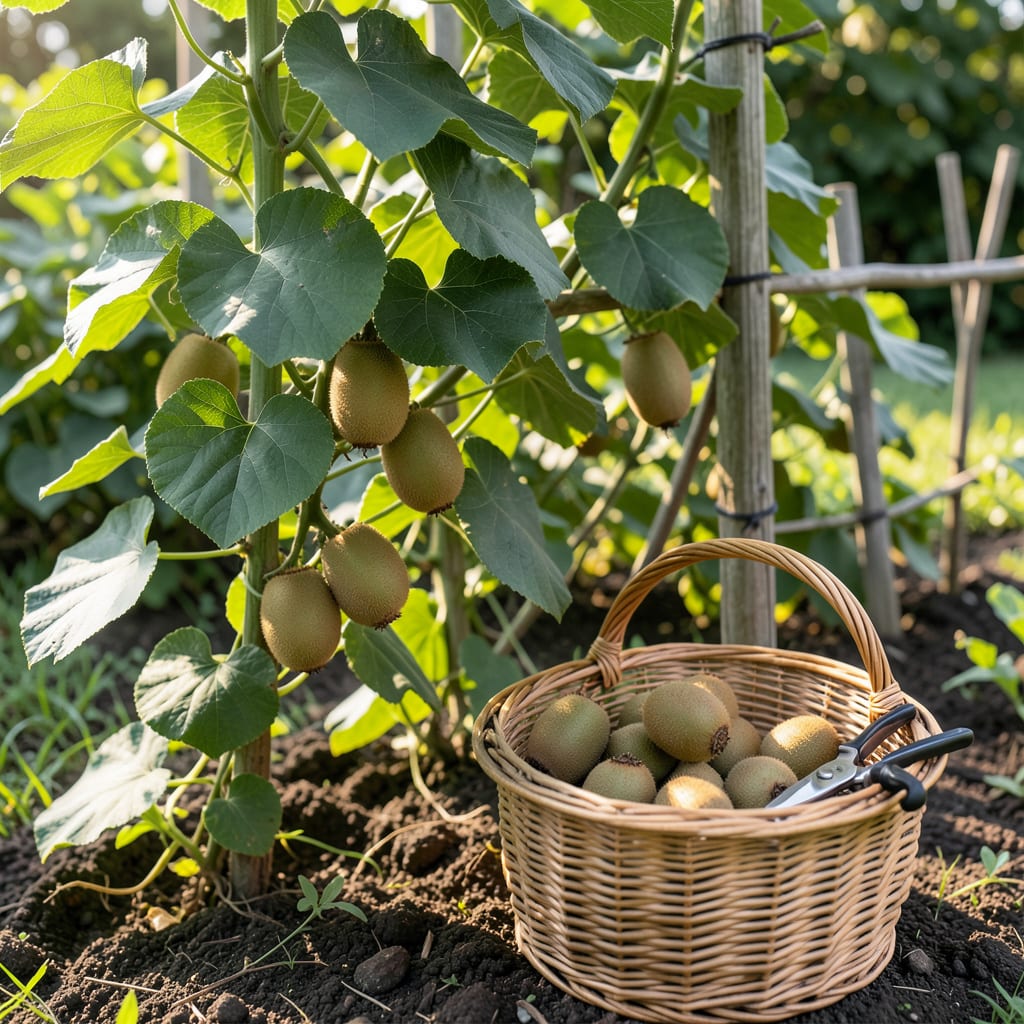
There’s nothing worse than cutting into a Kiwi Fruit 🥝 and finding it underripe after all your hard work. Timing the harvest perfectly separates the sweet rewards from bitter disappointments.
I’ll show you the exact visual cues and tests to know when your Kiwi Fruit is ready. From color changes to texture checks, you’ll learn to pick at peak ripeness every time.


I always use two foolproof methods to check kiwi fruit ripeness. The Brix test measures sugar content, while texture checks reveal physical readiness. Together, they give me confidence I’m picking at peak flavor.
For the Brix method, I use a refractometer to test the sugar level. A reading of 6.5% or higher means the fruit is ready to harvest. This is my go-to for scientific precision.
| Method | Tool | Ideal Result |
|---|---|---|
| Brix Test | Refractometer | 6.5%+ sugar |
| Texture Test | Hands | Slight give |
| Seed Check | Knife | Black seeds |
The gentle squeeze test is my quick field method. A ripe kiwi yields slightly to pressure, like a ripe avocado. If it’s rock hard, it needs more time on the vine.
I also check the seed color. When the tiny black seeds appear in a sample fruit, I know the entire vine is ready. This visual cue is especially helpful for first-time growers.
For the aroma test, I sniff near the stem. A sweet, fruity scent means the kiwis are ready. No smell means they’re not ripe yet, no matter how good they look.
The skin color changes from green to brown as kiwis mature. I look for this transition on the sun-exposed side first. It’s a great visual indicator that complements the other tests.
I find that combining 3-4 tests gives the most reliable results. The Brix test is most accurate, but the texture and aroma checks are quick ways to confirm ripeness in the field.
Remember that kiwis continue ripening after harvest. If you’re unsure, pick a few test fruits. They’ll be ready to eat in 1-2 weeks if stored properly at room temperature.
For the best flavor, I harvest when most fruits show ripeness signs. This ensures a consistent, sweet crop rather than a mix of underripe and overripe kiwis. ☀️
I always test fruits from different parts of the vine. Ripening can vary based on sun exposure and vine position. This comprehensive approach prevents any surprises at harvest time. 🌱
Timing your kiwi fruit harvest depends heavily on the variety. I’ve found that Hayward, the most common type, typically ripens in late September to October. Climate plays a huge role too.
For Bruno kiwis, I start checking in early October, while Saanichton12 often matures a bit earlier. Warmer regions may see harvests 2-3 weeks sooner than cooler areas.
| Variety | Harvest Window | Key Cue |
|---|---|---|
| Hayward | Late Sept – Oct | Brix 6.5%+ |
| Bruno | Early Oct | Brown skin |
| Saanichton12 | Mid Sept | Sweet aroma |
I watch for leaf color changes as a natural signal. When the vines start yellowing, it’s a sign the fruits are nearing maturity. This is especially useful for organic growers.
Another clue is fruit drop. If a few kiwis fall to the ground, it’s nature’s way of saying the rest are ready. I check these fallen fruits first for ripeness signs.
In cooler climates, I extend the harvest window by 1-2 weeks. The fruits develop sugar more slowly, so patience is key. A frost warning means I’ll harvest immediately, even if not fully ripe.
For the most accurate timing, I combine variety knowledge with the ripeness tests mentioned earlier. This dual approach ensures I never miss the perfect harvest window. 🌱
I’ve learned the hard way that harvesting kiwi fruit too early is the #1 mistake. Picking before Brix levels reach 6.5% results in tart, underripe fruit that never sweetens properly.
Another common error is waiting too long. Overripe kiwis become mushy and lose their firm texture. I always harvest before the first frost, as cold can damage the fruit.
⚠️ Warning: Never harvest kiwis during rainy weather. Excess moisture can lead to fruit rot and reduce storage life significantly.
I see many gardeners ignore storage conditions after picking. Kiwis need cool, dry air to ripen properly off the vine. Storing them in plastic bags traps moisture and causes spoilage.
Testing only one fruit is another pitfall. I always sample from multiple vines and different sections to ensure uniform ripeness. This prevents harvesting an entire crop that isn’t ready.
Finally, don’t forget the weather forecast. If a cold snap is coming, I harvest immediately, even if the fruit isn’t perfect. It’s better to ripen indoors than risk losing the crop to frost. 🌱
Check for a slight give when gently squeezed, like a ripe avocado. The skin should turn from green to brown, and you’ll notice a sweet aroma near the stem.
Yes, but pick them just as they start to soften. Kiwis ripen off the vine, so harvest before frost hits. Store at room temperature to finish ripening in 1-2 weeks.
Overripe kiwis become mushy and lose their firm texture. They may also fall to the ground, increasing the risk of damage or rot. Always check vines regularly.
Cooler climates may need an extra 1-2 weeks for ripening. If frost is forecasted, harvest immediately, even if not fully ripe.
