
Beautiful Plants For Your Interior
Beautiful Plants For Your Interior
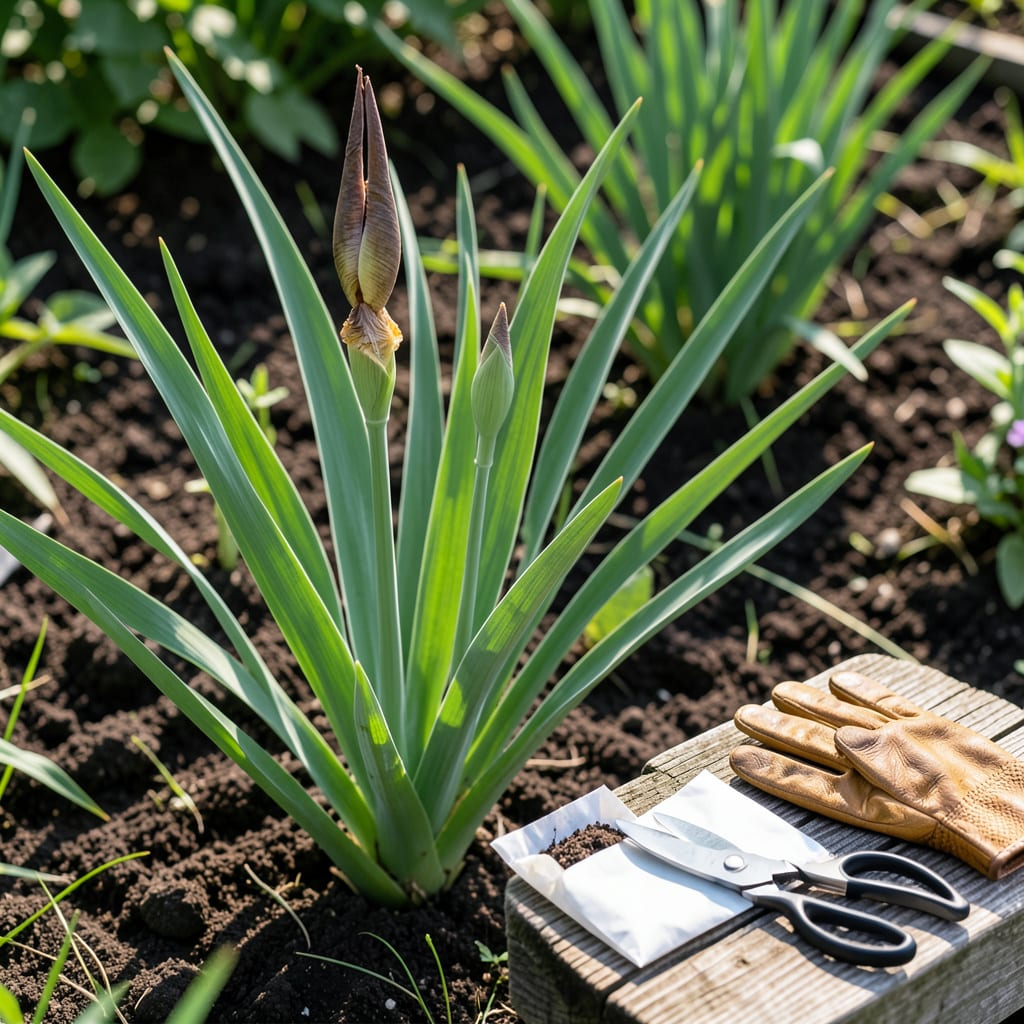
Timing is everything when it comes to collecting seeds from your Iris 🌸. Those distinctive pods won’t stay viable forever, and waiting too long can mean losing your chance entirely.
I’ll show you the most reliable signs that your seed pods are ready, plus the seasonal window that works best for zone 6 gardeners. Let’s make sure your next generation of irises gets off to a perfect start.


I always watch my iris plants closely after they bloom, knowing the seed pods will need about 6-8 weeks to mature. The transformation is fascinating to observe as nature signals when it’s time to collect.
In USDA zone 6, the ideal window typically falls between August and October, but the pods themselves give the clearest indication of readiness through visible and tactile changes.
🌱 Maturity Signs for Iris Seed Pods
| Maturity Indicator | Description |
|---|---|
| Color Change | Pods turn from green to brown |
| Texture Shift | Dry and papery to touch |
| Splitting | Pods begin to crack open |
| Seed Appearance | Dark and hard seeds inside |
| Stem Condition | Drying and yellowing stems |
The most obvious sign is the color change. When the pods shift from vibrant green to a tan or brown hue, they’re nearing readiness. This color transformation happens gradually over several weeks.
Next, I check the texture. Mature pods feel dry and brittle rather than firm and fleshy. Gently squeeze them – if they feel hollow or paper-like, they’re likely ready for harvest.
The splitting is my favorite indicator. As pods dry, they naturally begin to open along their seams, revealing the seeds inside. This is nature’s way of saying the seeds are ready to disperse.
Peek inside the cracked pods to examine the seeds. They should be dark brown or black and hard to the touch. If they’re still light-colored or soft, the pods need more time.
Don’t ignore the stems. As pods mature, their supporting stems often begin to dry out and yellow, which is another clear sign that harvest time is near.
In my experience, the best time of day to check for these signs is in the late morning, after any dew has evaporated but before the heat of the day sets in.
Remember that weather conditions can affect the timeline. A particularly hot, dry summer might speed up the process, while a cool, wet season could delay it by a week or two.
I’ve found that keeping a garden journal helps track these changes year to year, allowing me to refine my timing for future harvests. 🌸
I always gather my harvesting tools before heading out to the garden. A pair of sharp scissors or pruners is essential for clean cuts that won’t damage the seed pods or the plant.
Wearing gardening gloves protects my hands from the iris leaves, which can sometimes be a bit sharp. I also bring a small basket or bag to collect the pods as I work.
🌱 Harvesting Steps for Perfect Iris Seeds
The cutting technique is crucial. I
I always check each pod carefully before cutting. If it’s not quite ready, I leave it on the plant for a few more days. Patience at this stage ensures higher seed viability for future planting.
After cutting, I place the pods in a paper bag rather than plastic. This allows any remaining moisture to evaporate while catching any seeds that might fall out during transport.
Back at my workbench, I let the pods dry for an additional 1-2 weeks in a well-ventilated area. This final drying ensures the seeds are fully mature and ready for storage or planting. 🌸
I’ve learned through experience that timing is everything with iris seed pods. Harvesting too early means the seeds won’t germinate, while waiting too late risks losing them to wind or weather.
Another common mistake is using plastic containers for storage. This traps moisture and can lead to mold growth, ruining your carefully collected seeds.
⚠️ Avoid These Iris Seed Harvesting Mistakes
Harvesting green pods – seeds won’t be mature enough to grow
Using airtight containers – causes moisture buildup and mold
Storing in humid locations – leads to seed spoilage
Delaying harvest after splitting – seeds may disperse naturally
I once made the error of leaving pods on the plant until they fully opened. By then, many seeds had already fallen to the ground, reducing my potential harvest significantly.
Proper drying techniques are also crucial. I spread my pods in a single layer on a paper towel in a well-ventilated area to ensure even drying without moisture retention.
Remember that labeling your seeds is essential. Without proper labels, it’s easy to forget which variety is which, especially if you’re growing multiple iris types. 🌸
Seed pods typically mature about 6-8 weeks after flowering. In zone 6, this usually falls between August and October.
Seeds from green pods won’t be mature enough to germinate. Always wait until pods turn brown and begin splitting.
You can, but many seeds may have already dispersed. Check pods daily once they start splitting to catch them at the right moment.
Place them in a paper bag in a cool, dry place for 1-2 weeks to finish drying before seed extraction.
