
Beautiful Plants For Your Interior
Beautiful Plants For Your Interior
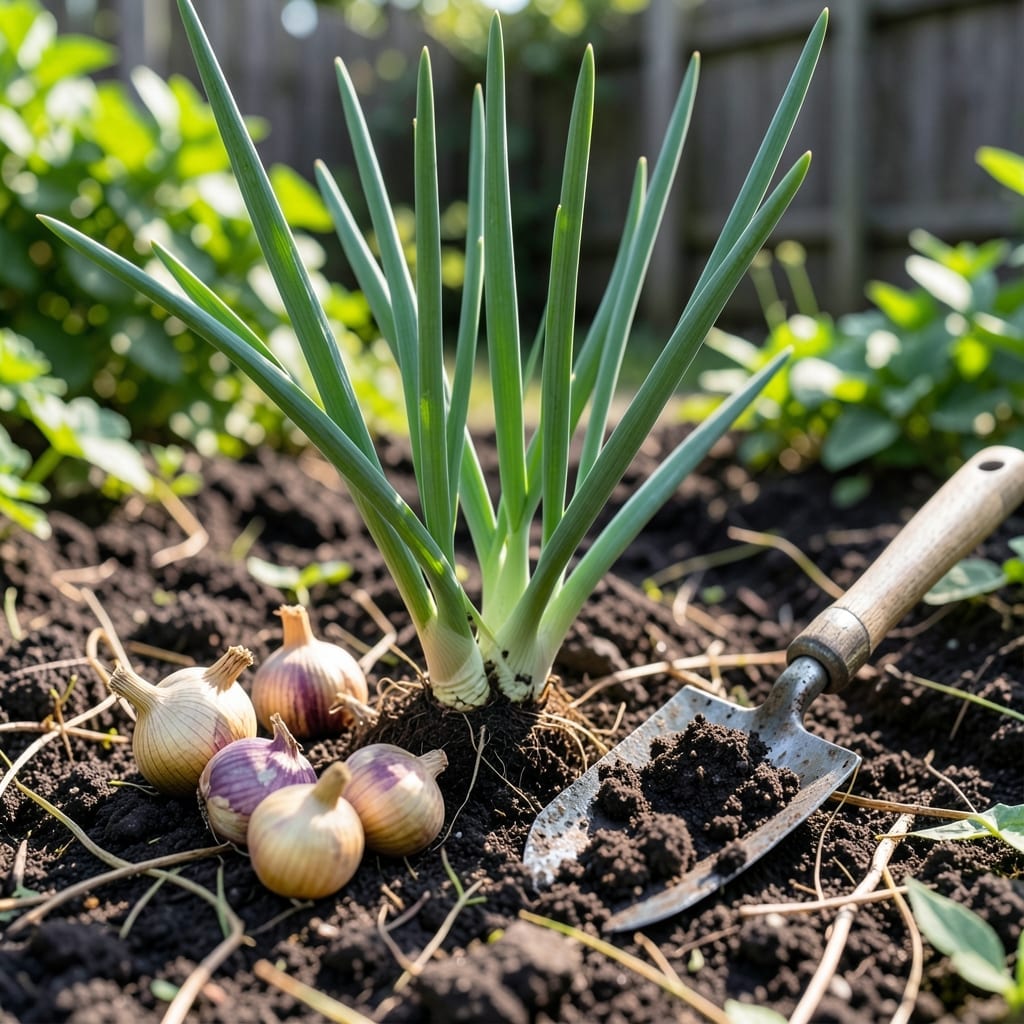
Timing is everything when it comes to growing Shallots 🧅, and planting at the right moment can make or break your harvest. I learned this the hard way my first season.
In Zone 6, the sweet spot is March to April for planting, with harvests ready by July or August. But climate plays a huge role in your success.
Let me share the seasonal rhythms I’ve mastered so you can avoid the trial-and-error phase. Discover how to align your planting with nature’s calendar for the best results.

Getting the timing right for shallot planting can transform your harvest. In my experience, USDA Zones 3-5 thrive with early spring planting as soon as soil is workable.
For Zones 6-7, like my garden, March to April works perfectly, while Zones 8-10 can plant in fall or winter for spring harvests.
| Climate Zone | Planting Window | Harvest Time |
|---|---|---|
| Zones 3-5 | Early spring | Late summer |
| Zones 6-7 | March-April | July-August |
| Zones 8-10 | Fall-winter | Spring-early summer |
I’ve found that soil temperature is more important than calendar dates. Aim for 40-50°F soil for spring planting, which typically occurs 2-4 weeks before your last frost date.
In warmer zones, fall planting (October-November) gives shallots a head start. They’ll develop roots before winter, then resume growth in spring for earlier harvests.
For container growing, you can start shallots indoors 8-10 weeks before your last frost. This works especially well in short-season areas where spring is brief.
Remember that day length affects bulb formation. Shallots need 12-14 hour days to form proper bulbs, which is why timing matters so much.
I always check my local frost dates and adjust accordingly. In my Zone 6 garden, I plant April 1st and harvest around July 15th for the best results.
For succession planting, try planting a small batch every 2-3 weeks in early spring. This extends your harvest window and ensures you don’t end up with too many shallots at once.
No matter your zone, well-draining soil is non-negotiable. Shallots hate soggy conditions, so amending heavy clay with compost is one of my top recommendations. ☀️
Preparing your soil properly is the foundation for healthy shallot growth. I always start by testing my soil pH, aiming for 6.0-7.0 for optimal nutrient uptake.
Loamy, well-draining soil is ideal. If your garden has heavy clay, amending with compost or sand will prevent waterlogging, which shallots despise.
When selecting shallot bulbs, choose firm, disease-free ones from a reputable source. I prefer larger bulbs as they tend to produce bigger harvests.
Planting depth is crucial—too deep and they’ll rot, too shallow and they’ll dry out. I’ve found 1-2 inches deep with the tips just covered works perfectly in my garden.
For container growing, use a pot at least 8 inches deep with drainage holes. This gives roots enough room while preventing water from pooling at the bottom.
After planting, mulch with straw to retain moisture and suppress weeds. I’ve noticed this simple step significantly improves my shallot yields year after year. 🌱