
Beautiful Plants For Your Interior
Beautiful Plants For Your Interior
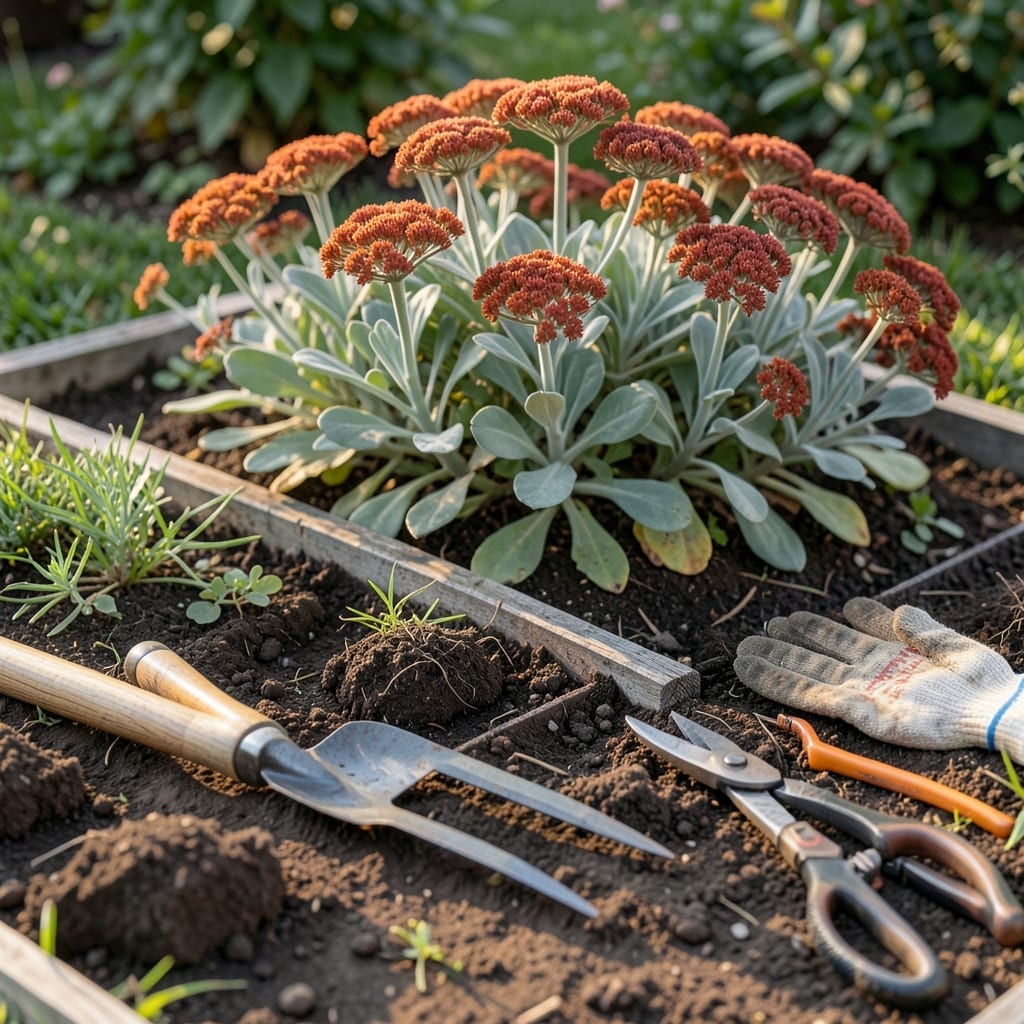
If your Autumn Joy Sedum 🌸 looks crowded or its blooms have lost their vibrancy, dividing it might be the solution. This simple process can rejuvenate your garden and multiply your plants.
Timing is everything when it comes to dividing this hardy perennial. Do it right, and you’ll be rewarded with more vigorous growth and stunning fall color.
I’ll walk you through the best times to tackle this task, whether you’re in zone 4-9 or just starting your gardening journey. It’s easier than you might think.
Discover how a little effort at the right moment can transform your sedum from struggling to spectacular. Let’s get started.
I’ve found that Autumn Joy sedum thrives best when divided during early spring or early fall. These seasons offer the cool temperatures and moderate moisture that reduce stress on the plant.
In my experience, USDA zones 4-9 are ideal for this perennial, and dividing in March, April, September, or October ensures strong root establishment before extreme weather hits.
| Timing | Conditions | Benefits |
|---|---|---|
| Early Spring | New growth appears | Minimizes transplant shock |
| Early Fall | After flowering | Allows root growth before winter |
| Avoid Summer | Heat stress | Prevents wilting or damage |
Look for signs like overcrowding or reduced blooms—these indicate your sedum needs dividing. I always check for thick clumps or center dieback as clear signals.
In warmer climates, I recommend early fall division to avoid summer heat stress. The plant recovers faster with cooler nights and consistent rainfall.
For cooler regions, spring division is safer. The soil warms up gradually, giving roots time to establish before winter. I’ve seen best results this way.
If you’re in USDA zone 4, aim for late April or early May. In zone 9, September to October works perfectly. Always avoid freezing temperatures or drought conditions.
I’ve noticed that dividing every 3-4 years keeps Autumn Joy sedum vigorous. This prevents woodiness and ensures healthy blooms each season.
Remember, the best time aligns with active growth periods. Whether it’s spring or fall, your sedum will thank you with lush foliage and abundant flowers. ✂️
Finally, always water deeply after dividing to settle the soil and reduce stress. I use a slow-release fertilizer to give new divisions a strong start. 🌱
Dividing Autumn Joy Sedum is a straightforward process that rejuvenates the plant and gives you more to enjoy. I always start by preparing my tools and workspace to make the job smoother.
You’ll need a sharp spade, pruning shears, and a watering can. Early morning is the best time to begin, as the plants are less stressed and the soil is often moister.
Each divided section should have a healthy portion of roots and a few shoots. I aim for sections that are about the size of a small dinner plate for best results.
Space the new plants 18 to 24 inches apart to allow for growth. This spacing ensures good air circulation, which helps prevent disease.
After planting, keep the soil consistently moist for the first few weeks. This helps the roots establish and reduces transplant shock.
I’ve found that mulching around the base helps retain moisture and keeps weeds at bay. Use a 2-inch layer of organic mulch for best results ✂️