
Beautiful Plants For Your Interior
Beautiful Plants For Your Interior
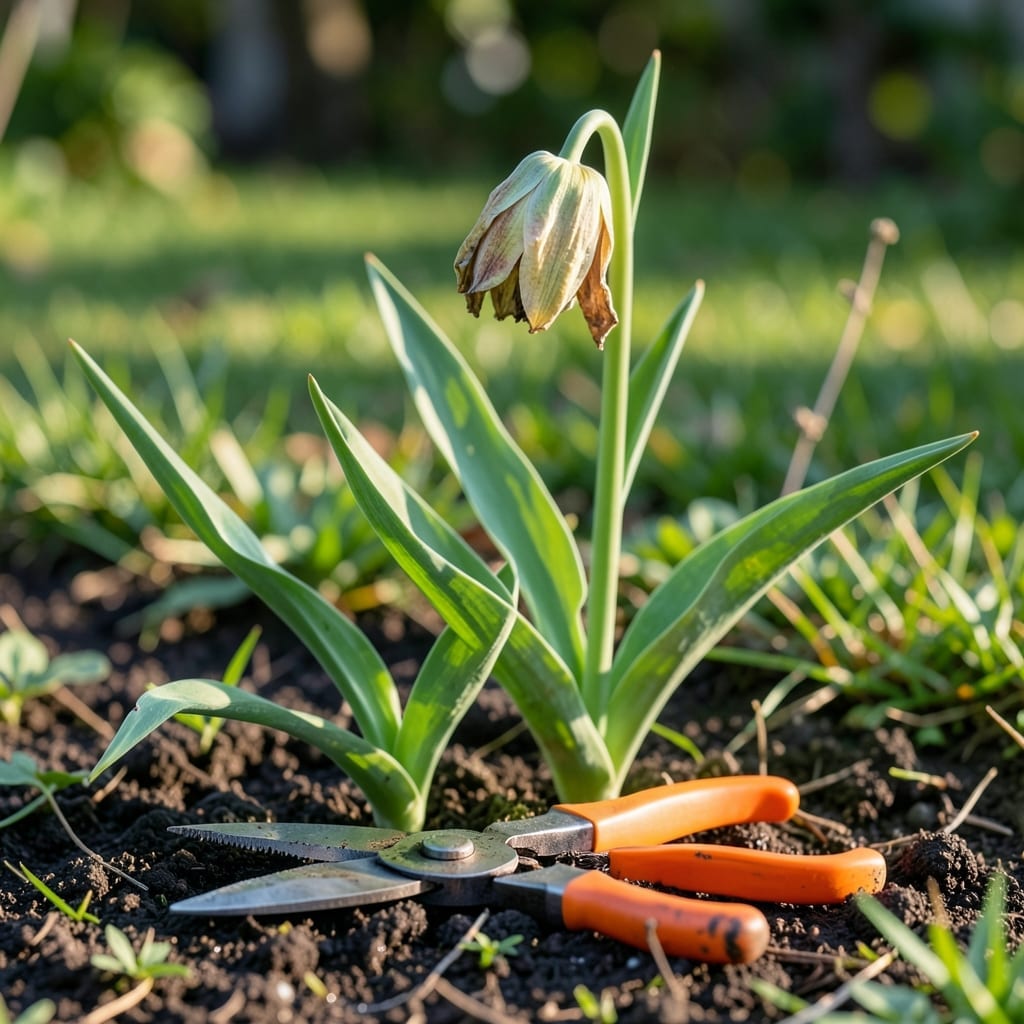
Knowing when to cut down tulips can mean the difference between a lackluster garden next spring and a vibrant burst of color. The 🌷Tulip needs proper post-bloom care to store enough energy for next year’s display.
I’ve learned that timing is the key to keeping those bulbs healthy. Cut too early, and you risk weak or nonexistent blooms next season.
Discover the simple signs that tell you it’s safe to trim back your tulips, ensuring your garden stays spectacular year after year.
The perfect time to cut down tulips is after their foliage turns yellow and begins to wither. This usually happens 6 weeks after blooming, when the leaves have done their job of storing energy.
I always wait until the leaves are brown and crispy to the touch. This ensures the bulb has absorbed all the nutrients it needs for next year’s growth. ✂️
🌱 Key Takeaway
Wait 6 weeks post-bloom or until leaves turn yellow before cutting back tulips. This critical period lets bulbs store energy for next spring.
If you cut back too early, you risk starving the bulb. The green leaves are solar panels, converting sunlight into food stored in the bulb for next year’s flowers.
In my experience, late spring to early summer is the ideal window. This timing aligns with the natural die-back of the foliage after the blooming period ends.
For healthier bulbs, I recommend marking your calendar 6 weeks after the last tulip fades. This simple trick helps me remember when it’s safe to trim.
You’ll notice the leaves start yellowing at the tips first. That’s your first sign that the energy transfer to the bulb is nearly complete.
I’ve found that dwarf tulips may finish their cycle a bit sooner than standard varieties. Always observe your specific plants rather than relying solely on a calendar.
Remember, the flower stems can be removed immediately after blooming, but leave those leaves intact until they’ve completed their nutrient-storing mission. 🌷
This patience pays off with bigger, brighter blooms the following year. Your future self will thank you when you see those vibrant tulips emerging next spring.
To prune tulips properly, I first remove the flower head right after it wilts, but I always leave the foliage intact. This prevents seed formation while allowing energy storage.
When the leaves turn yellow and feel crispy, that’s my signal to reach for my sharp bypass pruners. Clean, precise cuts are essential for plant health. ✂️
🌱 Pruning Steps
I always sanitize my pruners between plants to prevent disease spread. A quick wipe with rubbing alcohol does the trick for maintaining healthy tulip beds.
For the actual cutting, I make clean, angled cuts at the base of the foliage. This helps water run off and prevents rot from developing at the cut site.
After pruning, I gently rake away any plant debris. This keeps the area tidy and reduces the chance of fungal diseases taking hold in your garden bed.
Finally, I mark the location of my tulip bulbs with small garden stakes. This helps me avoid accidentally disturbing them during summer planting or fall cleanup. 🌷