
Beautiful Plants For Your Interior
Beautiful Plants For Your Interior
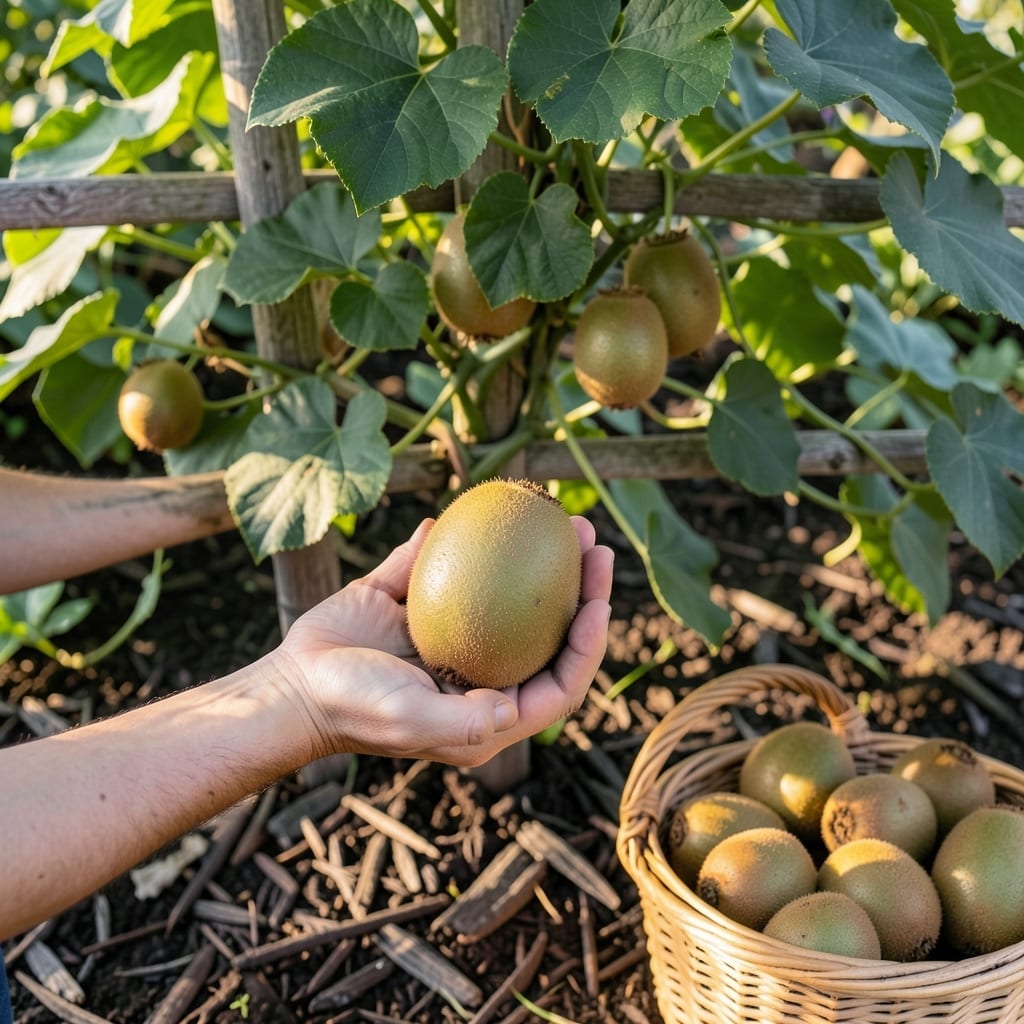
Picking a perfectly ripe 🥝 can feel like a guessing game with its fuzzy exterior hiding the good stuff inside. But there’s no need to rely on luck—learning to spot a few key signs will take the mystery out of it.
I’ve found that the right combination of visual cues and simple texture tests works every time. You’ll be surprised how easy it becomes once you know what to look for.
Discover the foolproof methods to check ripeness at home and never cut into an unripe kiwi again. It’s simpler than you think.

Determining kiwi ripeness starts with your eyes. The skin color is your first clue—green kiwis shift from bright to dull green, while gold kiwis develop a richer, golden hue as they ripen.
Look for subtle changes in the fruit’s texture. A ripe kiwi often has a slightly wrinkled skin near the stem, which is a great indicator that the fruit inside is soft and sweet.
| Kiwi Type | Ripe Color | Texture Sign |
|---|---|---|
| Green Kiwi | Dull green | Slightly wrinkled |
| Gold Kiwi | Rich golden | Smooth but soft |
The stem end is another visual hotspot. If it looks dry or shriveled, the kiwi is likely ripe. This happens because the fruit pulls moisture from the stem as it matures.
For gold kiwi varieties, you might notice a slight blush or reddish tint on the skin when fully ripe. This is normal and a sign of peak sweetness.
Don’t rely on firmness alone—kiwis can feel firm even when ripe. Instead, combine color and texture observations for the most accurate assessment.
If you’re growing kiwis in your garden, check the harvest window. Most varieties are ready between September and October, but visual cues will confirm the perfect moment.
Remember, size doesn’t indicate ripeness. A large kiwi isn’t necessarily ripe, so always use the visual and texture tests to be sure.
For the best results, examine your kiwis in natural light. Artificial lighting can distort colors, making it harder to spot the subtle changes that signal ripeness.
Once you’ve mastered these visual cues, you’ll never have to guess about kiwi ripeness again. It’s all about paying attention to the small but telling details.
🌱While visual cues are helpful, texture tests give you the most reliable confirmation of kiwi ripeness. The gentle squeeze test is my go-to method—apply light pressure with your thumb near the stem.
A ripe kiwi will yield slightly, like a ripe avocado, but won’t feel mushy. If it’s rock-hard, it needs more time. This test works for both green and gold varieties without damaging the fruit.
The smell test is another simple trick. Bring the kiwi close to your nose and inhale near the stem. A sweet fragrance means it’s ready, while no smell or a sour odor signals it needs more time.
For garden-grown kiwis, I recommend doing these tests in the early morning when the fruit is cool. This prevents false softness from heat exposure, giving you more accurate results.
If you’re still unsure, combine multiple tests. A kiwi that yields to pressure, has a sweet smell, and shows wrinkling near the stem is almost certainly ripe and ready to enjoy.
Remember, these tests work for store-bought kiwis too. Don’t be afraid to gently squeeze a few at the market to find the perfect one.
🌱