
Beautiful Plants For Your Interior
Beautiful Plants For Your Interior
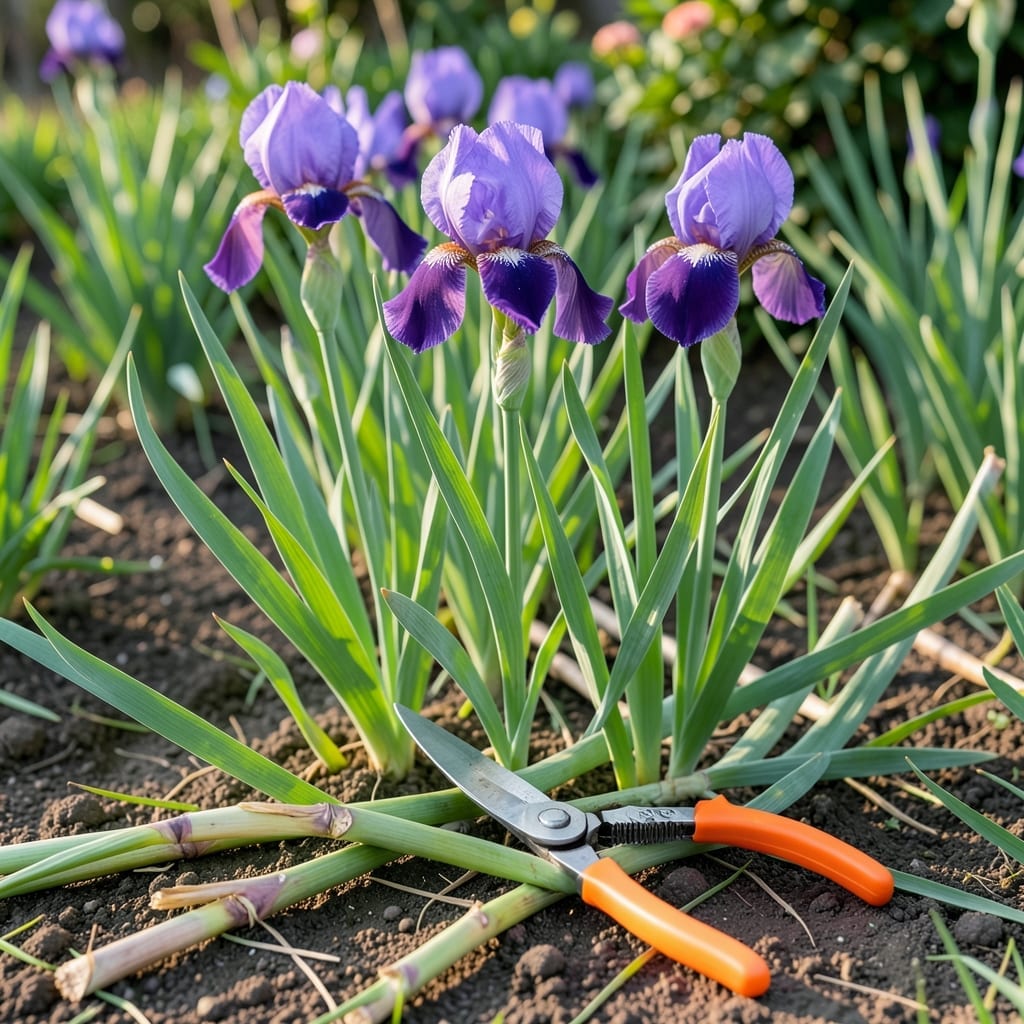
Timing your iris trimming can transform next year’s garden from ordinary to extraordinary. The 🌸 Iris thrives when pruned at the right moment, and I’ve seen firsthand how proper timing boosts blooms and plant health.
Trimming too early or late can leave your irises struggling. In zones 3-9, the best window ensures they store energy for a vibrant comeback. Let me share the seasonal cues I rely on.
Discover the simple schedule that keeps these hardy perennials flourishing year after year. Your future garden will thank you.
I’ve found that the best time to trim irises is right after they finish blooming, usually in early to mid-summer. This timing helps the plant focus its energy on storing nutrients for next year’s growth.
For most gardeners in USDA zones 3-9, this means trimming between July and September. The exact window depends on your local climate and when your irises bloom.
| Stage | Action | Timing |
|---|---|---|
| Post-Bloom | Remove spent flower stalks | Immediately after blooming |
| Late Summer | Trim yellowing leaves | July to August |
| Winter Prep | Cut back all foliage | After first frost |
After the last bloom fades, I cut the flower stalks down to the base. This prevents the plant from wasting energy on seed production and redirects it to the rhizomes.
In late summer, I trim back the yellow or brown leaves to about 6 inches above the ground. This keeps the garden tidy and reduces the risk of pests and diseases.
As winter approaches, I wait until after the first frost to cut back the remaining foliage. This helps prevent rot and prepares the plant for dormancy.
I avoid trimming irises in early spring or during their active growing season. Pruning at the wrong time can weaken the plant and reduce next year’s blooms.
For reblooming irises, I repeat the process after each flowering cycle. This encourages a second or even third round of blooms in a single season.
Remember, the goal is to keep your irises healthy and strong. Proper timing ensures they store enough energy for a spectacular display next year. ✂️
If you’re unsure, observe your plants closely. Yellowing leaves and spent blooms are clear signals that it’s time to trim. A little attention now pays off with vibrant blooms later.
Proper trimming keeps your irises healthy and encourages next year’s blooms. I always start with sharp bypass pruners to make clean cuts and avoid tearing the plant tissue.
First, I remove spent flower stalks at the base right after blooming. This prevents seed pod formation and redirects energy to the rhizomes for stronger growth.
When trimming yellow or brown leaves, I cut them back to about 6 inches above the ground. This maintains airflow while allowing the plant to continue photosynthesizing.
For the final winter trim, I wait until after the first frost kills the foliage. Then I cut everything back to 2-3 inches to prevent rot and pest issues during dormancy.
I always sterilize my pruners with rubbing alcohol between plants. This simple step prevents the spread of bacterial or fungal diseases that could harm your entire iris bed.