
Beautiful Plants For Your Interior
Beautiful Plants For Your Interior
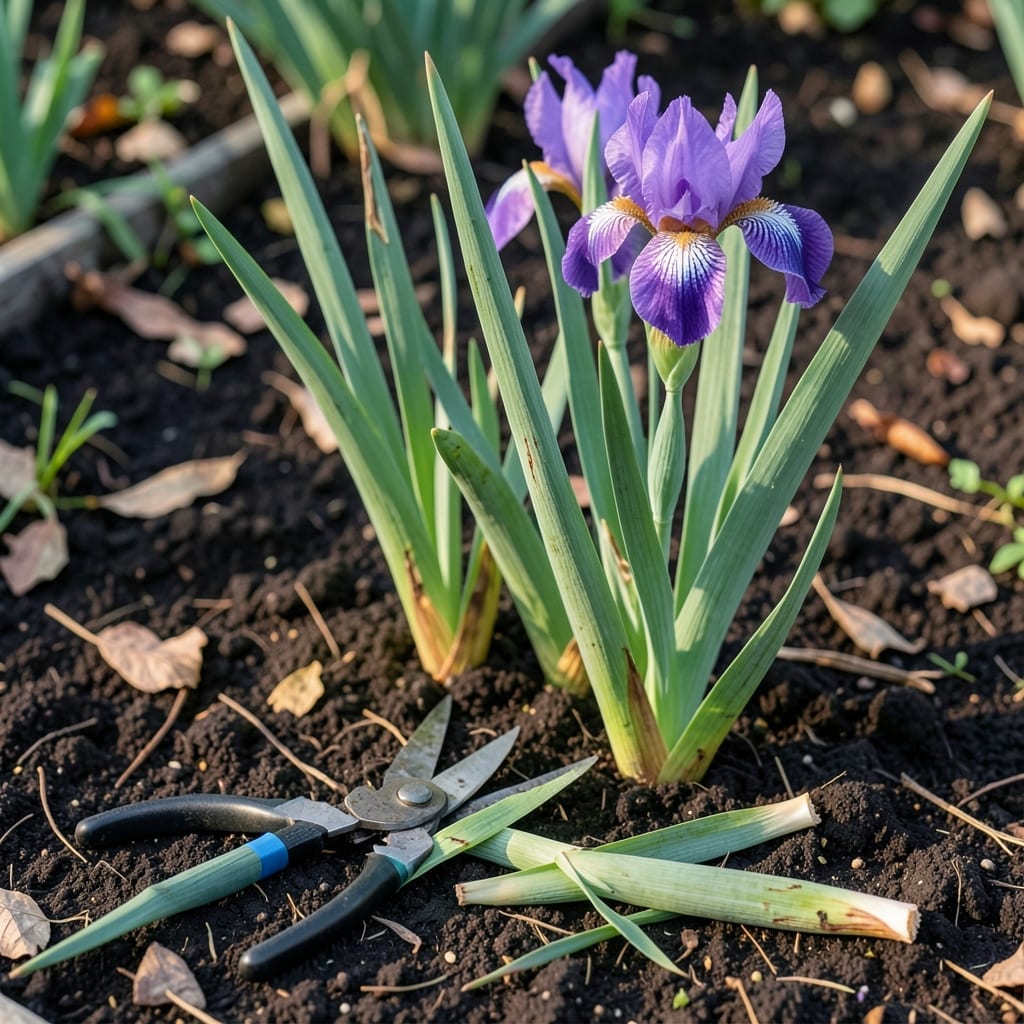
Knowing when to trim your Iris foliage can make or break next year’s blooms. Many gardeners accidentally prune at the wrong time, stunting their 🌸 plants’ growth and missing out on vibrant displays.
Timing matters more than you think. Cut too early, and you risk weakening the rhizomes. Wait too long, and you invite disease. The sweet spot is key for healthy reblooming.
Discover the exact window to trim your Iris leaves and set the stage for a spectacular next season. It’s simpler than you might expect.
Timing your Iris leaf pruning is crucial for next season’s blooms. The best window is 6-8 weeks after flowering, when the plant starts storing energy in its rhizomes for next year’s growth.
I always watch for yellowing leaves as a natural signal. This typically occurs in late summer or early fall, which is nature’s way of telling you it’s time to trim.
| Stage | Action |
| Post-Bloom | Wait 6-8 weeks after flowers fade |
| Late Summer | Trim when leaves turn yellow |
| Early Fall | Cut back to 6-8 inches above ground |
| Frost Risk | Remove all foliage after first frost |
The biology behind this timing is fascinating. After blooming, Iris plants focus on photosynthesis to rebuild their energy stores. Cutting too early disrupts this process.
In my garden, I’ve found August through September works perfectly for most USDA zones 3-9. This gives the rhizomes enough time to store nutrients before winter dormancy.
Watch for brown tips or disease spots as additional cues. These often appear when the plant is ready for pruning, signaling that the leaves are no longer actively photosynthesizing.
Remember that reblooming Iris varieties may need a slightly different approach. For these, I trim back the first set of leaves after their initial bloom, then wait for the second flush.
Fall pruning also helps prevent pest issues. Iris borers and other pests are less likely to overwinter in your garden when you remove old foliage at the right time.
After cutting back, I always clean up debris thoroughly. This removes potential hiding spots for pests and reduces the risk of fungal diseases in your Iris bed. ✂️
Finally, mark your calendar for next year’s pruning. Consistency is key – your Irises will reward you with bigger, more vibrant blooms each season. 🌸
Pruning your Iris leaves correctly ensures healthy regrowth and prevents disease. I always start by gathering the right tools: sharp bypass pruners and clean gloves for protection.
The first step is identifying the right time. Wait until 6-8 weeks post-bloom or when leaves begin yellowing. This ensures the plant has stored enough energy for next season.
When cutting, I
For reblooming Irises, I trim the first set of leaves after their initial bloom, then wait for the second flush before doing a full prune in early fall.
Always sanitize your tools between plants to prevent spreading diseases. A quick wipe with rubbing alcohol works perfectly for this.
After pruning, I lightly fertilize with a low-nitrogen option to support root growth. This gives my Irises the boost they need for next year’s spectacular blooms. ✂️