
Beautiful Plants For Your Interior
Beautiful Plants For Your Interior
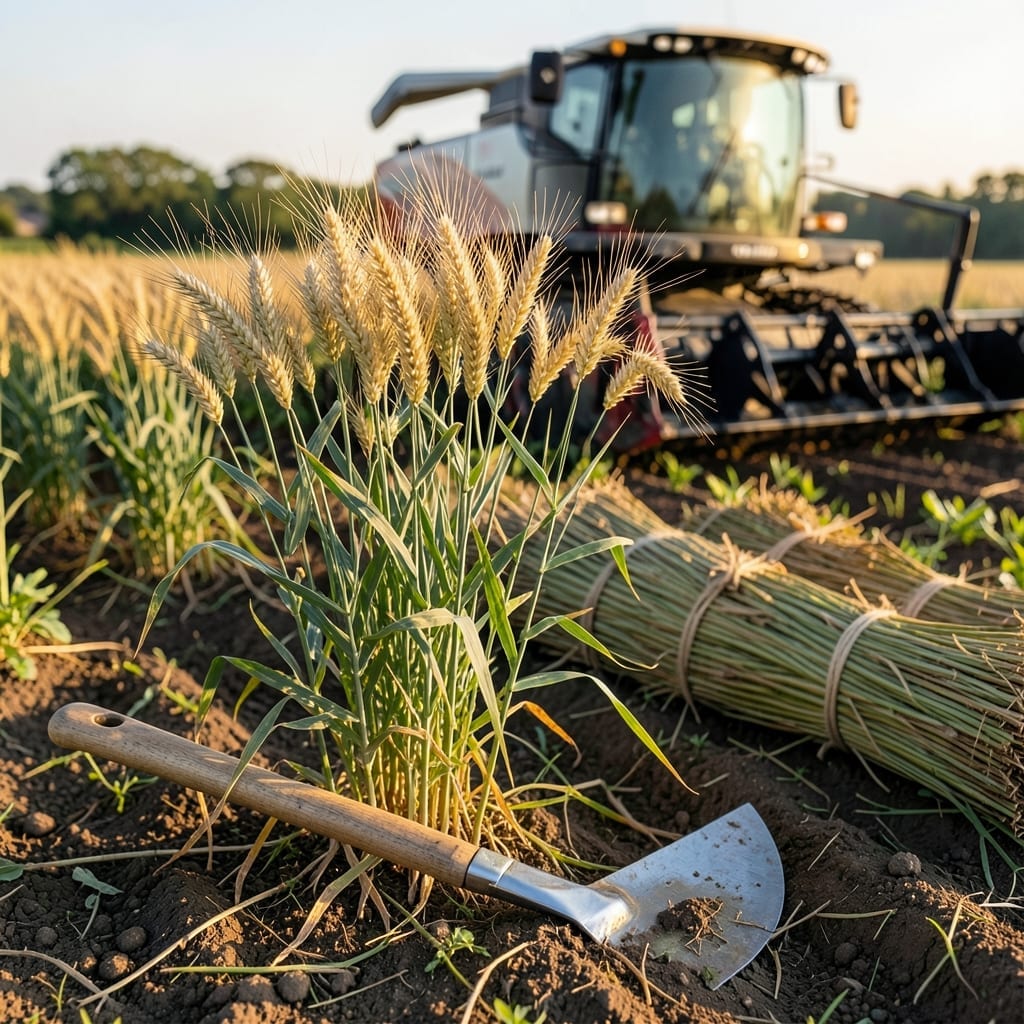
Timing your wheat harvest perfectly can mean the difference between a bountiful yield and missed opportunities. Knowing the visual cues and seasonal signals ensures you reap the rewards of your hard work.
With 🌾 Wheat, the window is tight—June through August in zone 6a. Watch for golden-brown heads and hard kernels as your clear signs. These moments don’t last long, so attention to detail is key.
I’ve seen gardeners lose weeks of effort by harvesting too early or too late. The difference often comes down to understanding these subtle changes in your crop.
Discover how to spot the ideal harvest moment and why it matters more than you might think. Your yield depends on getting this right.
Spotting the right moment to harvest your wheat is crucial for maximum yield and optimal quality. As a gardener, I’ve learned that wheat gives clear signals when it’s ready.
Look for a golden-brown color in the heads, which indicates the grains are maturing. The kernels should feel hard to the touch and resist denting when pressed.
| Visual Cue | What to Look For |
|---|---|
| Color Change | Golden brown heads |
| Kernel Hardness | Hard kernels that resist denting |
| Moisture Content | 13-15% or lower |
| Stem Condition | Dry and yellow stems |
| Head Position | Nodding heads due to weight |
Another key indicator is the moisture content of the grain. I always carry a moisture meter to check that the levels have dropped to 13-15% or below.
The stems also change from green to yellow as they dry out. When the seed heads begin to nod under their own weight, it’s a strong sign that the wheat is nearing readiness.
Testing these signs in the field is simple. I squeeze a few kernels between my fingers—if they’re hard and don’t leave a dent, they’re likely ready for harvest.
If the kernels are still soft or green, the wheat needs more time. Harvesting too early can result in high moisture content, which affects storage and quality.
For home gardeners, I recommend checking multiple plants in different areas of your field. Wheat doesn’t always mature uniformly, so sampling ensures accuracy.
Pay attention to the weather forecast as well. A stretch of dry, sunny days is ideal for harvest. Wet conditions can delay the process and risk spoilage.
By combining these visual cues with a bit of patience, you’ll time your wheat harvest perfectly every season. It’s all about observation and precision. 🌾
When I plan my wheat harvest, I always consider the regional climate first. In the Pacific Northwest, cool springs mean a later harvest, often July to August. The Midwest typically sees harvests in June to July due to warmer summers.
The wheat variety matters just as much. Spring wheat matures faster, usually 90-110 days after planting. Winter wheat, planted in fall, takes 220-240 days and is ready by early summer.
| Region | Spring Wheat Harvest | Winter Wheat Harvest |
|---|---|---|
| Pacific Northwest | July-August | June-July |
| Midwest | June-July | May-June |
| Southern Plains | May-June | April-May |
Weather patterns can shift these timelines. A warm, dry spring speeds up maturity, while cool, wet conditions delay it. I always check the 10-day forecast before planning my harvest.
Hard red winter wheat in Kansas often matures earlier than soft white spring wheat in Washington. Knowing your variety’s days to maturity helps you anticipate the right window.
For home gardeners, small-scale testing is key. I pinch a few kernels to check hardness and color. If they’re golden and firm, it’s time to start harvesting.
Remember, moisture content should be 13-15% for storage. Use a moisture meter for accuracy, or the old bite test—if it cracks, it’s ready.
In my experience, starting early in the day avoids afternoon heat, which can affect grain quality during handling.