
Beautiful Plants For Your Interior
Beautiful Plants For Your Interior
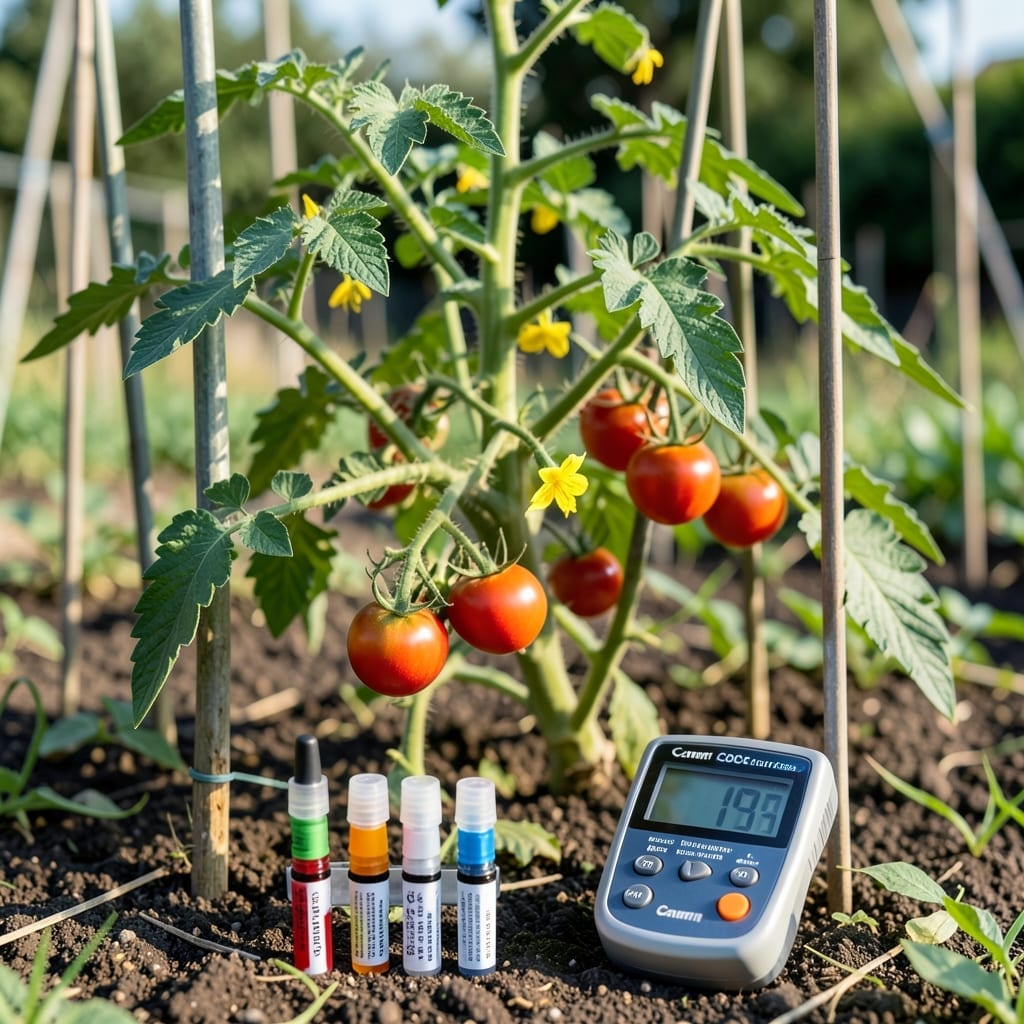
If your 🍅 Tomato plants look sad despite your best efforts, the soil might be the culprit. Getting the pH wrong means they can’t absorb nutrients properly, no matter how much you fertilize.
I’ve seen gardeners struggle for seasons before realizing their soil was too acidic or alkaline. The good news? Fixing it is simpler than you think.
Discover the ideal pH range that transforms struggling plants into thriving ones. Your harvest will thank you.
The ideal pH range for tomato plants is between 6.0 and 6.8. This slightly acidic to neutral range allows tomatoes to absorb essential nutrients like nitrogen, phosphorus, and potassium effectively.
When soil pH strays too far from this range, your plants may show signs of distress. Yellowing leaves or stunted growth often indicate a pH imbalance that needs correction.
| Requirement | Specification |
|---|---|
| Ideal pH Range | 6.0 – 6.8 |
| Nutrient Absorption | Optimal at this pH |
| pH Below 6.0 | Too acidic, add lime |
| pH Above 6.8 | Too alkaline, add sulfur |
I always recommend testing your soil before planting. A simple pH test kit from your local garden center can reveal if adjustments are needed. It’s a small investment that pays off in healthier plants and better yields.
Tomatoes grown in soil with a pH of 6.2 to 6.5 typically show the best growth and fruit production. This is the sweet spot where most nutrients become readily available to the plant’s roots.
If your soil is too acidic (below 6.0), you can raise the pH by adding garden lime. For soil that’s too alkaline (above 6.8), elemental sulfur can help lower it to the desired range.
Remember that pH affects more than just tomatoes. If you’re growing other vegetables nearby, check their pH preferences too. Most garden veggies do well in the same 6.0-7.0 range as tomatoes.
Organic matter like compost can help stabilize soil pH over time. I like to work in plenty of compost each spring to give my tomatoes the best possible start.
Watch for signs of pH problems throughout the growing season. Blossom end rot can sometimes indicate calcium deficiency, which may be linked to improper pH levels affecting nutrient uptake.
Consistency is key with soil pH. Dramatic swings can stress your plants, so aim for gradual adjustments. With the right pH, you’ll see stronger growth, better flowering, and more abundant fruit set.
🌱
Testing your soil pH is the first step to ensuring your tomato plants thrive. I use a simple pH test kit from the garden center—it’s affordable and gives quick results. You can also try a DIY method with vinegar and baking soda.
If your soil is too acidic (below 6.0), add garden lime to raise the pH. For alkaline soil (above 6.8), elemental sulfur will help lower it. Always follow package instructions for application rates.
I always retest my soil 2-3 weeks after making adjustments. This gives the amendments time to work. If the pH still isn’t right, I’ll add a little more lime or sulfur as needed.
Organic matter like compost or well-rotted manure can help buffer pH changes over time. I work in a few inches of compost every spring to keep my soil healthy and balanced.
For container-grown tomatoes, use a potting mix formulated for vegetables. These mixes are usually pH-balanced, but it’s still a good idea to test occasionally, especially if your plants show signs of stress.
Remember, gradual changes are best. Dramatic pH swings can shock your plants. With patience and regular testing, you’ll create the perfect environment for your tomatoes to flourish. 🌱