
Beautiful Plants For Your Interior
Beautiful Plants For Your Interior
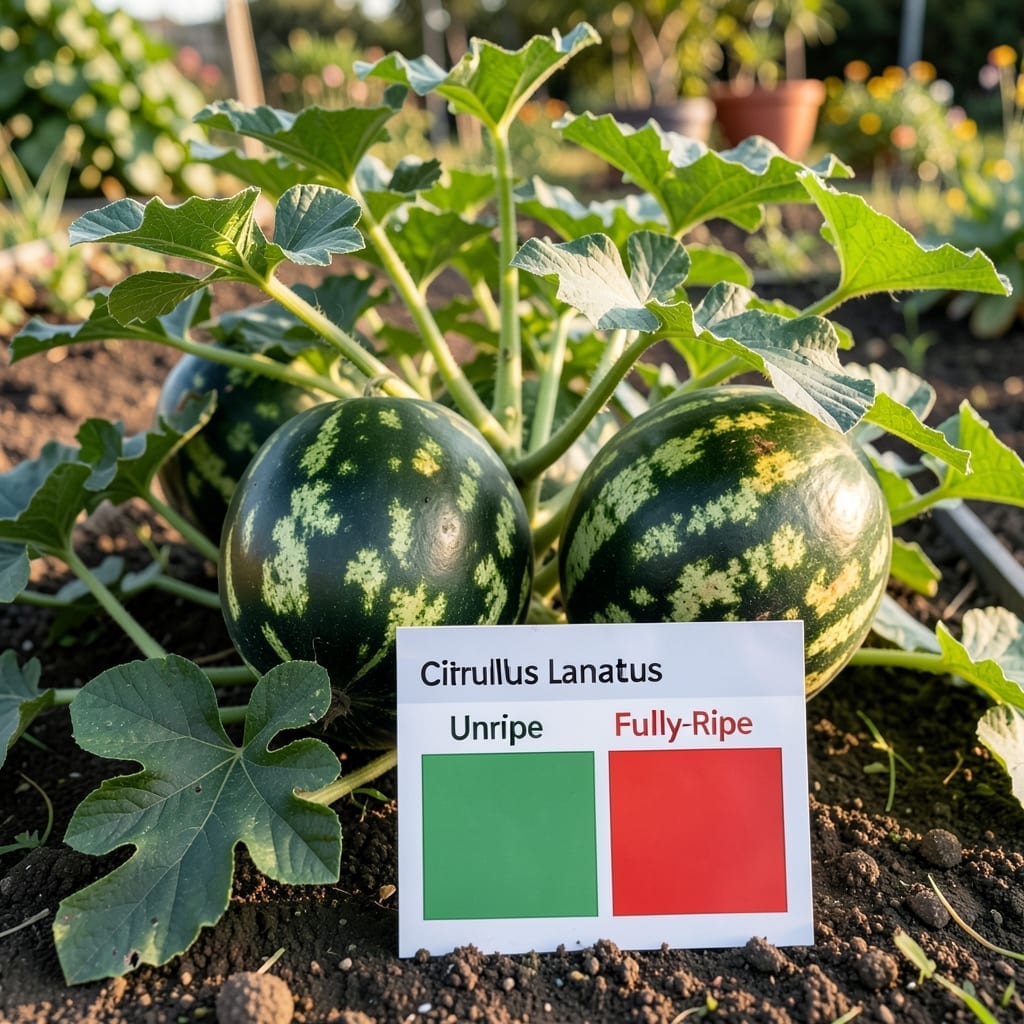
Nothing beats the taste of a perfectly ripe 🍉 Watermelon fresh from your garden. Yet knowing the exact moment to harvest can feel like guessing a secret code.
I’ve tested countless methods to pinpoint ripeness, and the visual cues are often the most reliable. The subtle changes in color, texture, and even sound can reveal when your fruit is at its peak.
Whether you’re growing in Zone 6 or elsewhere, timing is everything. With the right techniques, you’ll never cut into an underripe watermelon again.
Discover the field-tested signs that guarantee a sweet, juicy harvest every time. Let’s unlock the mystery together.
I’ve found that the perfect harvest time for watermelons often comes down to visual cues you can spot right in your garden. The rind color is one of the first things I check—it should shift from a bright green to a duller, matte finish when ripe.
The ground spot is another giveaway. This is the area where the melon rests on the soil. A ripe watermelon will have a cream or yellow ground spot, while an unripe one stays white or pale green. This sign is especially reliable for seedless varieties.
| Sign | Ripe Indicator | Not Ripe Indicator |
| Rind Color | Dull, matte finish | Glossy, bright green |
| Ground Spot | Cream or yellow | White or pale green |
| Tendril | Brown, dry | Green, curly |
| Weight | Feels heavy for size | Feels light |
| Sound | Deep, hollow thump | High-pitched or solid |
Don’t overlook the tendril check. The curly tendril near the stem should turn brown and dry when the watermelon is ready. If it’s still green and flexible, the fruit needs more time. This method works well for both seeded and seedless types.
I also rely on the weight test. A ripe watermelon will feel heavy for its size, indicating it’s full of juice. Compare two melons of similar size—the heavier one is usually the riper choice. This is a quick field test I use often.
The thump test is a classic for a reason. Tap the watermelon with your knuckles—if it produces a deep, hollow sound, it’s ripe. A high-pitched or metallic sound means it’s not ready yet. This takes a bit of practice, but it’s incredibly effective.
For Sugar Baby watermelons, the rind often develops a slightly rough texture when ripe. Other varieties, like Crimson Sweet, may show a more uniform color change. Always cross-check multiple signs for accuracy.
I’ve noticed that morning harvesting often yields the sweetest watermelons. The fruit’s sugar content is highest after a cool night. Use a sharp knife or pruners to cut the stem, leaving about 2 inches attached to the vine.
Remember, overripe watermelons can split open on the vine. If you see cracks or soft spots, harvest immediately. Underripe fruit can continue to ripen off the vine, but it won’t be as sweet as vine-ripened melons.
Finally, keep a gardening journal to track your watermelon’s progress. Note the planting date and check for ripeness signs starting around 70-85 days after planting. This helps refine your timing for future harvests.
☀️After checking the visual signs of ripeness, I always use the thump test as my next step. A ripe watermelon produces a deep hollow sound when tapped, while an unripe one sounds more metallic or dull. This method works best with larger varieties like Crimson Sweet.
Another reliable technique is the stem check. When the curly tendril closest to the stem turns brown and dry, your watermelon is likely ready. I find this especially useful for seedless types which can be trickier to assess.
For the blossom end analysis, look where the flower was attached. A cream or yellow color means it’s ripe, while white indicates it needs more time. I’ve found this works well with smaller varieties like Sugar Baby.
Common mistakes include tapping with too much force or checking too early in the day. I get best results when testing in the late afternoon after the dew has evaporated.
These field-tested methods, combined with the visual signs from your watermelon chart, will help you harvest at peak sweetness every time. I’ve never had a disappointing watermelon since I started using all three techniques together. ☀️