
Beautiful Plants For Your Interior
Beautiful Plants For Your Interior
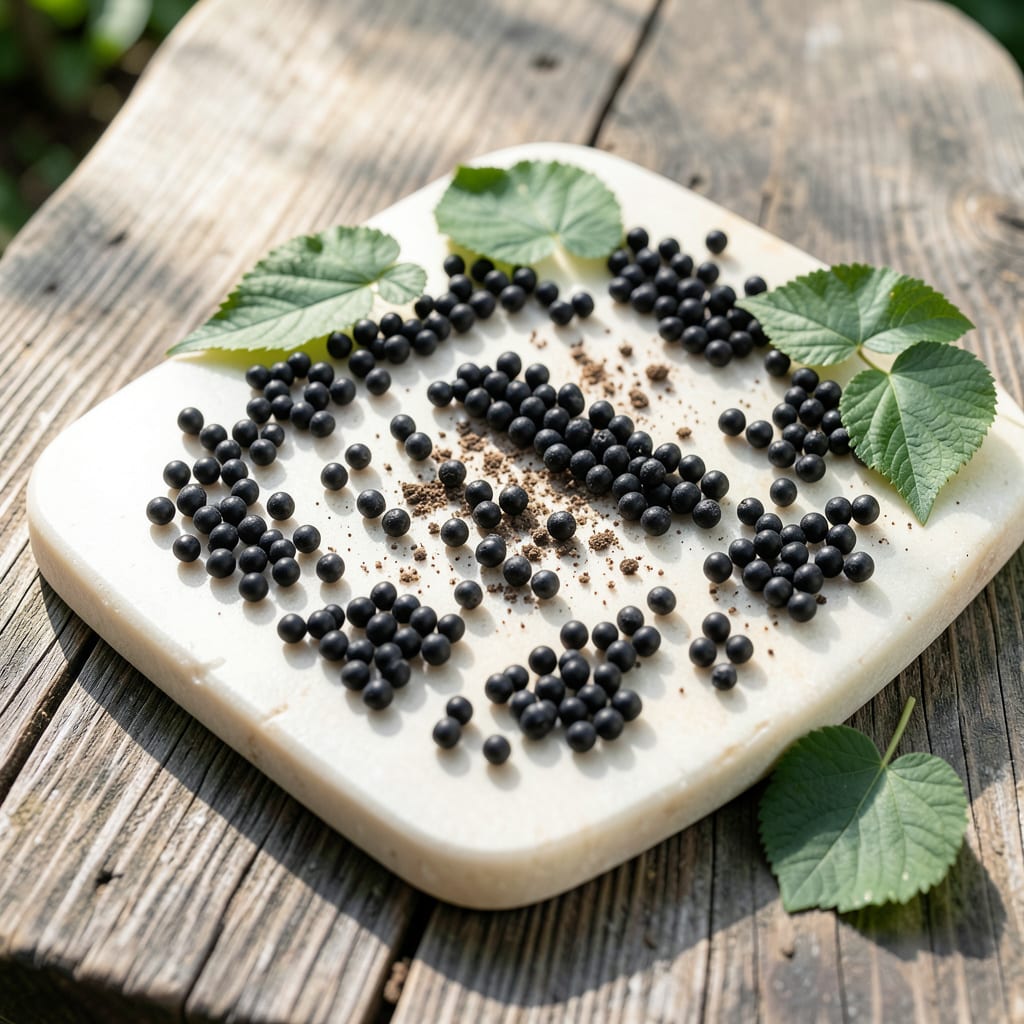
Spotted tiny black eggs on your plants? Don’t panic—this is fixable. I’ve dealt with these pests more times than I care to admit, and the solution is simpler than you’d think.
These eggs often belong to aphids, squash bugs, or beetles, and they can multiply fast. The good news? A few quick steps can remove them and stop future outbreaks before they start.
📚 In This Guide
Here’s how I handle these pests efficiently while keeping your garden safe and thriving.
First, carefully inspect the undersides of leaves, stems, and soil surfaces for clusters of tiny black eggs. I use a magnifying glass to confirm their presence, as they can blend in with soil or plant debris. Focus on areas with visible pest activity or damaged foliage.
These eggs often appear in hidden, sheltered spots where adults lay them to protect from predators. Check the base of plants and crevices in bark or mulch. Proper identification prevents unnecessary treatment of harmless look-alikes.
Gently scrape off the eggs with a damp cloth or soft brush, dropping them into a sealed bag for disposal. For stubborn clusters, I use a cotton swab dipped in soapy water to dislodge them without harming the plant. Work slowly to avoid spreading them to other areas.
If eggs are on soil, remove the top ½ inch of soil where they’re concentrated. This disrupts their life cycle and prevents hatching. Always wear gloves to avoid skin irritation from potential allergens or pesticides.
After removal, spray the affected area with a mild insecticidal soap or neem oil solution to kill any remaining eggs or larvae. I mix 1 tablespoon of neem oil per gallon of water and apply it in the early morning or late evening to avoid harming beneficial insects.
For severe infestations, consider a targeted pesticide labeled for the specific pest. Follow the product instructions precisely, and avoid overapplying. Reapply treatments every 5-7 days until the eggs are no longer visible.
Maintain garden hygiene by removing plant debris, fallen leaves, and weeds where pests might lay eggs. I keep the garden free of clutter and regularly turn the soil to expose hidden eggs to predators or harsh conditions.
Encourage natural predators like ladybugs, lacewings, and birds by planting diverse, native species. These allies help control pest populations naturally. Monitor plants weekly for early signs of reinfestation to act quickly.
Here are the practical tricks I use to make egg removal faster and more effective.
Identification Strategy: In Step 1, use a flashlight at dusk to spot tiny black eggs more easily—they often glisten slightly under artificial light. This simple trick reveals clusters that daylight misses, especially in dense foliage.
Removal Efficiency: For Step 2, dampen your cloth or brush with a little dish soap before scraping. This helps the eggs stick to the tool rather than spreading as you work, making disposal much cleaner.
Treatment Timing: In Step 3, the 5-7 day reapplication window is crucial. Neem oil breaks down quickly in sunlight, so sticking to this schedule ensures you catch any newly hatched larvae before they mature.
Prevention Hack: For Step 4, lay down a thin layer of diatomaceous earth around plant bases after turning the soil. This creates a barrier that deters adults from laying new eggs in treated areas.
Tiny black insect eggs are often oval or round, clustered in hidden spots like cracks or under leaves. Use a magnifying glass to check for smooth or textured surfaces. Common pests like ants, roaches, or beetles lay them in moist, dark areas.
They thrive in warm, humid places—under sinks, in pantries, or along baseboards. Outdoors, check soil, mulch, or plant stems. Inspect food storage areas and damp wood for clusters.
Vacuum them up (then dispose of the bag), or wipe with soapy water. For stubborn cases, use insecticidal soap or diatomaceous earth. Always wear gloves and ventilate the area.
Seal cracks, fix leaks, and store food in airtight containers. Regularly clean hidden areas and use natural repellents like peppermint oil or cedar. Monitor plants and outdoor entry points.
