
Beautiful Plants For Your Interior
Beautiful Plants For Your Interior
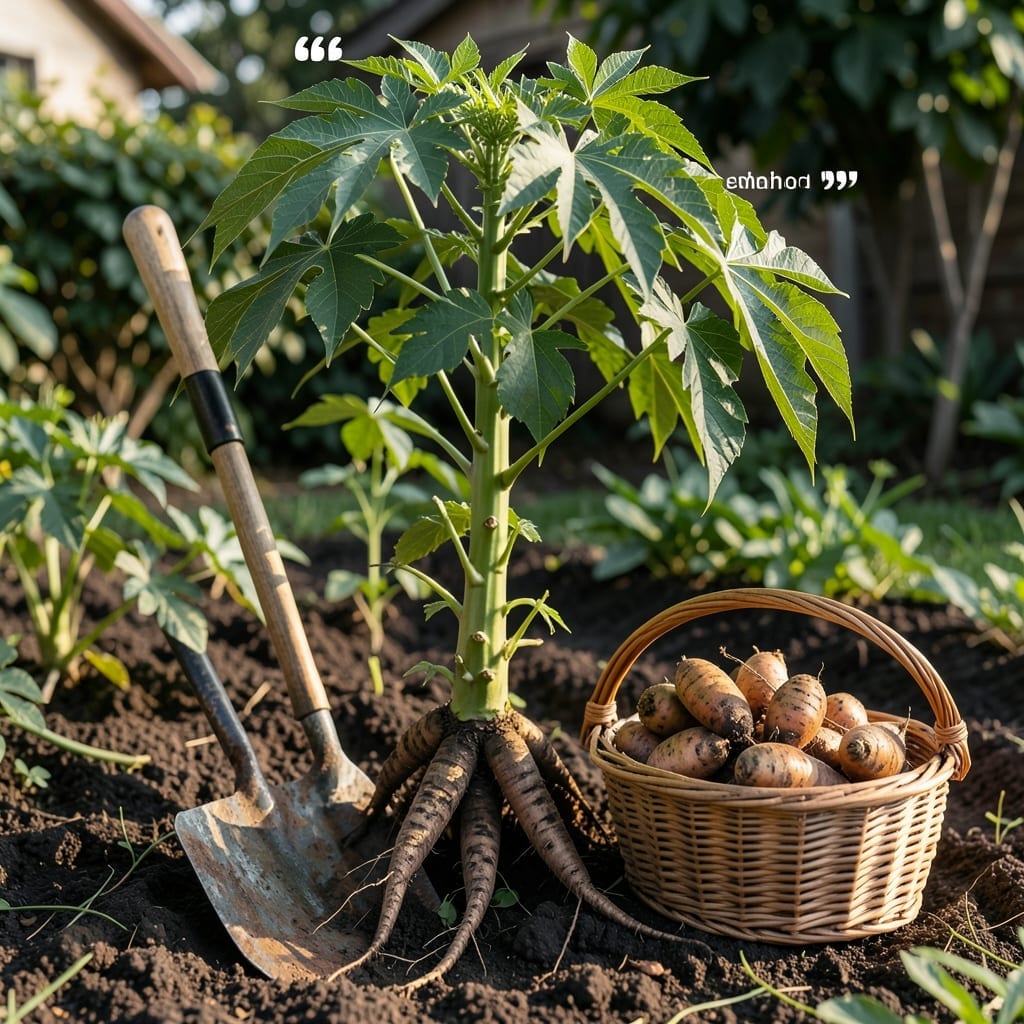
Cassava changed my perspective on tropical gardening. This hardy plant thrives where others struggle, turning poor soil into a reliable food source with minimal fuss.
I learned the hard way that timing matters—plant when soil reaches 70°F and harvest before the first frost. The roots store well, and the process is simpler than you’d expect.
📚 In This Guide
This method delivers healthy plants and a bountiful harvest in tropical climates.
Choose a location with full sun exposure and well-draining soil. Cassava thrives in loose, sandy loam with a pH between 5.5 and 6.5. I always test the soil first—if it’s too clay-heavy, amending with organic matter improves drainage and root development.
Clear the area of weeds and debris, then loosen the soil to a depth of 12-15 inches. This encourages deep root penetration, which is critical for cassava’s tuber formation. Avoid compacted or waterlogged spots, as standing water will rot the roots before they mature.
Use mature, healthy stem cuttings, each about 6-8 inches long with at least 3-4 nodes. Plant them vertically, burying 2-3 inches into the soil, with the remaining portion above ground. Space cuttings 3-4 feet apart to allow for vigorous growth and airflow between plants.
Water immediately after planting to settle the soil around the cuttings. You’ll notice new shoots emerging from the nodes within 2-3 weeks, which confirms successful rooting. If the soil dries out during this period, the cuttings may fail to establish.
Keep the soil consistently moist but not soggy during the first 2-3 months. Once established, cassava is drought-tolerant, but regular watering during dry spells ensures optimal tuber development. I reduce watering as the plant matures to prevent waterlogged conditions.
Fertilize lightly with a balanced 10-10-10 formula every 6-8 weeks to support foliage and root growth. Watch for yellowing leaves, which often signal nutrient deficiencies. Cassava is relatively low-maintenance but responds well to occasional feeding in poor soils.
Inspect plants regularly for signs of mealybugs, spider mites, or whiteflies, which are common cassava pests. A strong blast of water or insecticidal soap can address minor infestations. For severe cases, I use neem oil as a natural remedy, applying it in the early morning or late evening.
Prevent fungal diseases by ensuring good airflow between plants and avoiding overhead watering. Cassava is susceptible to root rot in poorly drained soils, so raised beds can be a smart solution in areas with heavy rainfall.
Cassava is typically ready for harvest 8-12 months after planting, when the tubers reach 2-4 inches in diameter. The foliage will start to yellow slightly, indicating maturity. Use a digging fork to carefully lift the tubers from the soil, taking care not to damage them.
Harvest during dry weather to make the process easier and reduce the risk of rot. Once harvested, cassava tubers can be stored in a cool, dry place for 1-2 weeks, but they’re best used fresh. Always wear gloves when handling, as the raw tubers contain toxins that are neutralized only through proper cooking.
Cultivating cassava successfully comes down to understanding the plant’s tropical needs.
Soil Preparation Insight: In Step 1, when loosening the soil to that critical 12-15 inches depth, I’ve found that incorporating compost at this stage significantly boosts root development. Cassava thrives in loose, sandy loam, so if your soil is clay-heavy, amending it now prevents future drainage issues that could rot the tubers.
Planting Precision: For Step 2, the 6-8 inch cuttings with 3-4 nodes must be planted with exactly 2-3 inches buried—any deeper and the stems may rot, any shallower and they won’t anchor properly. I learned this the hard way after losing an entire first batch to improper depth.
Watering Wisdom: Those first 2-3 months in Step 3 are crucial for establishment. The soil should feel like a wrung-out sponge—not soggy, not dry. I check by sticking my finger 2 inches into the soil; if it’s dry at that depth, it’s time to water again.
Harvest Timing: When you reach Step 5 after 8-12 months, don’t pull the tubers too early. Wait until they’re truly 2-4 inches in diameter and the foliage starts yellowing. Harvesting during dry weather is non-negotiable—wet conditions make the tubers prone to rot during storage.
Yes! Tapioca is a starch extracted from the cassava root, a tropical tubER. The root itself is often called yuca, while tapioca refers to the processed starch used in puddings, flour, and pearls.
No, raw cassava contains cyanogenic glycosides, which are toxic. Always cook, soak, or ferment it first to remove harmful compounds. Proper preparation makes it safe and delicious!
Cassava typically matures in 8–24 months, depending on the variety and growing conditions. Early harvests (8–12 months) yield smaller roots, while waiting longer increases size and starch content.
Sweet potatoes, arrowroot, and potatoes can substitute in some recipes, but they may alter texture. For gluten-free baking, cassava flour is hard to replace—experiment with blends like almond or coconut flour.
Yellowing leaves often signal nutrient deficiencies (like nitrogen) or overwatering. Check soil drainage and fertility. Pests or diseases, like bacterial blight, can also cause discoloration—inspect plants closely!