
Beautiful Plants For Your Interior
Beautiful Plants For Your Interior
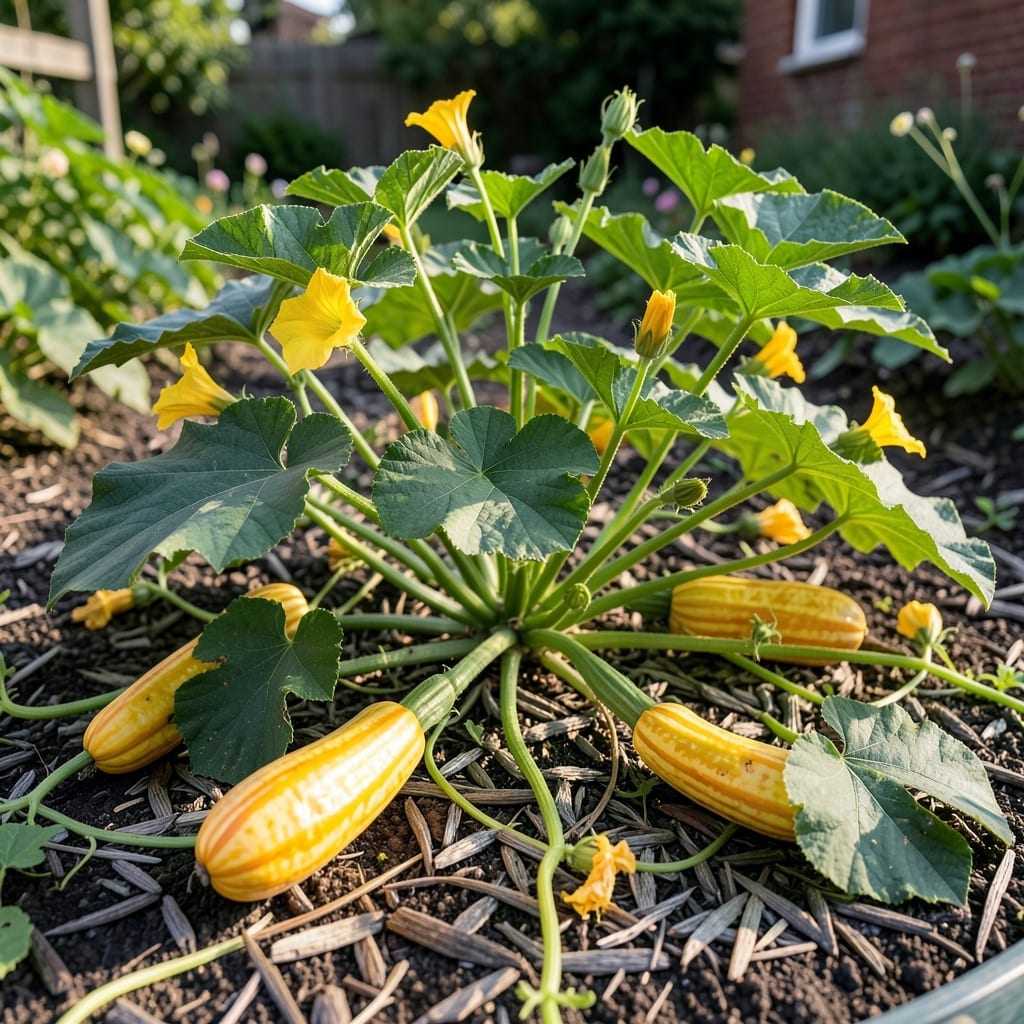
Yellowing edges on your squash leaves are trying to tell you something. I’ve seen pest damage, fungal spots, and nutrient shortages all show up the same way at first.
Here’s the thing—catching these early means you can fix them with simple organic tweaks. No harsh chemicals, just targeted solutions that restore your plants to full, vibrant health.
📚 In This Guide
Here’s the method I use to nurse struggling squash foliage back to vigorous health.
Begin with a thorough inspection of both the upper and lower leaf surfaces for signs of pests, disease, or environmental stress. Powdery mildew appears as white, powdery spots on upper leaves, while downy mildew shows purple or yellow blotches on the undersides.
Check the stem base for soft, dark spots indicating bacterial wilt. Yellowing between leaf veins often signals magnesium deficiency, while crisp brown edges suggest water stress. I keep a magnifying glass handy—spider mites and aphids are nearly invisible to the naked eye but can devastate leaves quickly.
Note the pattern: spotty damage usually means pests, while uniform discoloration points to nutrient or water issues. This step determines your entire treatment approach, so don’t rush through it.
For water-stressed plants, give a deep soaking at the base until water reaches 6-8 inches deep—stick your finger in to verify. Squash roots run deep, and surface watering encourages shallow root growth that’s vulnerable to drought.
If yellowing suggests nutrient deficiency, apply a balanced organic fertilizer or compost tea. I mix 1 tablespoon of fish emulsion in a gallon of water for a quick foliar boost, spraying the solution on leaf undersides where absorption is most efficient.
For magnesium deficiency, dissolve 1 tablespoon of Epsom salts in a gallon of water and spray on leaves at dusk. Avoid applying during peak sun hours, as this can burn the foliage you’re trying to save.
For fungal diseases like mildew, mix 1 teaspoon of baking soda and a few drops of dish soap in a quart of water. Spray this solution on affected leaves weekly until symptoms disappear. The baking soda alters the leaf surface pH, making it inhospitable to fungi.
Against soft-bodied pests like aphids or spider mites, I use a strong blast of water from the hose to dislodge them, then follow up with a neem oil spray. Mix 2 tablespoons of neem oil with a gallon of water and a teaspoon of dish soap as an emulsifier.
Apply treatments in the early morning or late evening to avoid harming beneficial insects and to prevent leaf burn. Always test sprays on a small area first to check for phytotoxicity.
Remove severely damaged leaves with clean pruners, cutting back to the main stem. This improves air circulation and prevents the spread of disease. I sterilize my pruners with rubbing alcohol between cuts to avoid transferring pathogens.
Never remove more than one-third of the plant’s foliage at once, as this can shock the plant and reduce its ability to photosynthesize. Focus on the oldest, most damaged leaves first, as these contribute least to the plant’s energy production.
After pruning, dispose of the infected material in the trash—not the compost pile. Many squash diseases can overwinter in compost and reinfect next year’s plants.
Space plants 3-4 feet apart to ensure good air circulation, which is the best defense against fungal diseases. I use a trellis system for my spaghetti squash, which keeps leaves off the ground and reduces contact with soil-borne pathogens.
Apply a 2-3 inch layer of organic mulch around the base to retain moisture and suppress weeds that compete for nutrients. Straw works particularly well for squash, as it doesn’t compact and allows water to penetrate easily.
Monitor plants daily, especially after rain or irrigation, as moist conditions favor disease development. Early detection makes treatment far more effective and can mean the difference between saving your plant and losing it.
Small details often make the biggest difference in plant health recovery.
Diagnosis Precision: In Step 1, use a magnifying glass to inspect both leaf surfaces—powdery mildew appears as white spots on top, while downy mildew shows as purple or yellow blotches underneath. This distinction determines your entire treatment approach, so accuracy here prevents wasted effort.
Watering Depth: For Step 2, verify water reaches 6-8 inches deep by sticking your finger into the soil. Surface watering creates shallow roots that can’t withstand drought, while deep watering encourages the robust root system squash plants need.
Treatment Timing: Apply the baking soda spray from Step 3 in early morning or late evening. The baking soda solution works by altering leaf surface pH, but applying it during peak sun can burn foliage. Weekly applications until symptoms disappear ensure consistent protection without harming beneficial insects.
Pruning Strategy: During Step 4, sterilize pruners with rubbing alcohol between cuts to prevent pathogen transfer. Never remove more than one-third of the foliage at once—this shock can reduce photosynthesis capacity. Focus on the oldest, most damaged leaves first, as they contribute least to the plant’s energy production.
No, spaghetti squash leaves are not typically eaten. They’re tough, bitter, and may contain cucurbitacins, which can be toxic. Stick to the fruit for a safe, delicious meal!
Yellow leaves often signal overwatering, nutrient deficiencies, or pests like aphids. Check soil moisture, fertilize if needed, and inspect for bugs to revive your plant.
Mix 1 tsp baking soda with 1 quart of water and spray affected leaves. Improve airflow and avoid overhead watering to prevent recurrence. Neem oil also works well!
Prune only when leaves are diseased or overcrowded. Remove yellow or damaged foliage early in the day to allow wounds to heal. Avoid excessive pruning—it can stress the plant.
Plant with beans, corn, or marigolds to deter pests and improve growth. Avoid potatoes or other squash varieties, as they compete for nutrients and attract similar diseases.