
Beautiful Plants For Your Interior
Beautiful Plants For Your Interior
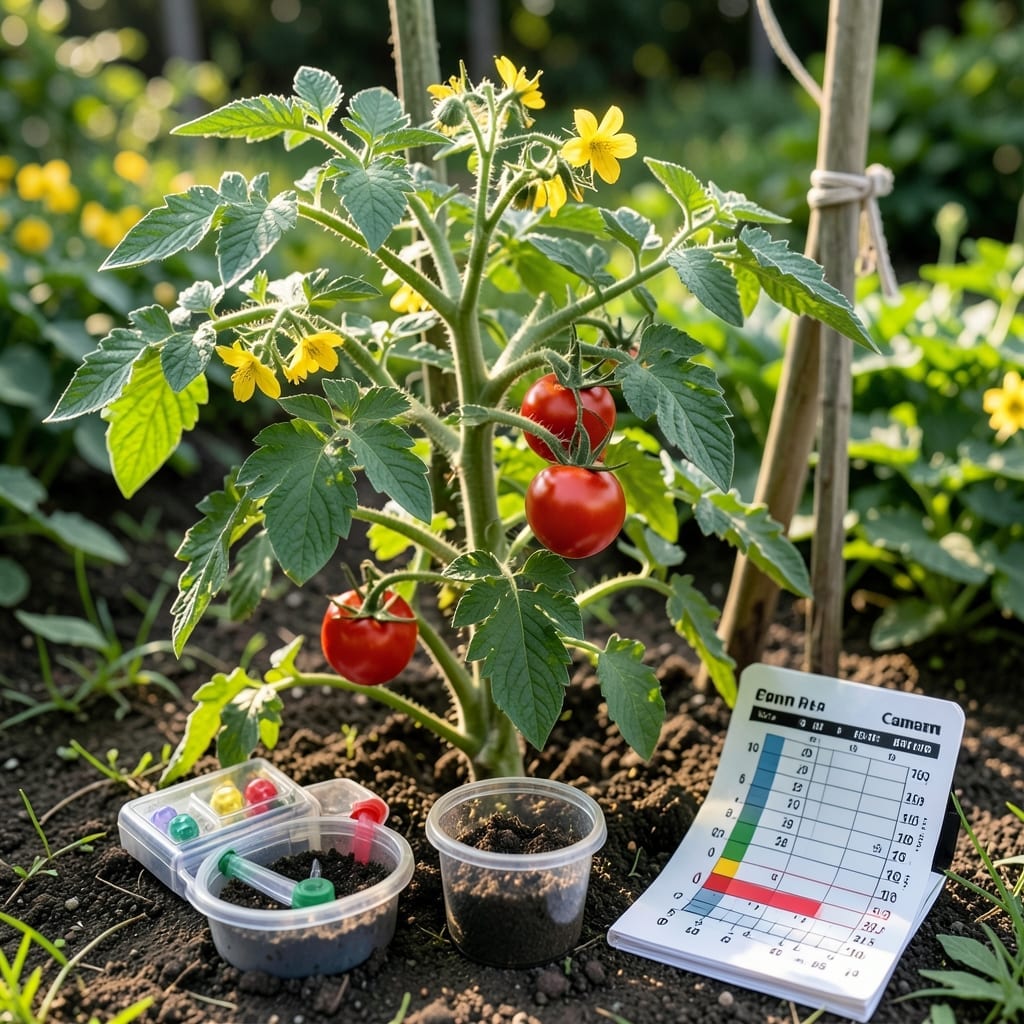
The secret to thriving 🍅 tomato plants often lies beneath the surface—literally. What you can’t see in your soil could be the game-changer for your garden’s success this season.
I’ve learned that even with perfect sunlight and watering, tomatoes struggle when the ground isn’t quite right. The balance of your soil’s acidity or alkalinity directly affects how well your plants absorb nutrients.
Whether you’re a first-time gardener or a seasoned green thumb, understanding this hidden factor can transform your harvest. It’s simpler to adjust than you might think.
Let me walk you through how to discover your soil’s current state and make the easier changes that will have your tomato plants thanking you with robust growth and abundant fruit.
I’ve found that tomato plants thrive best when the soil pH is just right. The ideal range is 6.0-6.8, which is slightly acidic. This range helps nutrient absorption and keeps plants healthy.
When the pH is too low or too high, tomatoes struggle to take up essential nutrients. For example, iron and phosphorus become less available in alkaline soil.
| Requirement | Specification |
|---|---|
| Ideal pH Range | 6.0 – 6.8 |
| Minimum pH | 5.5 (tolerable) |
| Maximum pH | 7.5 (tolerable) |
| Best for Nutrients | N-P-K uptake |
In my experience, yellowing leaves often signal a pH problem. This happens when the soil is too acidic and the plant can’t absorb magnesium.
On the other hand, stunted growth can mean the soil is too alkaline. Tomatoes in such conditions often have purple stems due to phosphorus deficiency.
I always recommend testing your soil before planting. A simple home test kit can give you a good idea of where your pH stands.
If your soil is too acidic, adding lime can help raise the pH. For alkaline soil, elemental sulfur is a great amendment to lower it.
Remember, gradual adjustments work best. Adding too much amendment at once can shock your plants. I’ve seen this happen with over-eager gardeners!
It’s also worth noting that local water pH can affect your soil over time. If your tap water is alkaline, it may slowly raise your soil’s pH.
In containers, potting mixes often start neutral but can become acidic over time. I like to retest container soil every 2-3 months during the growing season.
For the best harvest, aim for that 6.0-6.8 sweet spot. Your tomatoes will thank you with vibrant growth and plentiful fruit 🌱
I always start by testing my soil pH before planting tomatoes. A simple home test kit from any garden center gives quick results. For more accuracy, I send samples to a local lab for professional analysis.
Once I know my current pH level, I can adjust it properly. For acidic soil below 6.0, I add garden lime to raise the pH. For alkaline soil above 6.8, I use elemental sulfur to lower it.
When adding lime or sulfur, I always follow the package instructions carefully. Over-applying can cause more harm than good. I also wear gloves and a mask when handling these materials for safety.
It’s important to retest the soil after making adjustments. I wait about 2-3 months for the amendments to fully react with the soil before testing again. This ensures my tomato plants will have the right conditions.
I’ve found that organic matter like compost helps buffer pH changes. Adding a 2-3 inch layer of compost each year keeps my soil healthy and more resistant to pH swings.
Remember that water pH can affect soil over time. If my tap water is very alkaline, I might need to adjust my soil more frequently to maintain that ideal 6.0-6.8 range for tomatoes 🌱