
Beautiful Plants For Your Interior
Beautiful Plants For Your Interior
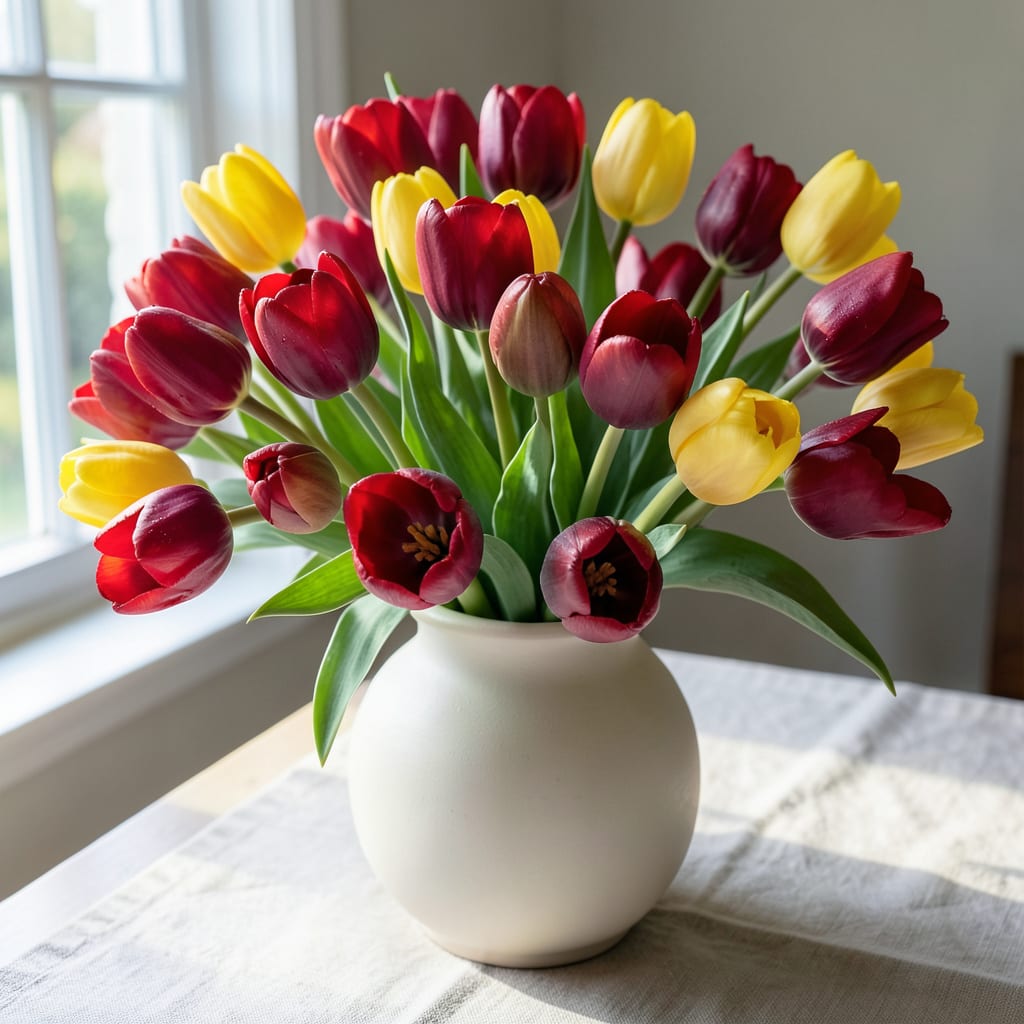
Nothing beats the first sight of red and yellow tulips pushing through winter soil. I still remember planting my first batch and watching those vibrant cups unfurl like nature’s own fireworks.
These spring stars thrive in well-drained soil with full sun, rewarding you with bold color that stops neighbors in their tracks. With minimal care, they’ll return year after year, multiplying into a show-stopping display that announces spring has arrived.
📚 In This Guide
Here’s the method I use to create stunning spring displays that return year after year.
Select firm, healthy tulip bulbs that feel heavy for their size, avoiding any with soft spots or mold. The plumpest bulbs produce the most vibrant red and yellow blooms. I look for varieties like ‘Apeldoorn’ for classic red or ‘Yellow Emperor’ for bright yellow cups.
Pick a spot with full sun to partial shade and well-draining soil. Tulips rot in soggy ground, so avoid low-lying areas. A gentle slope or raised bed works perfectly. Test drainage by digging a 12-inch-deep hole and filling it with water—if it drains within 4 hours, you’re good to go.
Loosen the soil to a depth of 12-15 inches and mix in a 2-inch layer of compost for nutrients. Tulips aren’t picky about soil type, but they thrive when it’s rich and crumbly. Remove any rocks or debris that might block root growth.
Plant bulbs pointy-end up, 6-8 inches deep (measure from the base of the bulb). Space them 4-6 inches apart—closer for a dense, dramatic effect, farther apart for naturalizing. Real talk: deeper planting protects from freeze-thaw cycles in colder climates.
After planting, water thoroughly to settle the soil and eliminate air pockets around the bulbs. You want the soil moist but not waterlogged. I use a watering can with a rose attachment to avoid displacing the bulbs with a strong stream.
Apply a 2-3 inch layer of mulch (straw or shredded leaves work well) once the ground freezes to insulate the soil. This prevents winter temperature fluctuations that can damage bulbs. In spring, remove mulch gradually as the shoots emerge to avoid smothering new growth.
When shoots appear in early spring, begin watering if rainfall is scarce. Tulips need consistent moisture during their growth period but can tolerate some drought once established. I water at soil level to keep the foliage dry, which prevents fungal diseases.
Fertilize lightly with a balanced 10-10-10 formula when shoots are 6 inches tall. Here’s the thing—tulips are heavy feeders during their short growing season. The fertilizer gives them the energy to produce those spectacular red and yellow blooms you’re after.
Once the flowers fade, deadhead them by snipping off the spent blooms, but leave the foliage intact. The leaves continue photosynthesizing to feed the bulb for next year’s growth. I know it seems weird, but resist the urge to tidy up too soon.
Allow the foliage to yellow and die back naturally, which typically takes 6-8 weeks after flowering. This is the moment that matters: the bulb is storing energy for next spring’s display. Once the leaves are completely brown, they can be removed, and you’ll be rewarded with another round of vibrant red and yellow tulips next year.
These practical insights will help you avoid common pitfalls when planting your display.
Bulb Selection: Choose firm, heavy bulbs without soft spots or mold, as the plumpest ones produce the most vibrant blooms. Varieties like ‘Apeldoorn’ for red or ‘Yellow Emperor’ for yellow are excellent choices for bold color.
Drainage Test: Before planting, test your soil drainage by digging a 12-inch-deep hole and filling it with water. If it drains within 4 hours, your location is suitable. Tulips rot in soggy ground, so avoid low-lying areas.
Planting Depth: Plant bulbs pointy-end up, 6-8 inches deep (measured from the base) and space them 4-6 inches apart. Deeper planting protects against freeze-thaw cycles, especially in colder climates.
Post-Flowering Care: After flowering, deadhead the blooms but leave the foliage intact. The leaves need 6-8 weeks to yellow and die back naturally, as they’re storing energy for next year’s display. Resist the urge to tidy up too soon!
Plant tulip bulbs in the fall, about 6-8 weeks before the first hard frost. This gives them time to establish roots before winter. In most regions, September to November is ideal.
Dig holes about 6-8 inches deep, placing bulbs pointed-end up. Space them 4-6 inches apart for a full, vibrant display. Deeper planting can help prevent rodent damage.
Yes! Use well-draining soil and a container with drainage holes. Plant bulbs as deeply as you would in the ground, and keep pots in a cool, dark place until spring growth appears.
Common reasons include planting too shallow, poor soil drainage, or cutting back foliage too soon. Ensure bulbs get full sun and let leaves die back naturally after blooming to feed next year’s flowers.
