
Beautiful Plants For Your Interior
Beautiful Plants For Your Interior
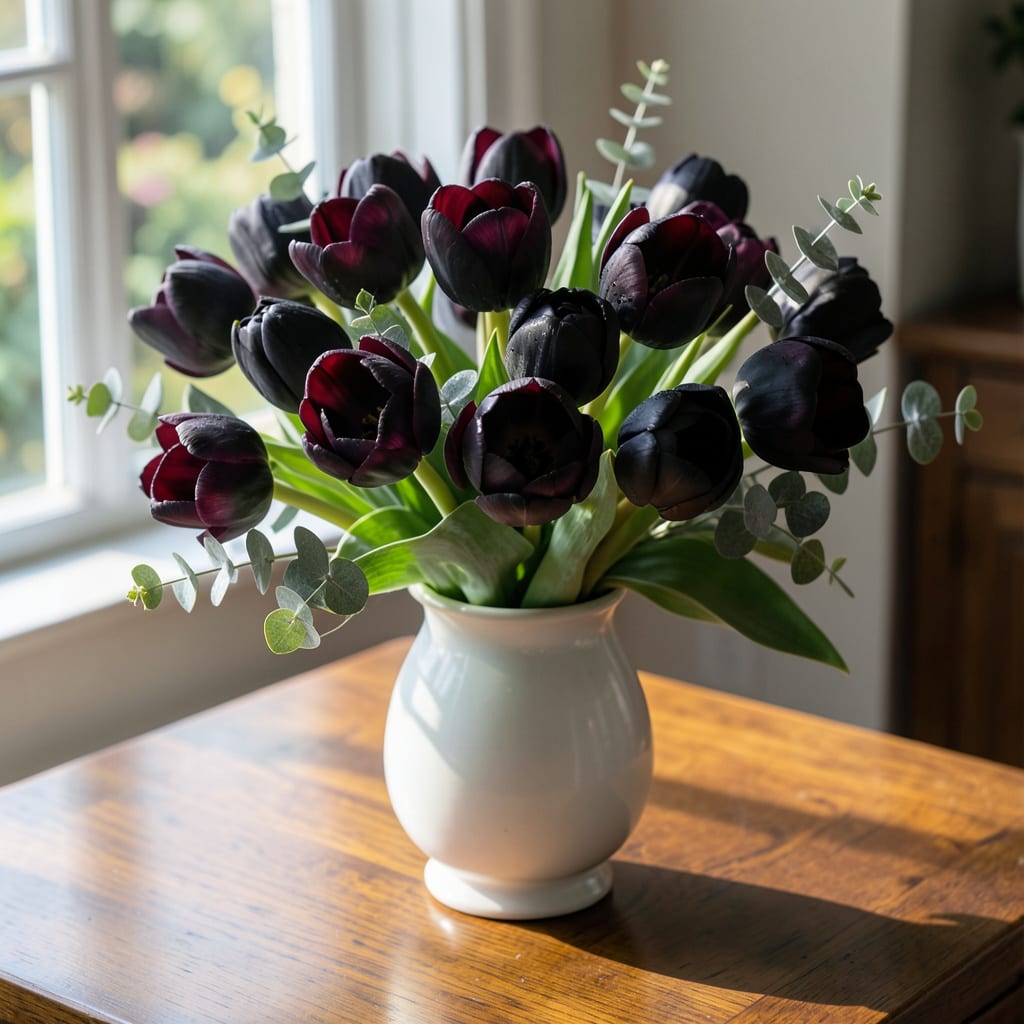
Dark, velvety blooms that look like midnight captured in petals. I fell for Queen of the Night tulips the first time I saw them glowing under moonlight, their deep purple-black flowers creating drama in the spring garden.
These tulips thrive in full sun with well-draining soil and minimal fuss. Plant the bulbs in fall for a spring display that stops neighbors in their tracks. They’re deer-resistant and come back year after year with proper care.
📚 In This Guide
Here’s my method for coaxing these dramatic blooms to their full midnight potential each season.
Choose a location with full sun to partial shade, as these tulips thrive in 6-8 hours of direct sunlight daily. The soil must be well-draining—clay or compacted earth will rot the bulbs before they can establish. I test drainage by digging a 1-foot hole, filling it with water, and ensuring it empties within 4 hours.
Queen of the Night bulbs prefer slightly acidic to neutral soil (pH 6.0-7.0). If your soil leans alkaline, amend with peat moss or compost. Avoid low-lying areas where water pools after rain—these bulbs despise wet feet.
Loosen the soil to a depth of 12 inches and mix in a 2-3 inch layer of organic matter like well-rotted compost. This improves drainage and provides nutrients for the first growing season. I always add a handful of bone meal per bulb for extra phosphorus to support root development.
Plant bulbs 6-8 inches deep (measure from the base of the bulb) and 4-6 inches apart. Set them with the pointed end facing up. In colder climates (USDA zones 3-5), plant 8 inches deep for winter protection. Water thoroughly after planting to settle the soil and eliminate air pockets.
After planting, water deeply until the soil is moist to a depth of 6 inches. Keep the soil consistently moist during the fall to encourage root growth before winter. Once the ground freezes, reduce watering—dormant bulbs need very little moisture.
Apply a 2-3 inch layer of organic mulch (straw, shredded leaves, or pine bark) after the first hard frost. This insulates the soil, preventing temperature fluctuations that can heave bulbs out of the ground. Remove mulch gradually in early spring as new growth emerges.
As shoots appear in early spring, resume watering if rainfall is less than 1 inch per week. These tulips are drought-tolerant once established, but consistent moisture during the spring growth period ensures larger, more vibrant blooms.
Fertilize lightly with a balanced 10-10-10 fertilizer when shoots are 6 inches tall. Avoid high-nitrogen fertilizers, which promote leafy growth at the expense of flowers. Deadhead spent blooms immediately to prevent seed formation, but leave the foliage until it yellows and dies back naturally.
After flowering, continue watering for 4-6 weeks to allow the bulbs to store energy for next year. Once the foliage turns yellow and withers, stop watering and let the bulbs enter dormancy. In warmer climates (USDA zones 7-8), you may need to dig up bulbs after foliage dies back and store them in a cool, dry place until fall replanting.
Divide bulbs every 3-4 years to prevent overcrowding and maintain vigor. Dig them up after foliage dies back, separate the offsets from the mother bulb, and replant the healthiest bulbs in fresh, well-prepared soil. Smaller offsets may take a year or two to reach flowering size.
These insights will help you avoid common pitfalls when growing these stunning dark blooms.
Soil Preparation: In Step 1, when testing drainage with that 1-foot hole, don’t rush the 4-hour emptying time. If water lingers, you’ll need to amend with more organic matter or consider raised beds. The 6-8 hours of sunlight requirement isn’t flexible—these bulbs will struggle with less.
Planting Depth: For Step 2, measuring the 6-8 inches from the bulb’s base (not the tip) is crucial. In colder zones, that extra 2 inches to 8 inches deep makes the difference between survival and winter kill. I learned this the hard way after losing several bulbs in an unexpected cold snap.
Watering Wisdom: The 6-inch moisture depth mentioned in Step 3 isn’t arbitrary. Use a moisture meter or your finger to check—dry soil at this depth means it’s time to water. And that 2-3 inch mulch layer? It’s your best defense against winter heaving.
Spring Feeding: In Step 4, timing that 10-10-10 fertilizer application when shoots hit exactly 6 inches tall is key. Any earlier and you risk burning tender new growth; any later and you miss the critical bulb-feeding window. I mark this moment on my calendar each spring.
Plant bulbs in well-draining soil in fall, 6-8 inches deep, in full sun to partial shade. Water moderately and ensure good air circulation. These dramatic blooms thrive in cooler climates (USDA zones 3-8).
They typically bloom in mid to late spring, often April to May, depending on your climate. Their deep maroon, almost black petals create a stunning contrast in moonlit gardens.
Yes! Consider Black Baccara roses, Onyx Odyssey petunias, or Black Adder agastache for similar gothic elegance. Each offers deep hues and unique textures.
Common issues include insufficient sunlight, overwatering, or poor soil drainage. Check for bulb rot or pests. Ensure bulbs are planted at the correct depth and fertilized lightly in early spring.
